How to Set Up QuickBooks Online: Get Free Guided Setup
QuickBooks Online is an accounting software designed to help small businesses manage their finances easily and efficiently. With its user-friendly interface and powerful features, QuickBooks Online has become a popular choice for businesses of all sizes. QuickBooks Online offers a wide range of services, including invoicing, expense tracking, inventory management, and payroll processing. With QuickBooks Online, you can also connect your bank and credit card accounts, import transactions, and reconcile accounts easily.
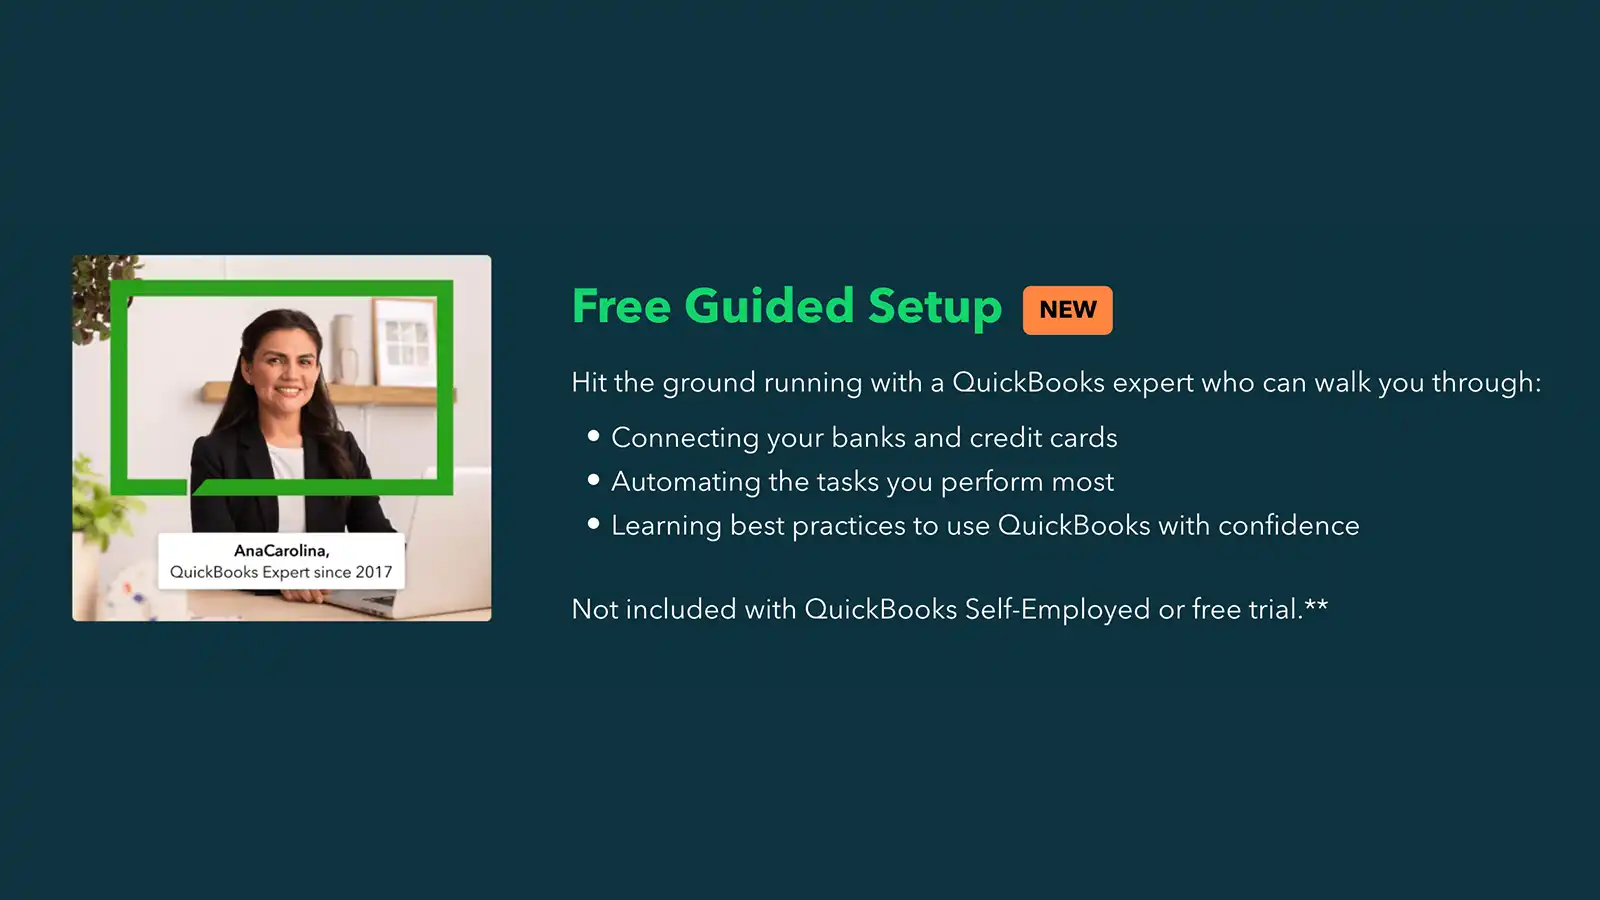
However, setting up the software can be overwhelming for those who are new to accounting or technology. Fortunately, QuickBooks offers a free guided setup feature that simplifies the process and ensures that you set up your account correctly. QuickBooks’ free guided setup feature is designed to simplify the process of setting up your QuickBooks Online account, specifically connecting bank accounts, automating tasks, and learning best practices. The guided setup provides step-by-step instructions for setting up your account correctly, ensuring that you don’t miss any important steps.

This feature is especially beneficial for those who are new to accounting or QuickBooks, as it provides a clear roadmap for setting up your account. By following the guided setup, you can save time and ensure that your financial records are accurate from the start. In this article, we’ll walk you through the steps of setting up QuickBooks Online using the free guided setup feature, and provide additional tips and tricks for using the software effectively.
Free Guided Setup with QuickBooks Online
The free guided setup feature is available to all new users of QuickBooks Online. This feature provides step-by-step instructions for setting up your account correctly, ensuring that you don’t miss any important steps. The guided setup covers all the essential tasks required to get your QuickBooks Online account up and running, including setting up your company profile, connecting your bank and credit card accounts, and adding your products and services.
How to Access Free Guided Setup
To access the free guided setup feature, you must first sign up for a QuickBooks Online account. Once you’ve signed up, you’ll be prompted to begin the guided setup process. Alternatively, you can access the guided setup feature from your dashboard by clicking on the “Settings” menu and selecting “Set Up Your Account.”
How to Set Up QuickBooks Online
Preparing for Setup
Before you begin the setup process, it’s essential to have all the necessary information and documents at hand. This includes your company’s legal name, address, phone number, email address, and tax ID number. You’ll also need to decide which subscription plan is right for your business and gather any necessary financial documents, such as bank statements or credit card statements.
Signing Up for QuickBooks Online
To sign up for QuickBooks Online, go to the QuickBooks website and click on the “Get Started” button. Follow the prompts to create an account and select a subscription plan. You’ll need to provide some basic information about your business, such as your business name and contact information, to get started.
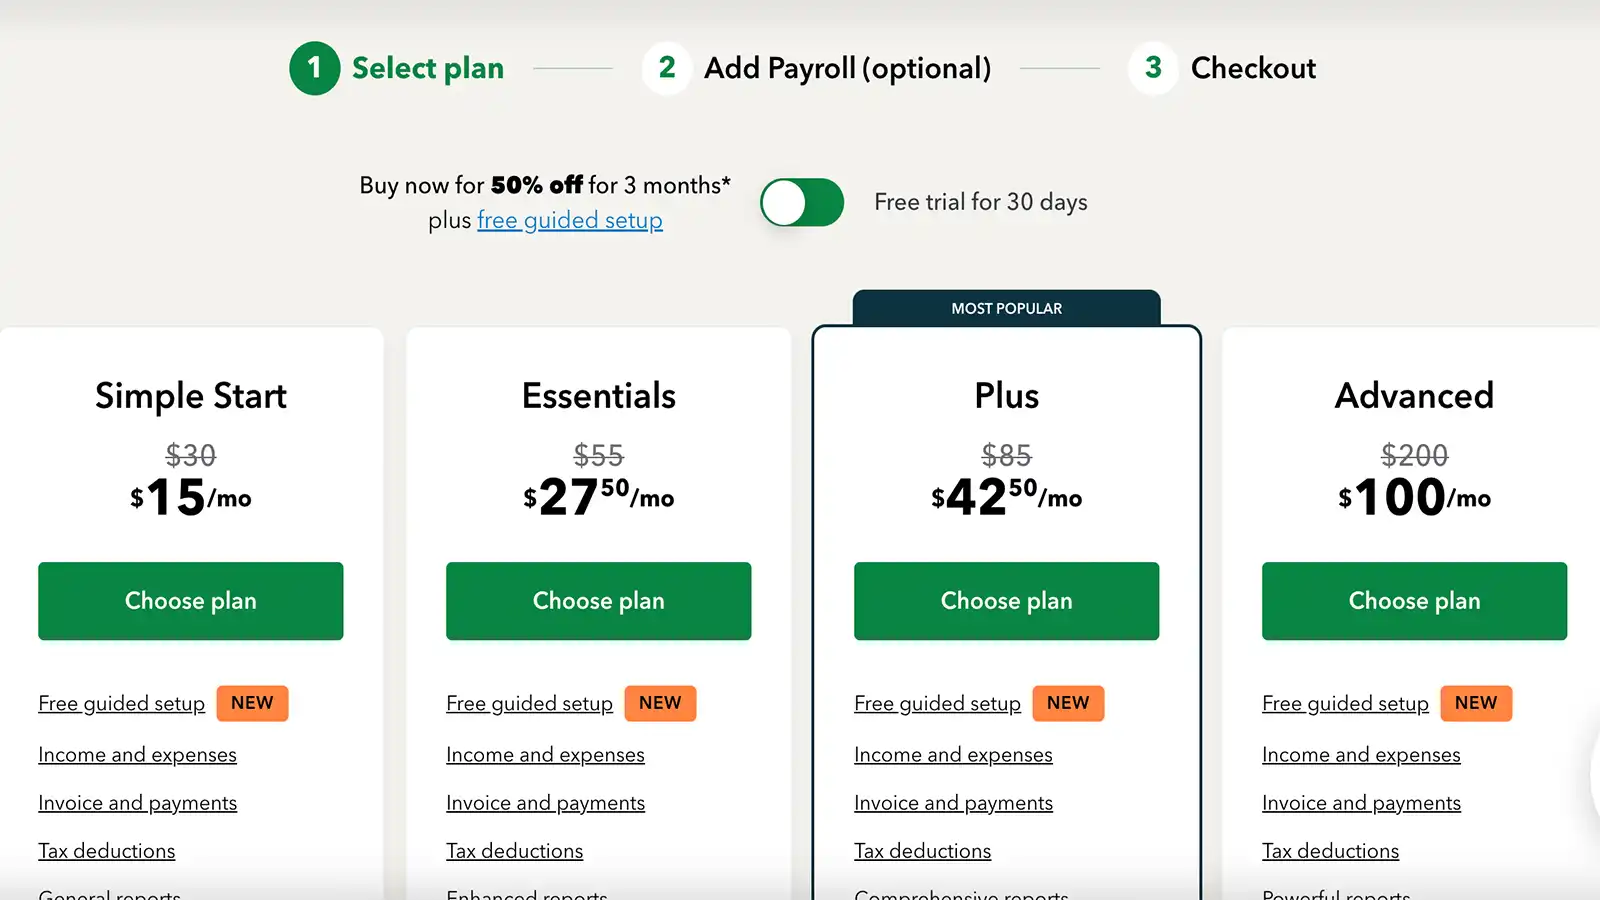
Choosing a Subscription Plan
As mentioned earlier, QuickBooks Online offers several subscription plans to fit the needs of different businesses. Consider the features and pricing of each plan to determine which one is best for your business. Keep in mind that you can always upgrade or downgrade your plan as your business needs change.
Setting up Your Company Profile
The next step in setting up your QuickBooks Online account is to create your company profile. This includes information such as your business name, address, phone number, and website. You can also upload your company logo to customize your account.

Setting up Your Chart of Accounts
The chart of accounts is a list of all of the accounts you will use to track your income and expenses in QuickBooks Online. You can customize your chart of accounts to fit your business needs by adding or deleting accounts as necessary. QuickBooks Online also provides a default chart of accounts based on your business type.
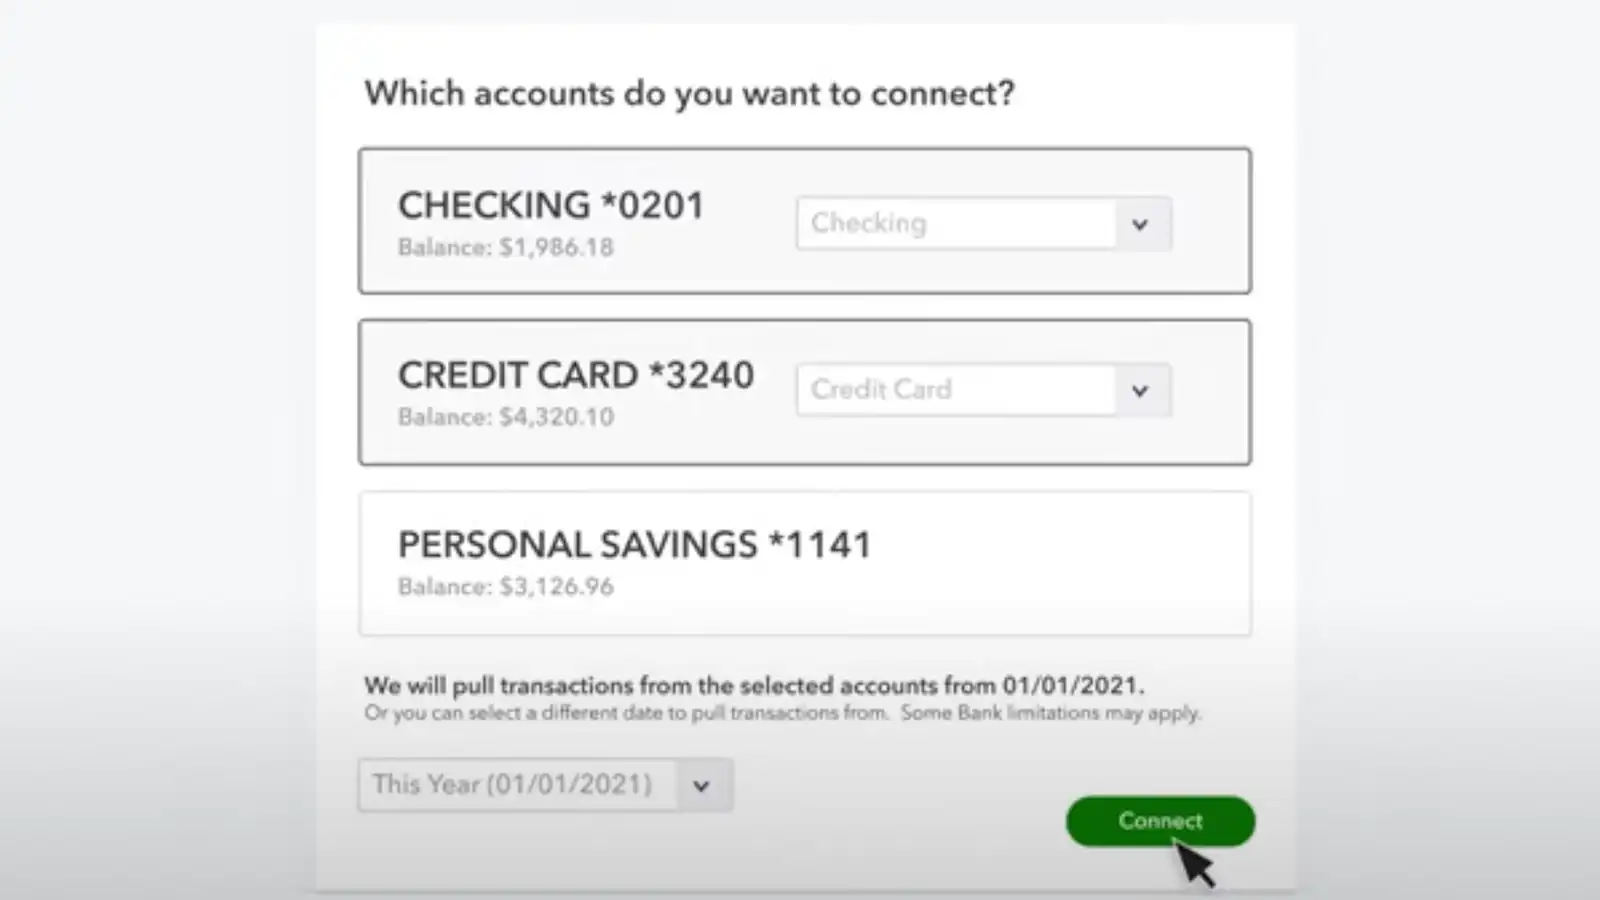
Connecting Your Bank and Credit Card Accounts
One of the great features of QuickBooks Online is the ability to connect your bank and credit card accounts. This allows you to automatically import your transactions, saving you time and reducing the risk of errors. To connect your accounts, navigate to the Banking tab and follow the prompts to link your accounts.
Adding Your Products and Services
If your business sells products or services, you’ll need to add them to your QuickBooks Online account to start tracking your sales. To do this, navigate to the Products and Services tab and click on “New” to add a new product or service. You can also add additional details such as the price, description, and SKU.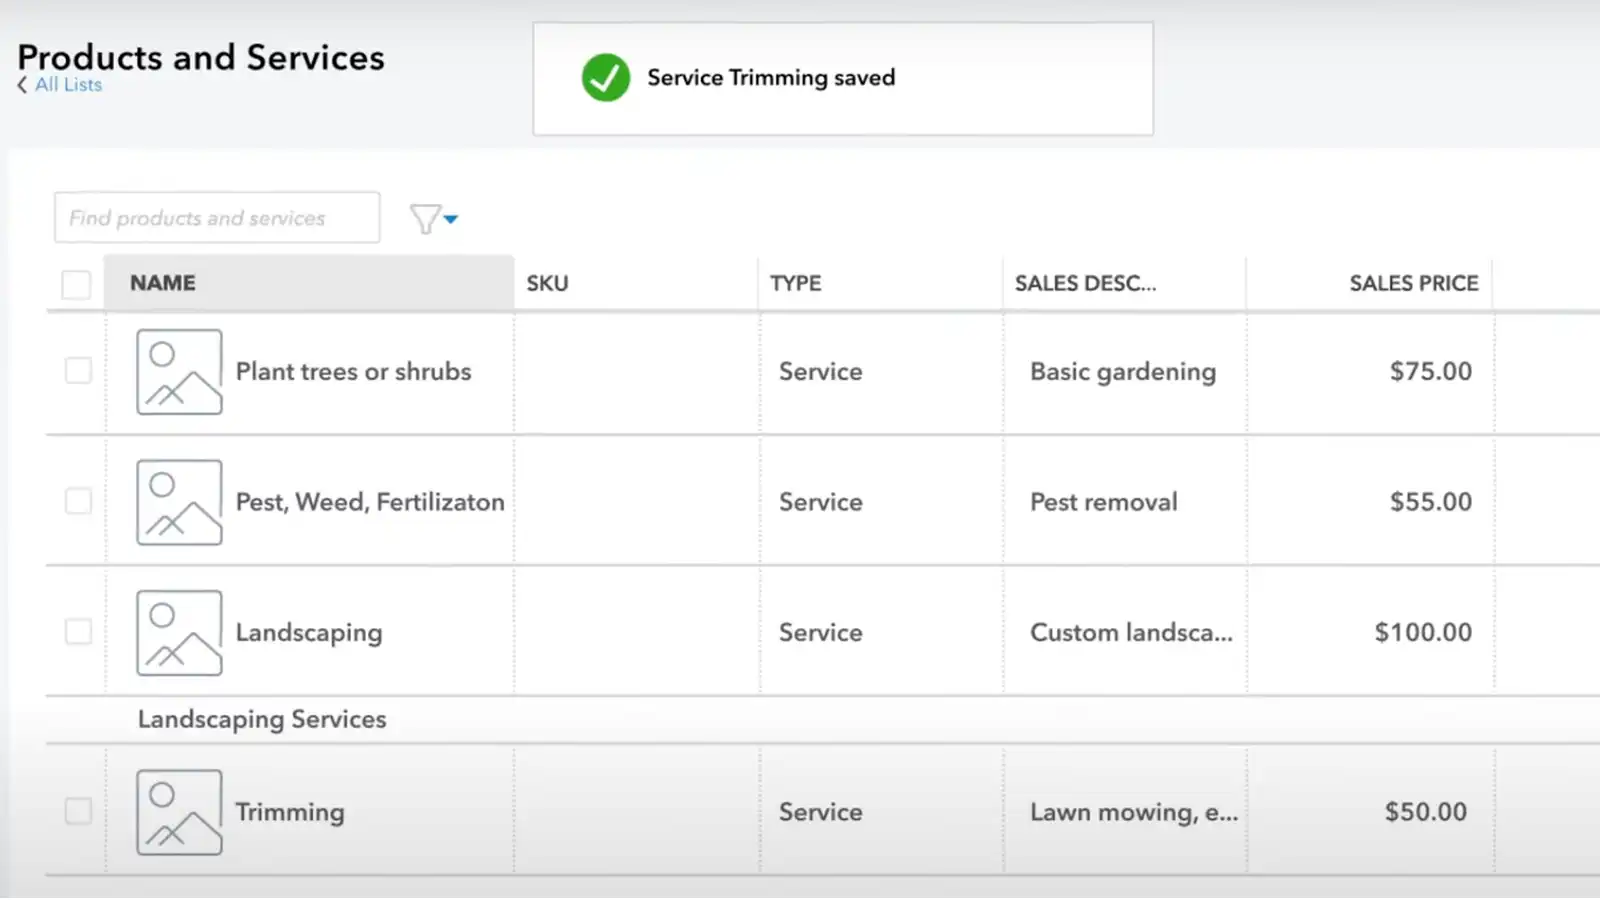
Inviting Users to Access your QuickBooks Online Account
Once you have set up your QuickBooks Online account, you may want to invite other users to access it. QuickBooks Online allows you to invite up to two accounting professionals to work on your books, and you can also invite additional users with various levels of access.
To invite users to your account, follow these steps:
- From the QuickBooks Online Dashboard, click on the Gear icon in the top right corner and select “Manage Users” from the dropdown menu.
- Click on the “Add user” button in the top right corner of the Manage Users page.
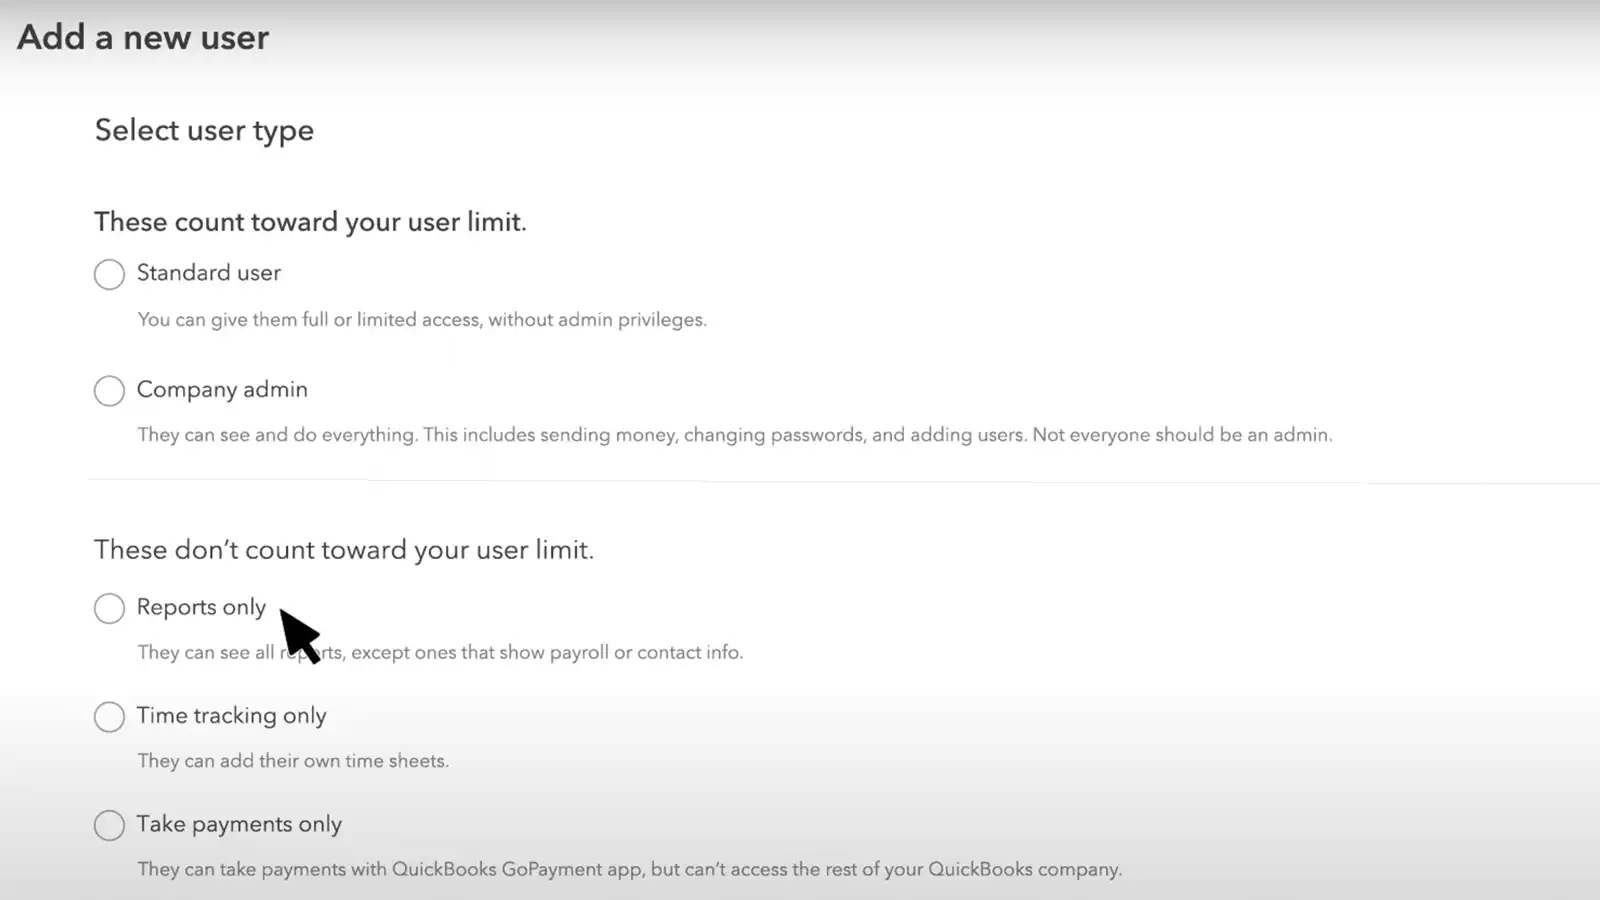
- Select the type of user you want to invite, such as a company admin or a standard user, and enter their email address.
- Choose the level of access you want the user to have, such as “All Access” or “Limited Access” to certain features.
- Click “Save” to send the invitation to the user.
- The invited user will receive an email with instructions on how to set up their account and access your QuickBooks Online data.
Additional Tips and Tricks for Using QuickBooks Online
Now that you have set up your QuickBooks Online account using the free guided setup, you may want to explore some additional tips and tricks to get the most out of the software. Here are some helpful suggestions:
Navigating the QuickBooks Online interface
QuickBooks Online has a user-friendly interface, but it can still take some time to get used to. Here are a few tips for navigating the software:
- Use the search bar to quickly find the feature you need
- Customize the homepage to display the information that’s most important to you
- Use the “Recent transactions” list to quickly access the transactions you’ve worked on recently
- Use the “Help” button in the top right corner to access the QuickBooks Online help center
Customizing Reports and Invoices
QuickBooks Online allows you to customize your reports and invoices to match your business’s branding. Here are some tips for customizing these documents:
- From the QuickBooks Online Dashboard, click on the Gear icon in the top right corner and select “Custom Form Styles” from the dropdown menu to access the customization options
- Choose a template that matches your business’s branding
- Customize the layout, font, and color scheme to match your branding
- Add your business’s logo to the report or invoice
Setting up Recurring Transactions
If you have transactions that occur on a regular basis, such as rent or utilities, you can set them up as recurring transactions in QuickBooks Online. Here’s how:
- From the QuickBooks Online Dashboard, click on the Gear icon in the top right corner and select “Recurring Transactions” from the dropdown menu
- Click on the “New” button in the top right corner of the Recurring Transactions page
- Choose the type of transaction you want to create, such as an invoice or expense
- Enter the details of the transaction, including the frequency and start date
- Click “Save” to set up the recurring transaction
- QuickBooks Online will automatically generate the transaction according to the frequency and start date you specified
Managing Inventory in QuickBooks Online
If your business sells physical products, you can use QuickBooks Online to manage your inventory. Here are some tips for setting up and managing your inventory:
- Use the “Products and Services” list to set up your products and services
- Set up your inventory preferences to track inventory quantities and values
- Use the “Inventory Valuation Summary” report to monitor your inventory levels and values
- Use the “Adjust Quantity/Value on Hand” feature to adjust your inventory levels when necessary
Conclusion
Setting up QuickBooks Online may seem like a daunting task, but with the free guided setup feature and the step-by-step instructions provided in this article, it can be a smooth and straightforward process. Remember to take your time and carefully consider each step, as accuracy in your initial setup will lead to more accurate reporting and insights later on.
Once you’ve completed the setup process, take advantage of QuickBooks Online’s powerful features and tools to streamline your business finances and stay organized. Customize your reports and invoices, set up recurring transactions, and manage your inventory all from one platform.
Overall, QuickBooks Online is an excellent tool for any business owner looking to manage their finances efficiently. The guided setup feature makes it easy for even those with little accounting experience to set up their account and start benefiting from the platform’s many features. With the tips and tricks outlined in this article, you’ll be well on your way to mastering QuickBooks Online and improving your business finances.