How to Use Canva Photo Editing Tools

Canva is a high-grade, easy-to-use photo editing app that equips you with the tools to create edits of any kind. From basic adjustments and effects to animations and mockups, Canva is great for users of all skill levels. With its friendly and intuitive interface, all you need is your phone, some spare time, and an eye for detail. Let’s check out some cool editing features and explore how to make the most of the Canva photo editing app.
Canva Photo Editing Features
Canva photo editing app comes with a host of features, ranging from the basic to the impressive. Features you can expect to find include:
-
- Resize/Crop: Change the dimensions of your image for different platforms or uses.
- Transparency: Adjust the opacity of images or elements to combine photos.
- Tint: Apply a color overlay to your image for a specific mood or brand consistency.
- Vignette: Add a darkened border around your image for a focused effect.
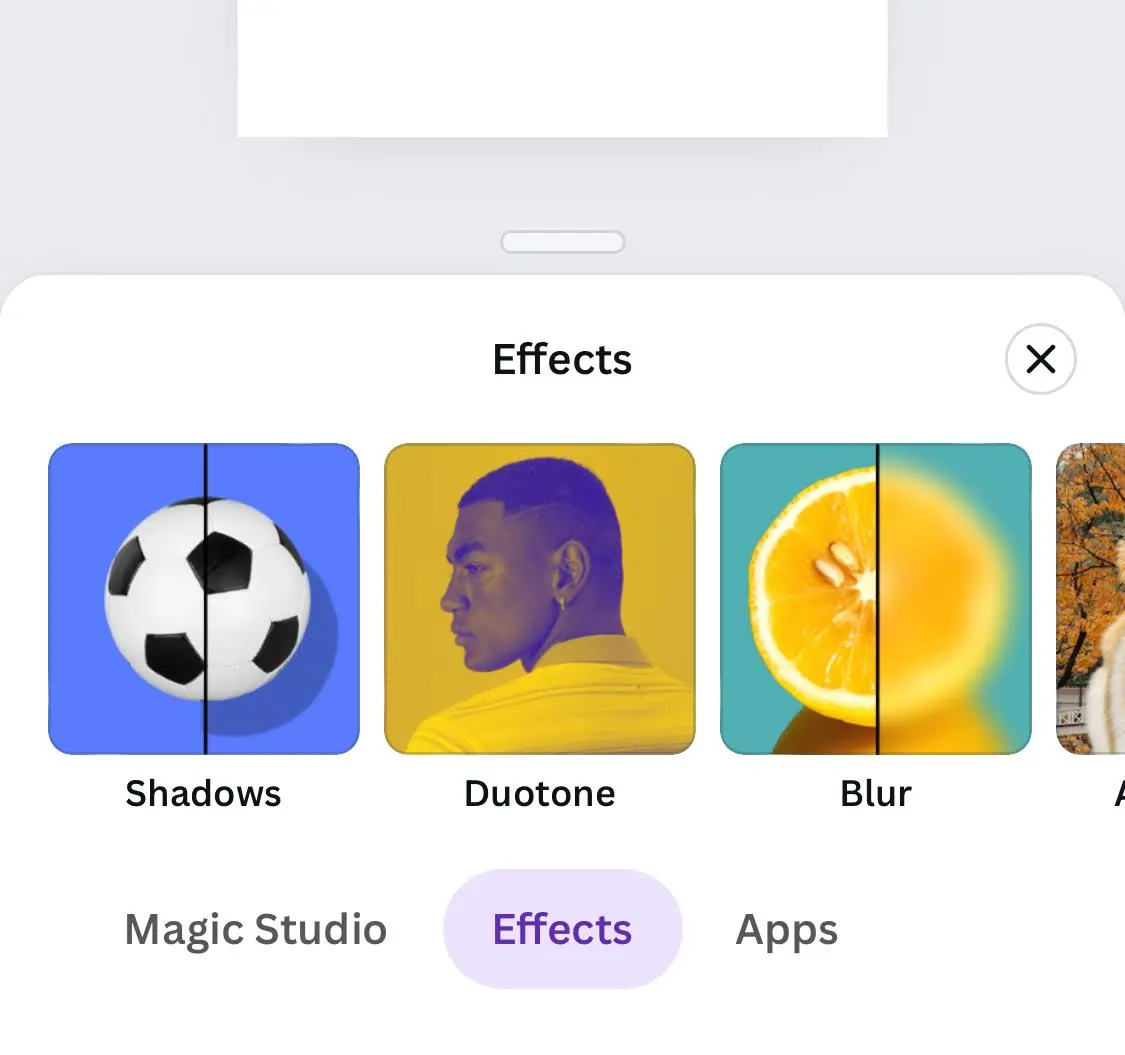
- Shadows: Apply drop shadows to text or elements for depth.
- Blur: Selectively blur parts of an image to draw focus.
- Smart Mockups: Place your designs into realistic product images.
- Photo Collage: Combine photos into a single composition.
- Adjust: Fine-tune brightness, contrast, saturation, and more to enhance your image’s overall look.
- Background Remover: Automatically remove backgrounds from images to isolate subjects and combine pictures.
- Filters & Effects: Add preset color effects or artistic touches like blur, duotone, or pixelate to create unique visuals.
- Enhance: Automatically improve image quality with one click.
- Animations: Bring static images to life with subtle movements and transitions.
- Text: Overlay text on images with customizable fonts, colors, and styles.
- Elements: Add shapes, lines, or icons to complement your photos.
- AI-generated writing and designs: Intuitive (limited) addition of text and graphics.
Canva photo editing features are frequently updated — so you can expect improvements and upgrades over time.
Can You Use Canva For Free?
Canva’s photo editing app offers both free and paid versions for its users. As far as photo editors go, Canva lets users access a wide range of free features (and without a watermark!). But it also provides advanced and specialized editing features worth paying for in the Pro version (which costs just $10 a month, paid annually). These can be particularly useful for businesses or more professional design work.
Free editing features:
- Basic photo editing: Color, shape, and layout tools
- Filters, effects, and adjustment tools
- Text editing and basic typography options
- Image frames
- Basic layout tools
- Limited AI-generated writing and designs
- Professional templates, stock photos, and graphics
Pro Canva photo editing features:
The Pro version has all of the features of the Free, with everything unlimited. There are also exclusive features such as:
- Background remover tool
- Advanced photo effects, filters, and design elements.
- Photo enhancer and image correction tools
- Animated design tools
- Create custom templates
- Brand Kit for consistent editing across designs
- Advanced typography options, including unlimited AI text generation.
- Automatic resizing for different platforms and translation of graphics in bulk
- 20+ AI tools
- Unlimited use of templates, stock photos, graphics, videos and audio.
- Brand kits for easy brand management and consistency.
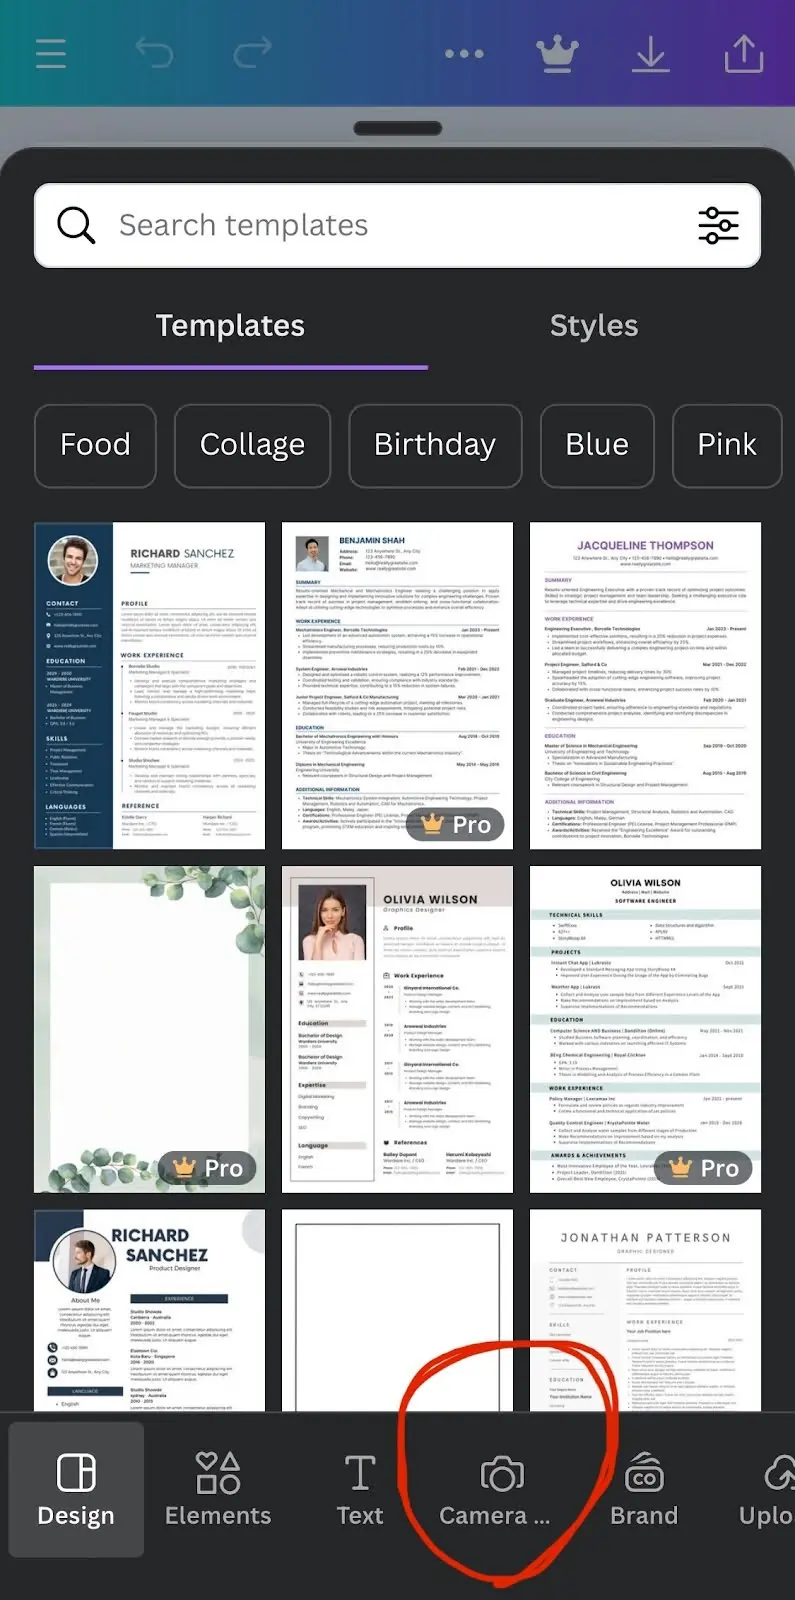
How To Blend 2 Photos On An Android Device Using Canva
Let’s take a look at Canva’s photo editing capabilities. As an example, we’ll explore how to blend two pictures together on an Android device.
1. Open Canva
- Open Canva on your Android device, or download and sign up if you’ve not already done so.

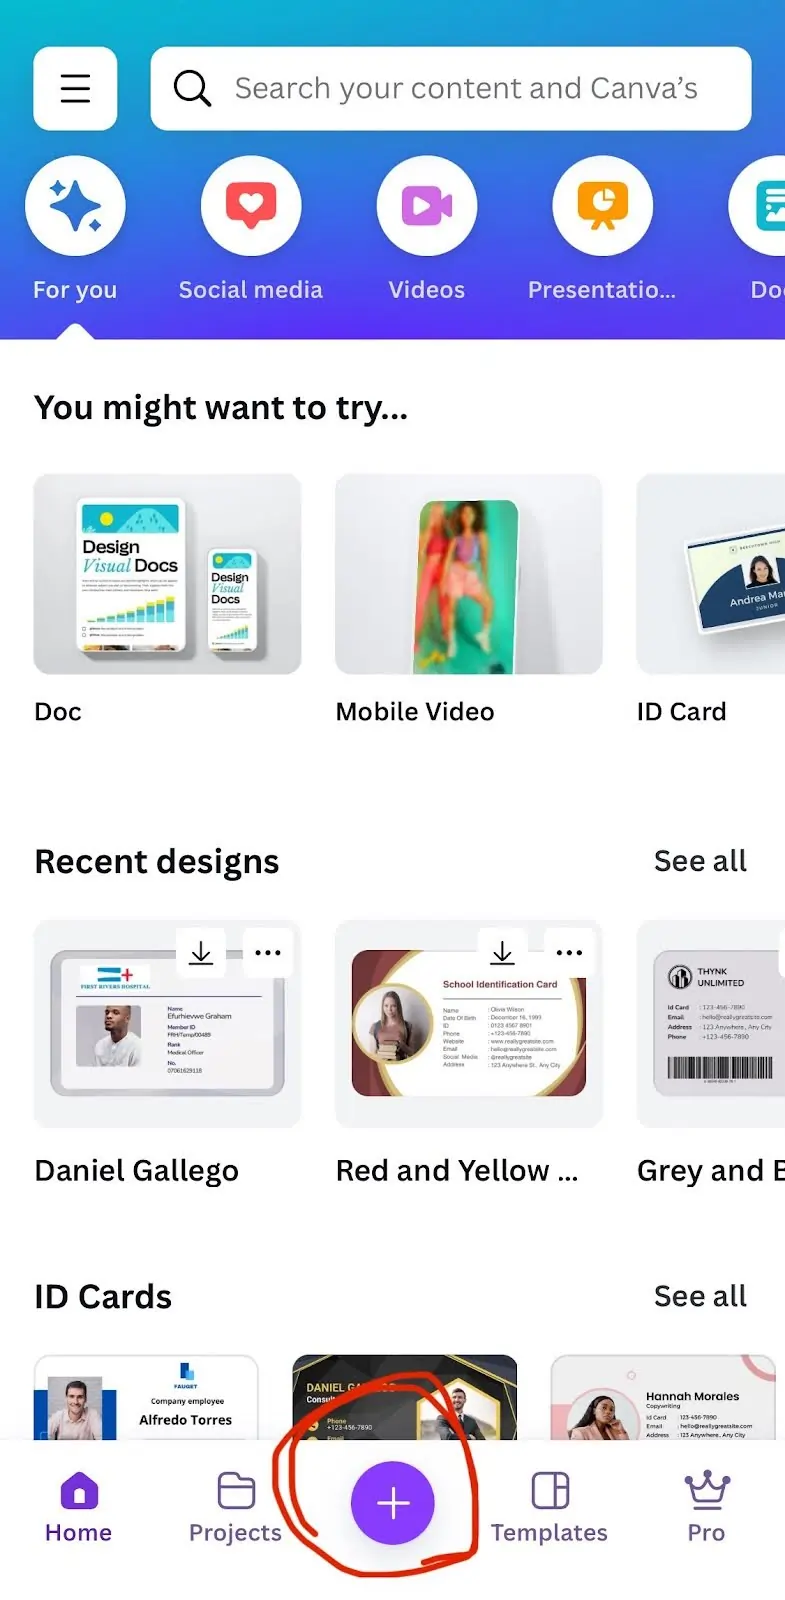
2. Create a New Project
- Tap on the “+” icon at the bottom right of the screen.
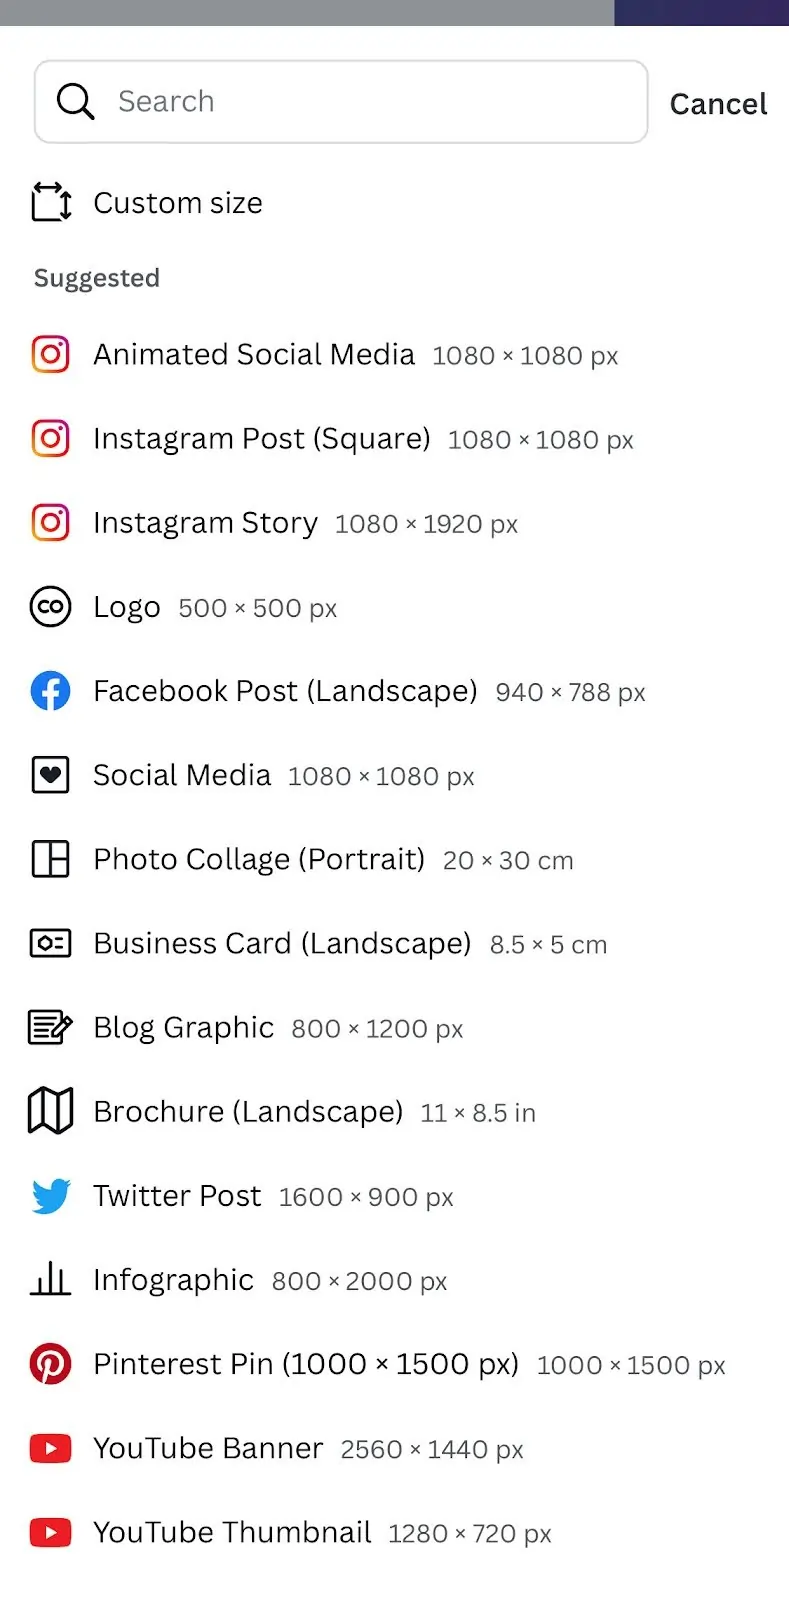
- Select “Custom size” to define your dimensions, or choose a predefined template that fits your needs.

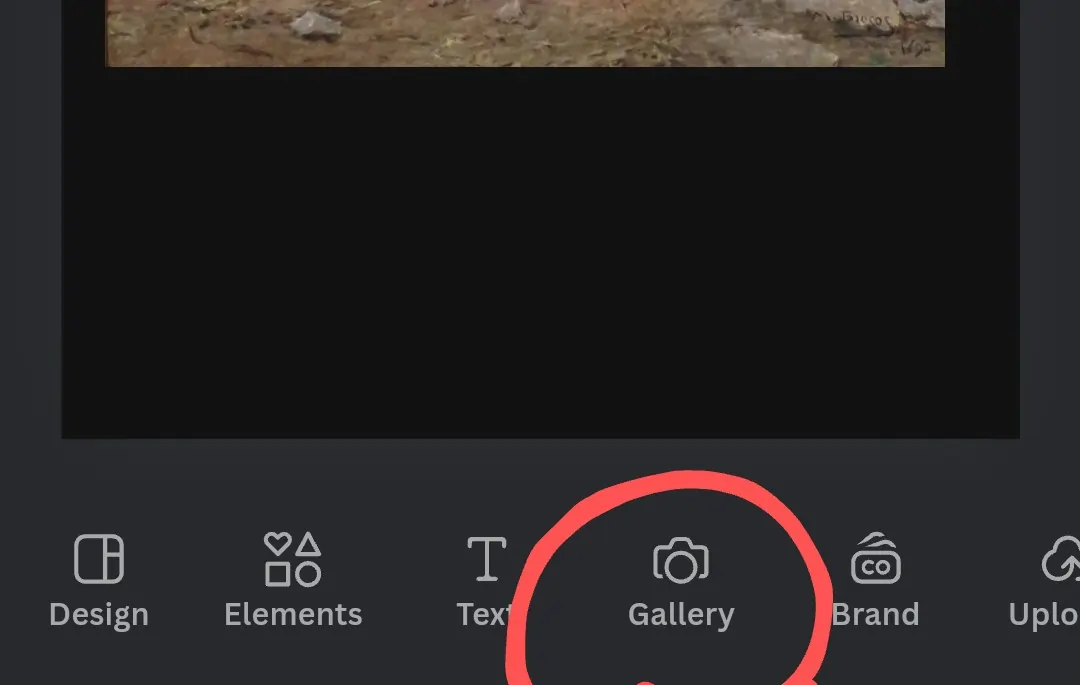
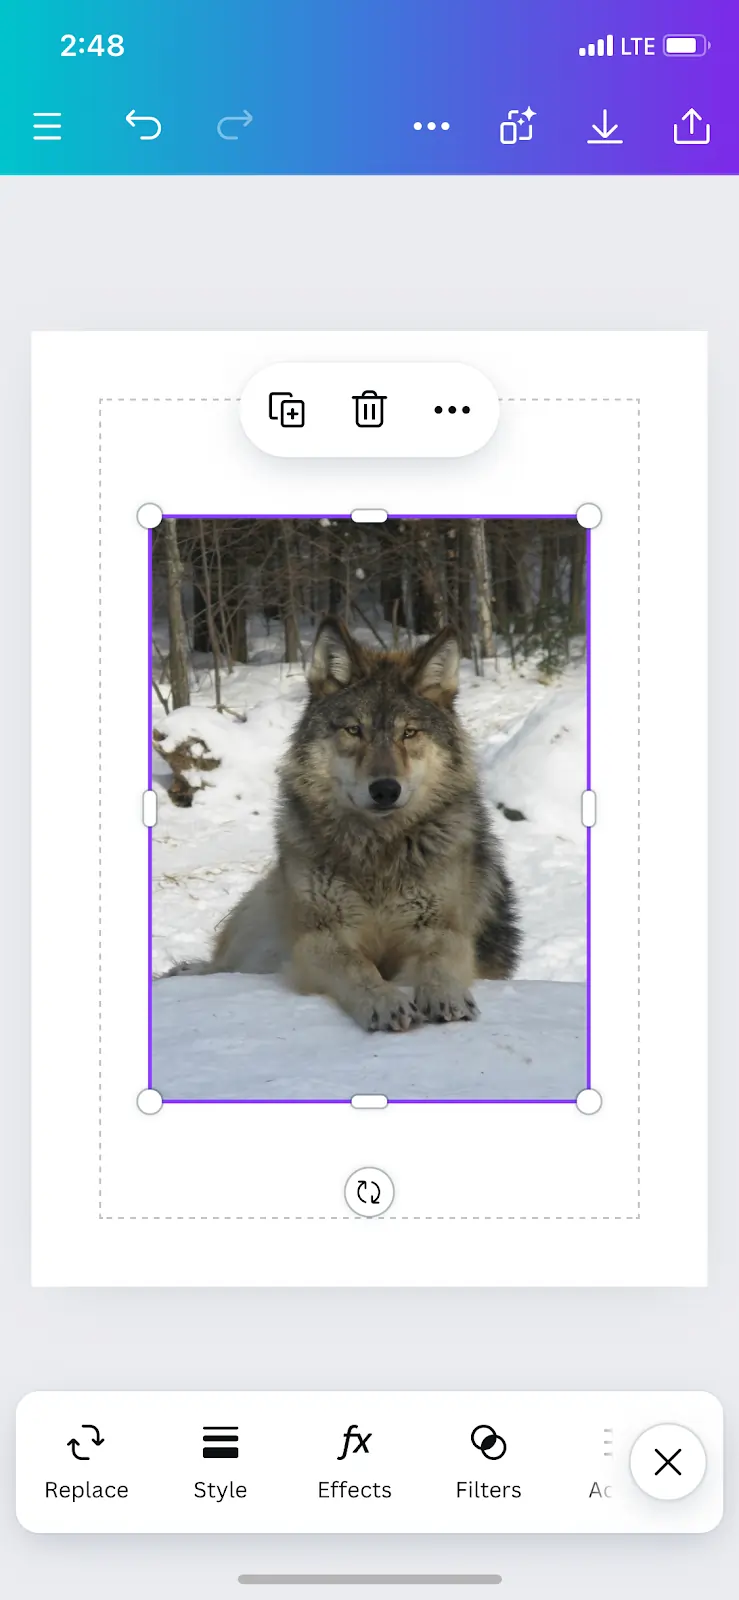
3. Add Your First Image
- Choose the “Gallery” option to upload your first image
- Browse through your photo library or files and select the image you want to use. You can also choose from pre-uploaded photos using the “Uploads” tab.
- Once uploaded, tap on it to add it to your project.
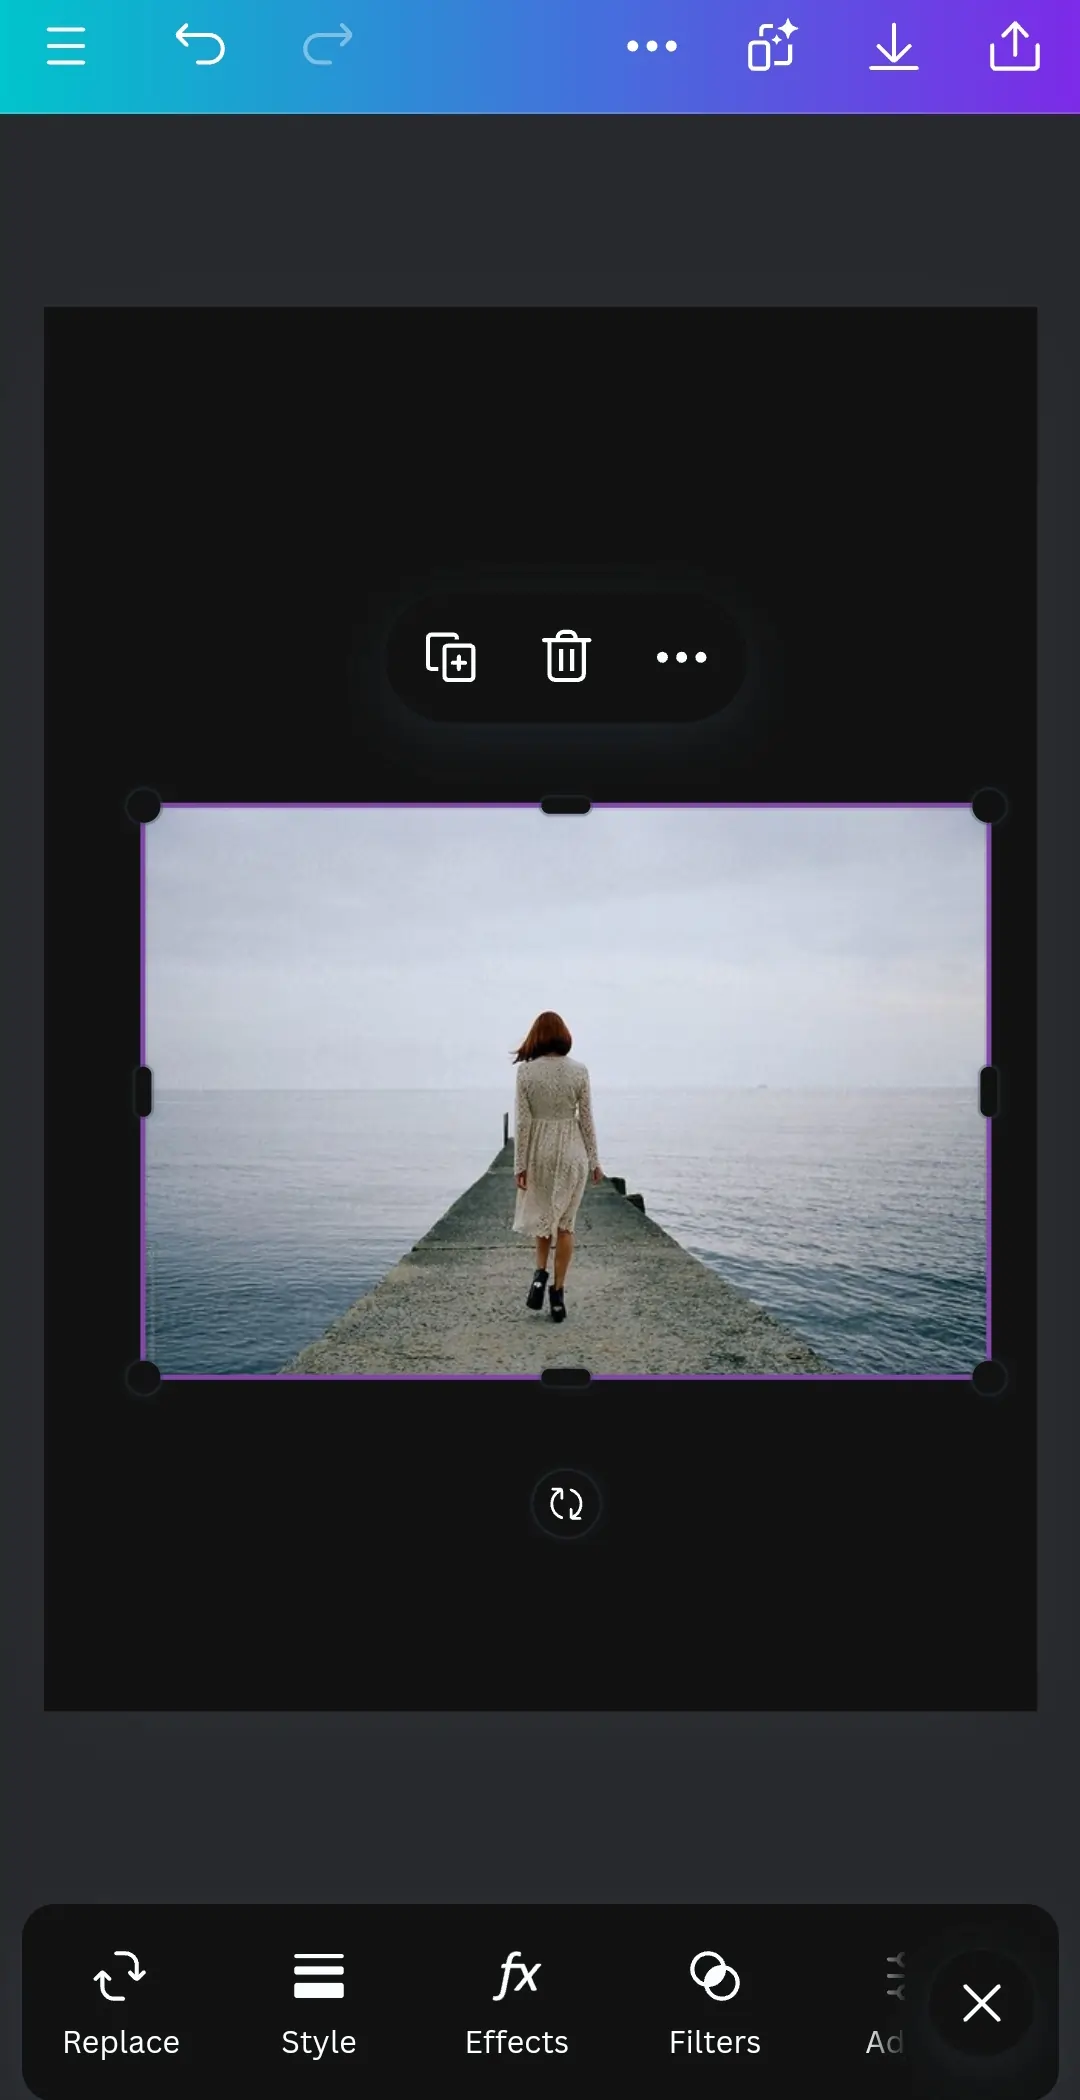
- Resize and reposition the image by pinching and dragging it on the canvas.
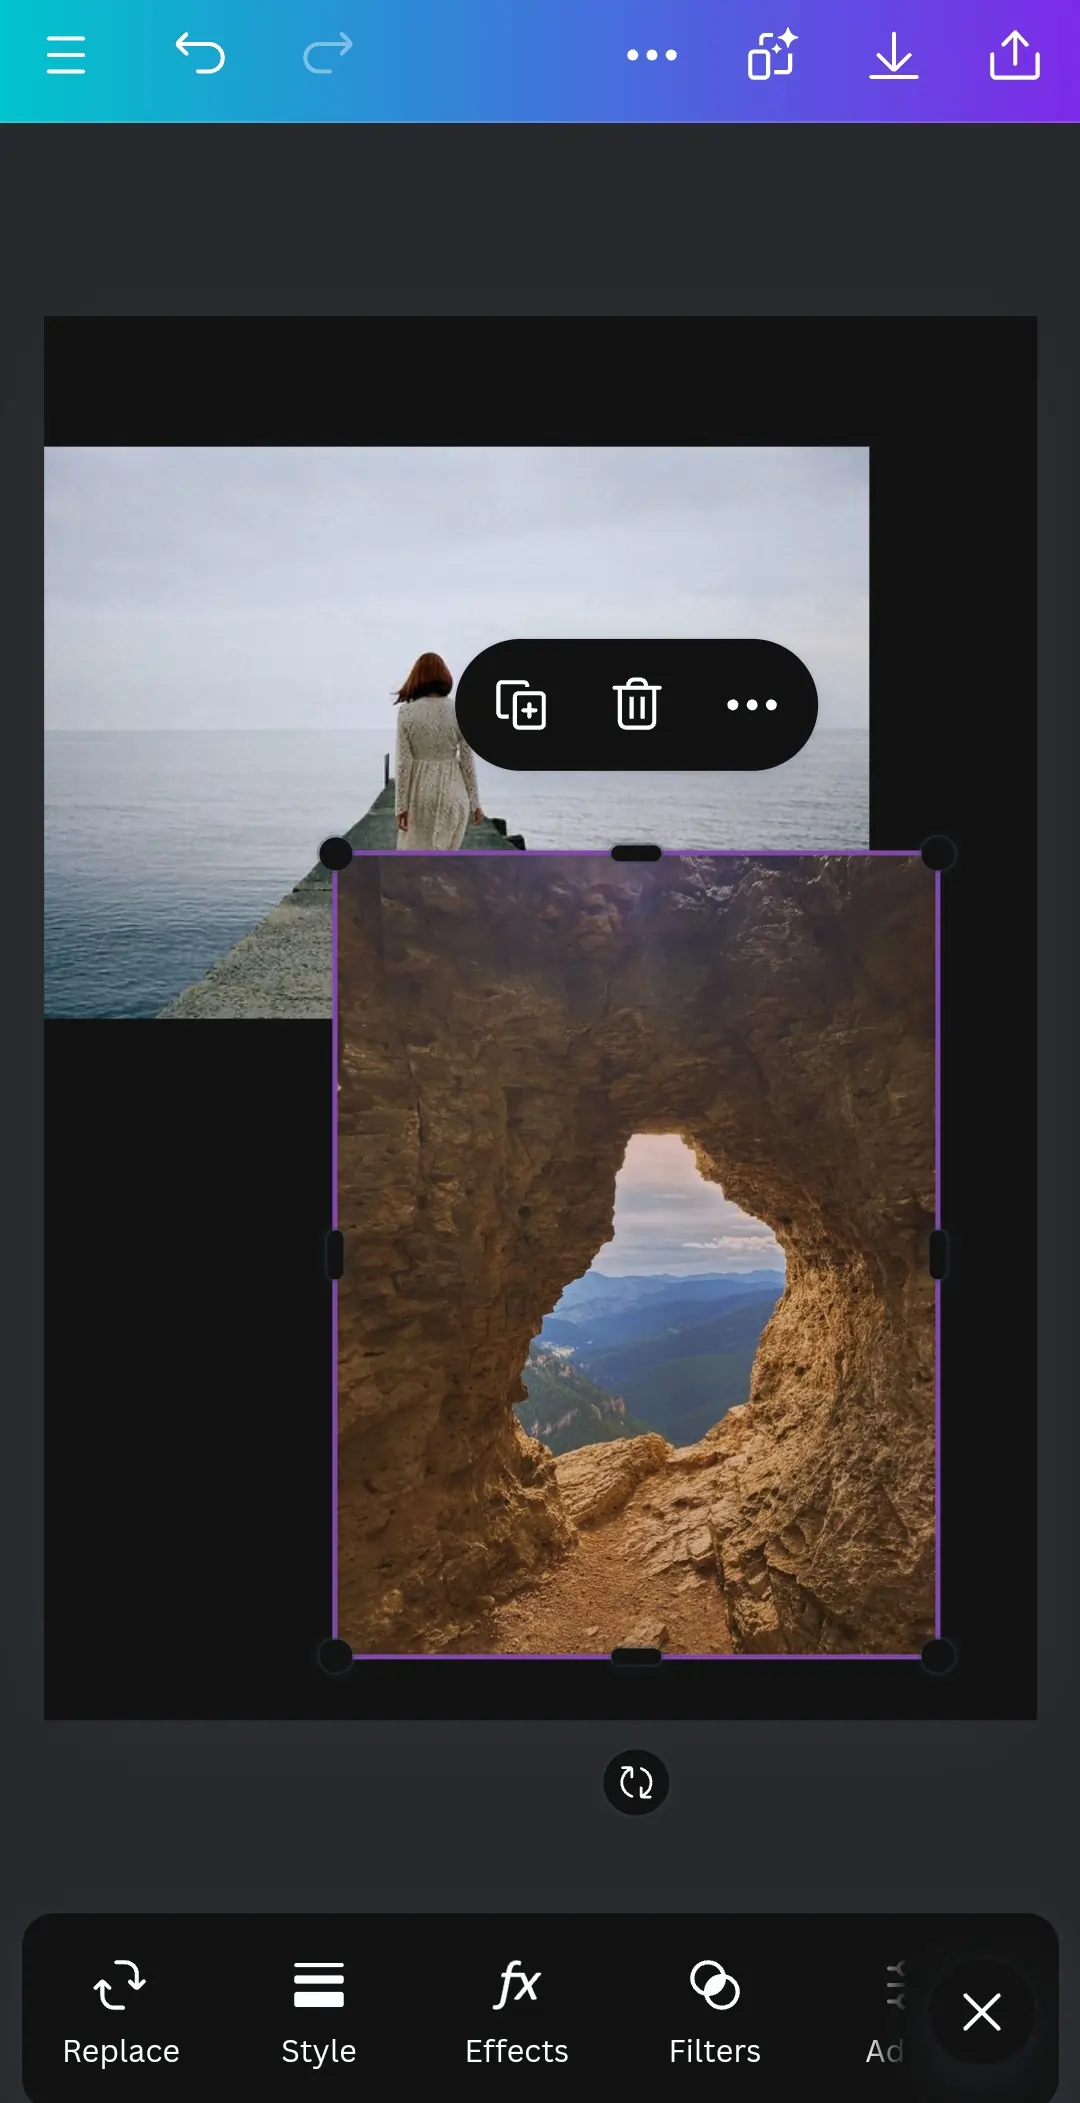
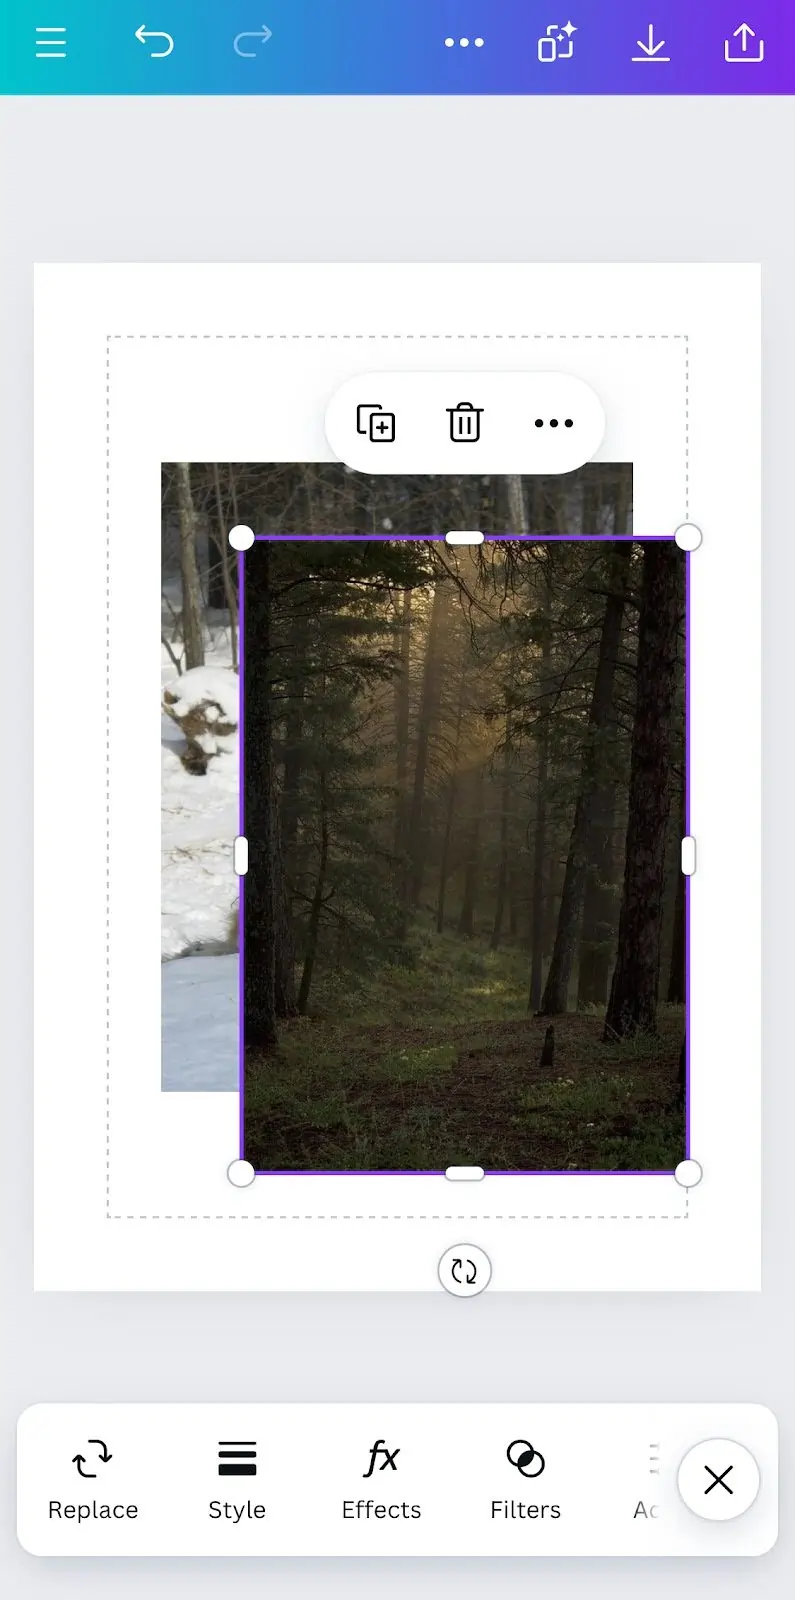
4. Add Your Second Image
- Repeat the process by tapping the “Gallery” icon again, uploading the second image, and adding it to the project.
- Adjust the size and position of the second image so that it overlaps or aligns with the first image as needed.
- You can repeat this for as many photos as you want.
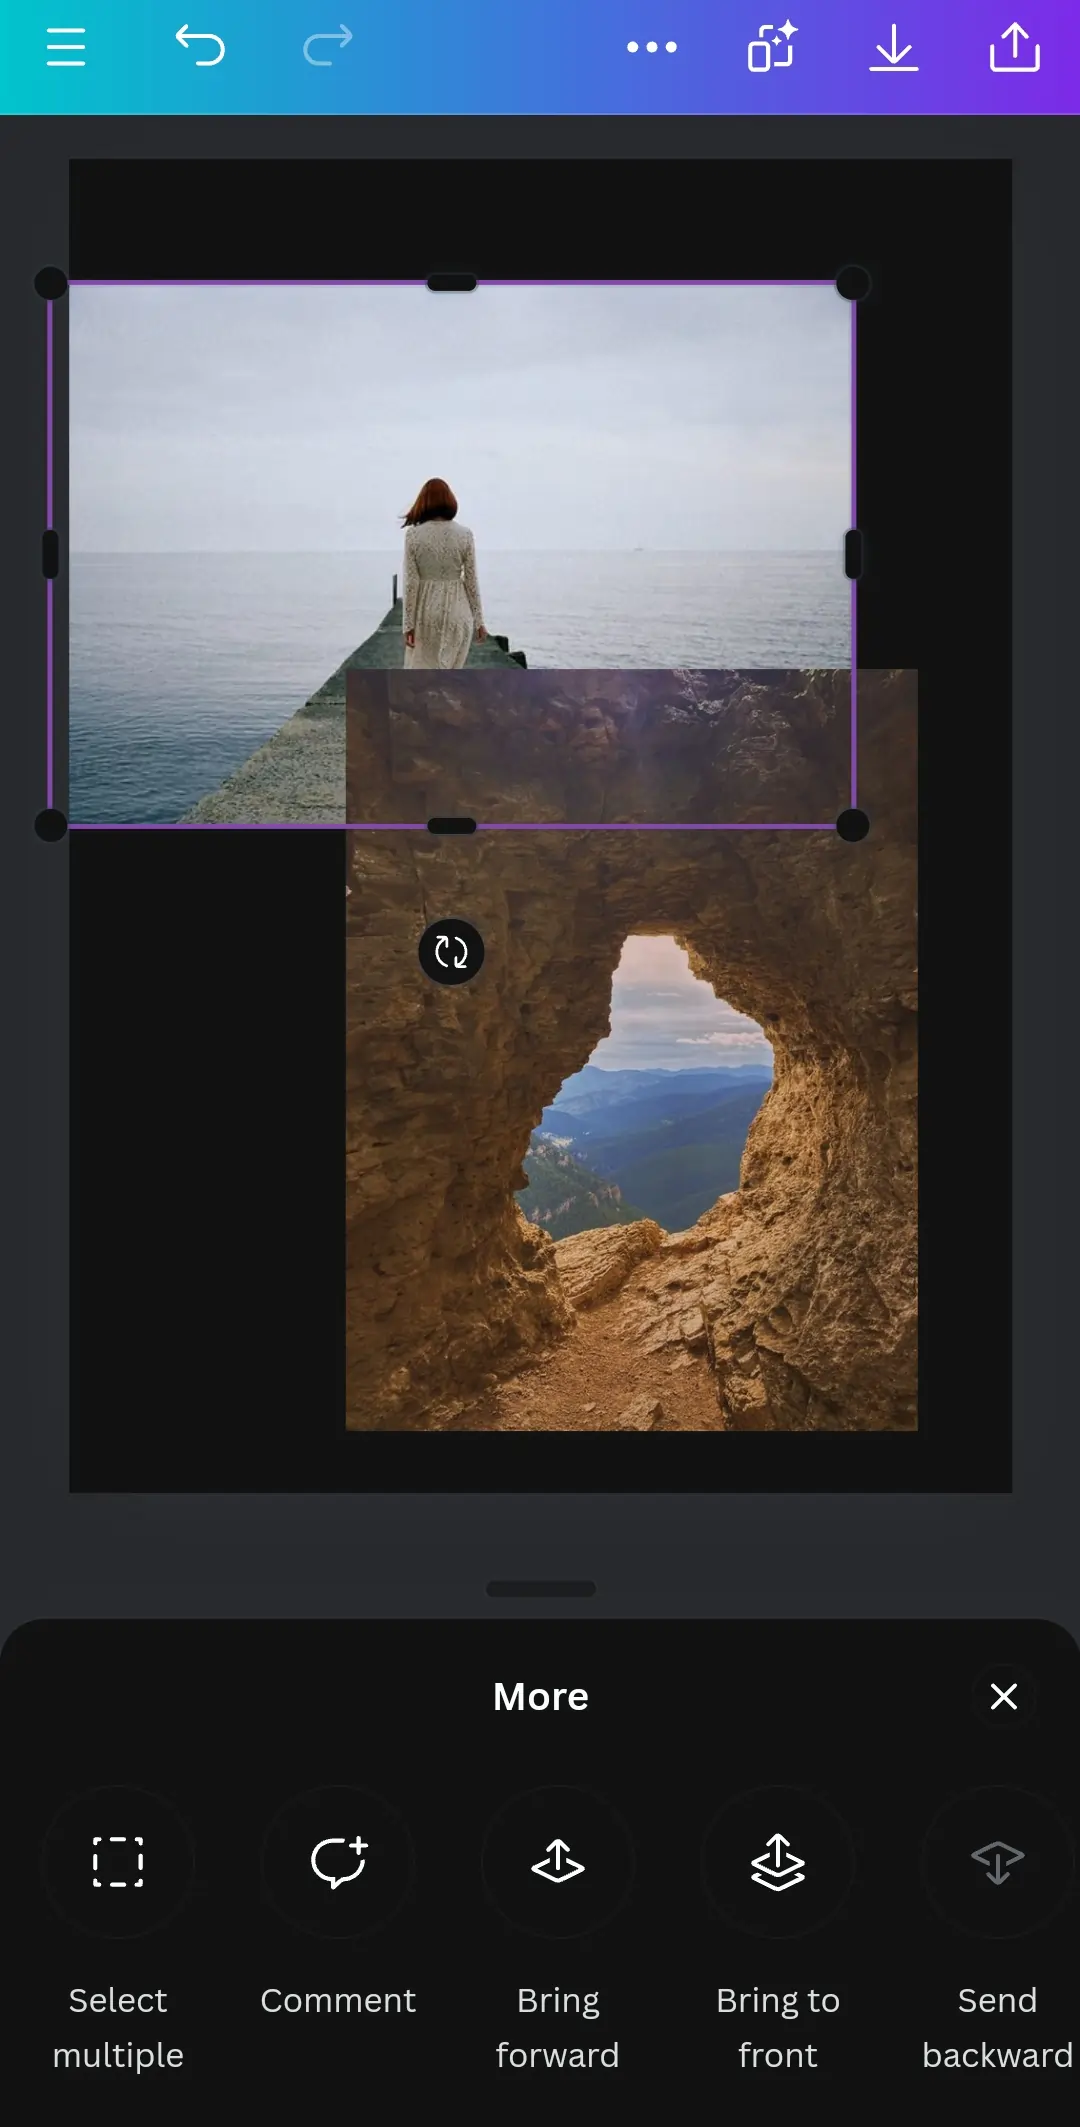
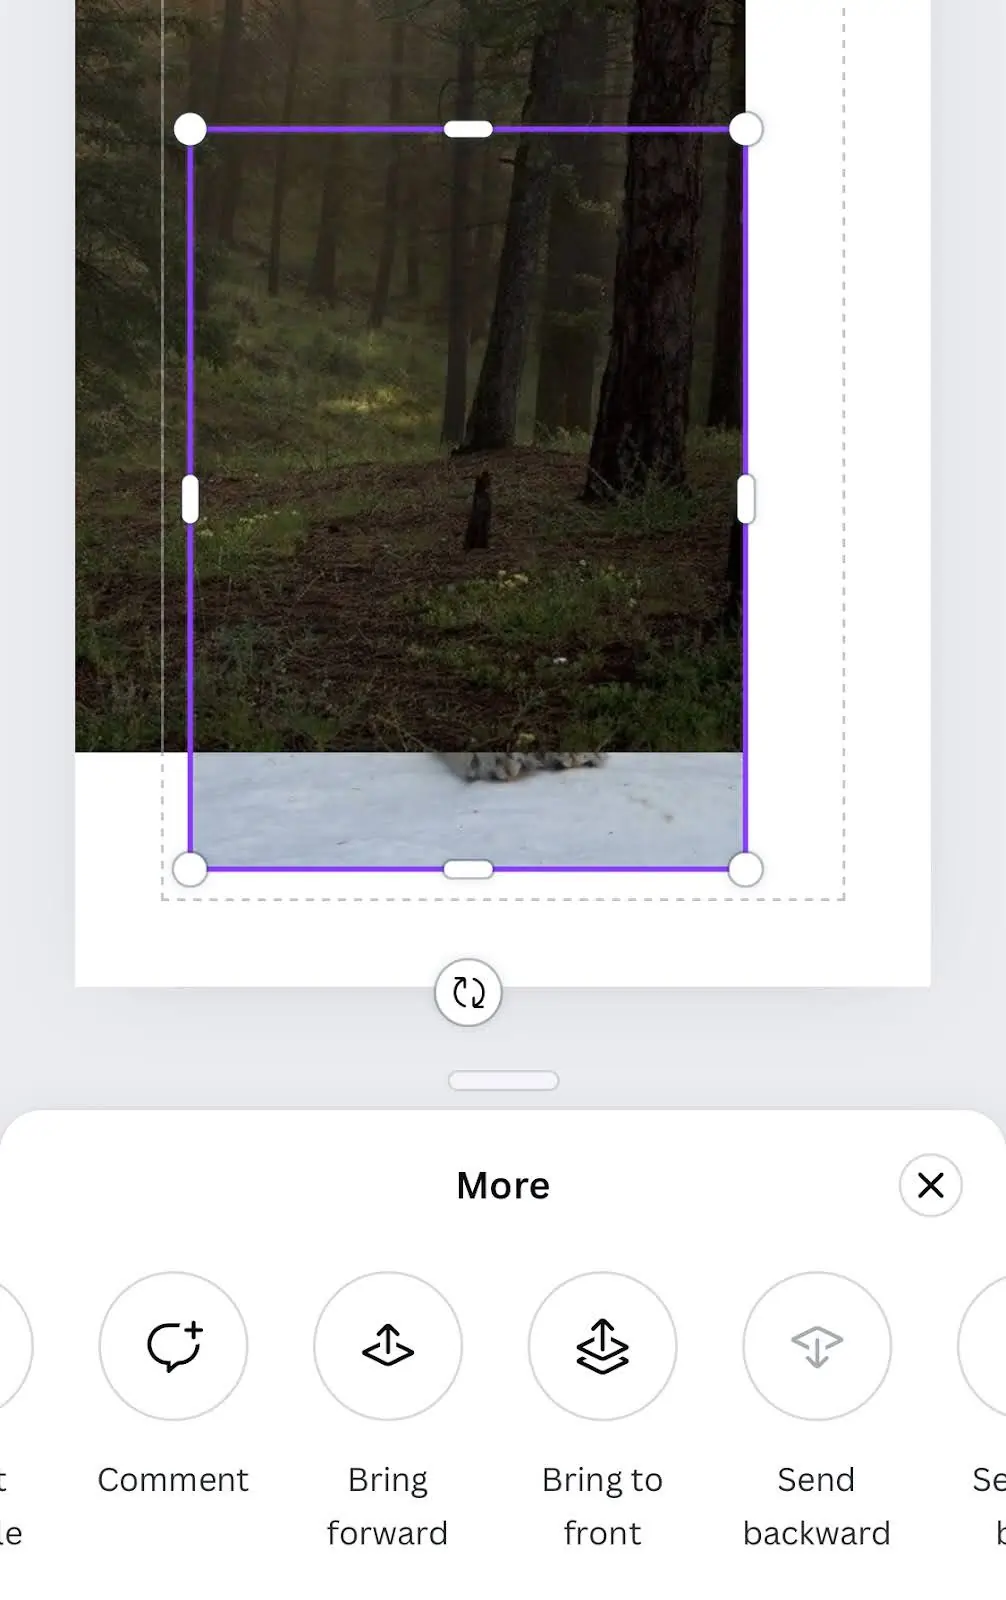
5. Layering Images
- To change the order of your images, tap on the image you want to move.
- Select the “Position” option from the bottom toolbar.
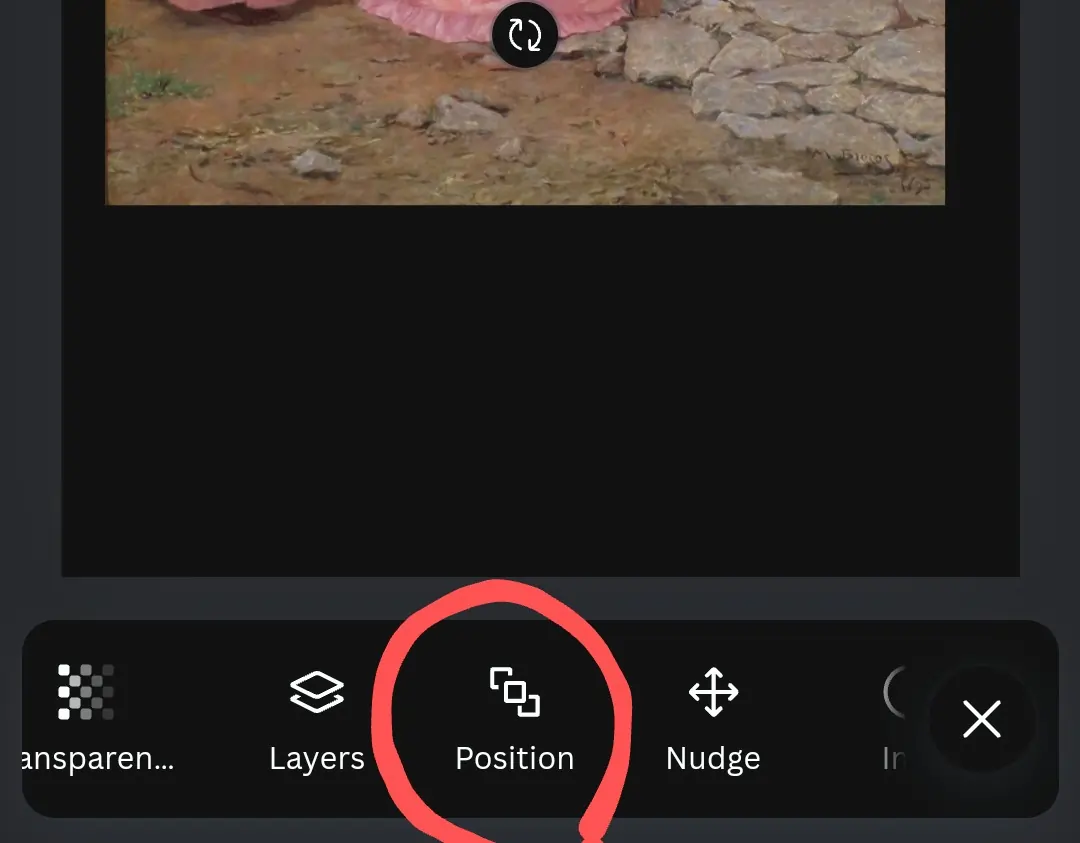
- Use “Forward” or “Backward” to adjust the stacking order of the images. You can also align the selected photo to the left or right or use more advanced positioning tools.
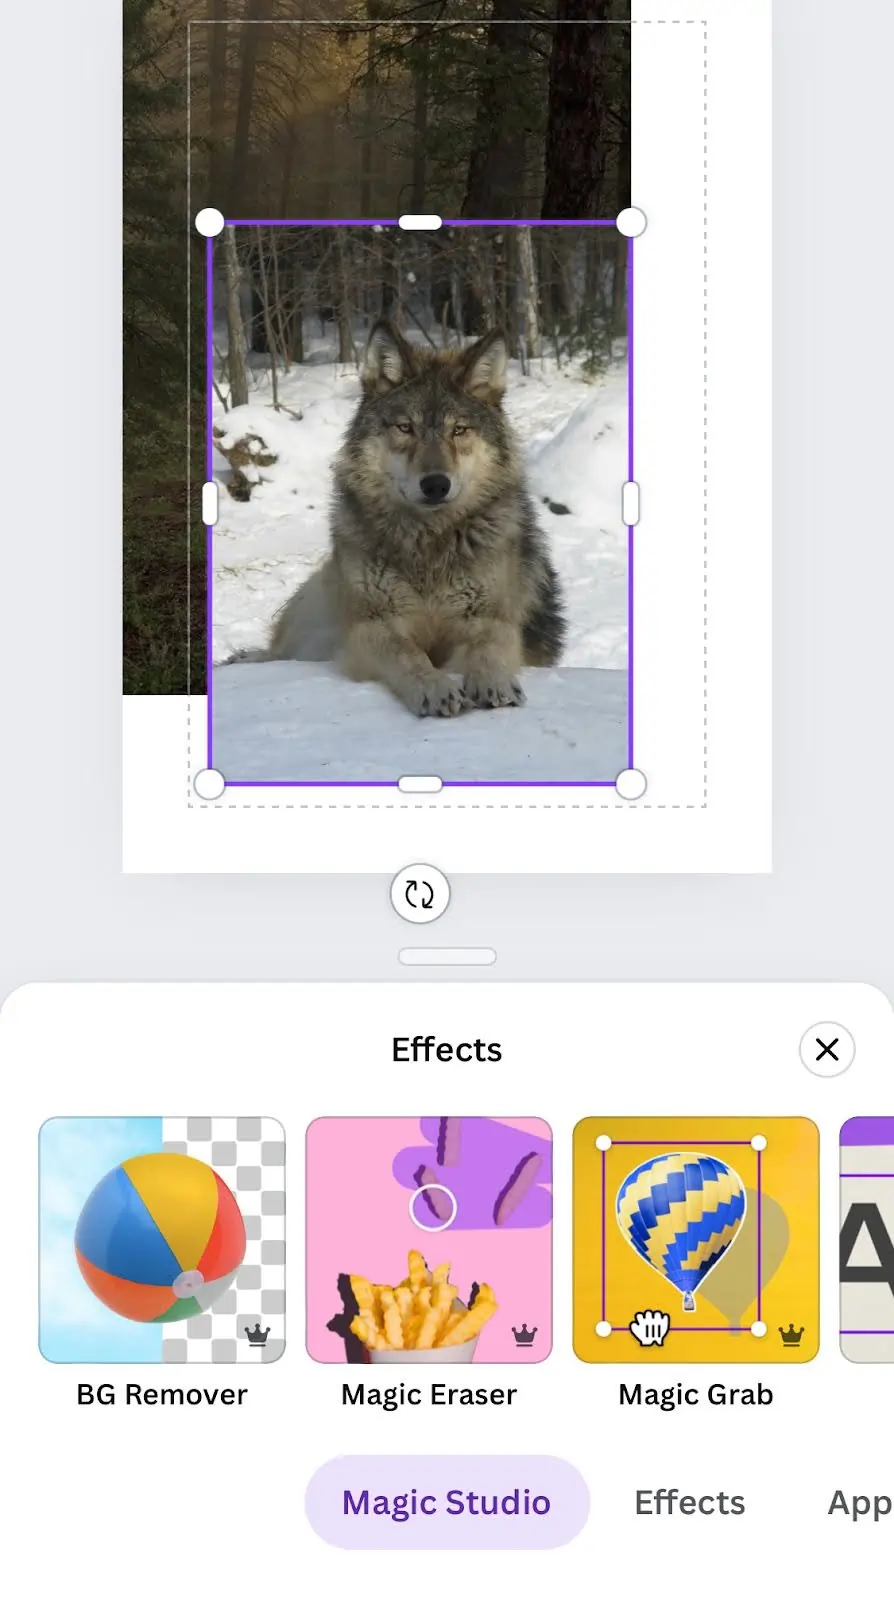
6. Background Removal
- Remove the background of the first image to properly blend with the second. Note that this is a feature of Canva Pro, so you’ll have to get a sub to use this.
- Tap on the image, then go to “Effects”
- On the Magic Effects tab, Select BGRemoval.
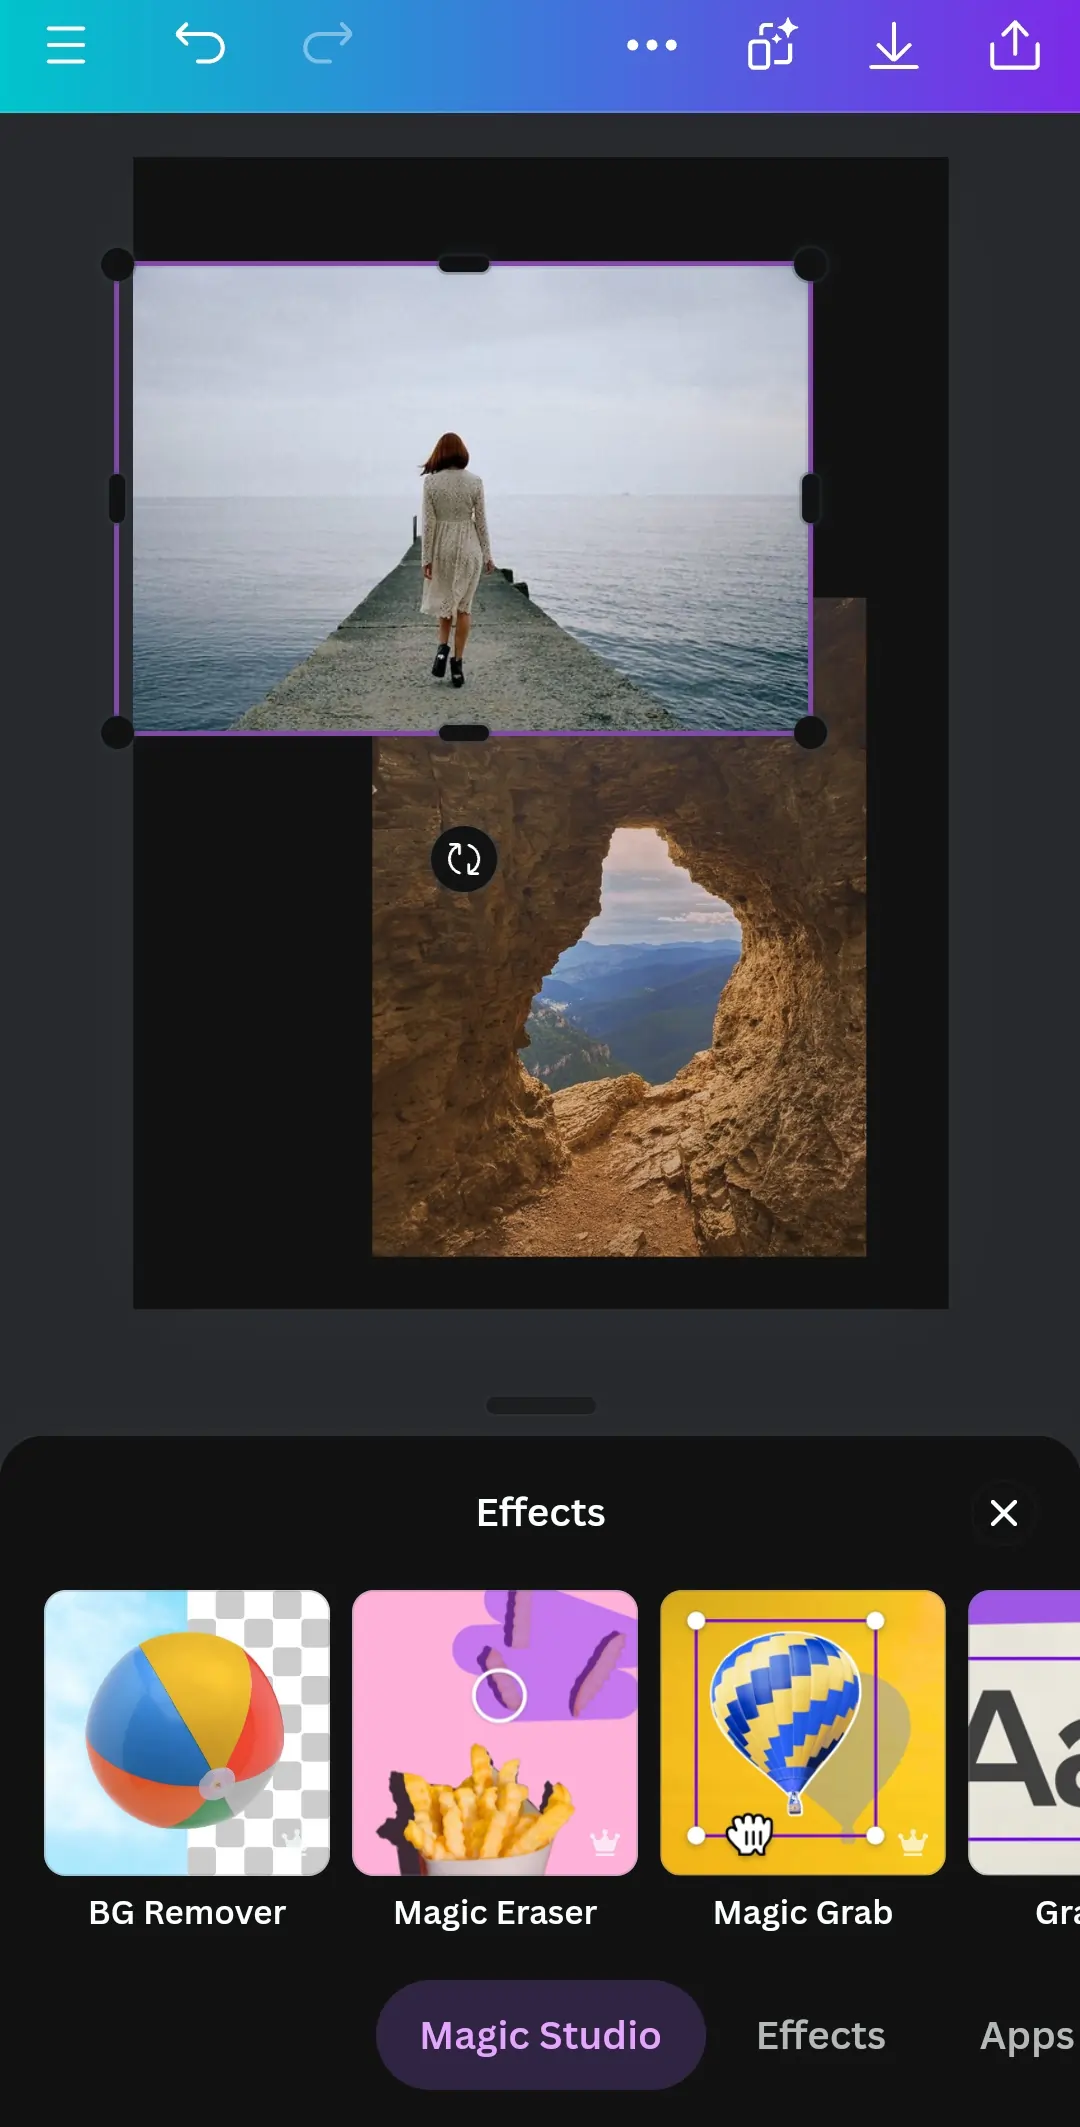
- Then place the isolated first image on the second for a merged look.
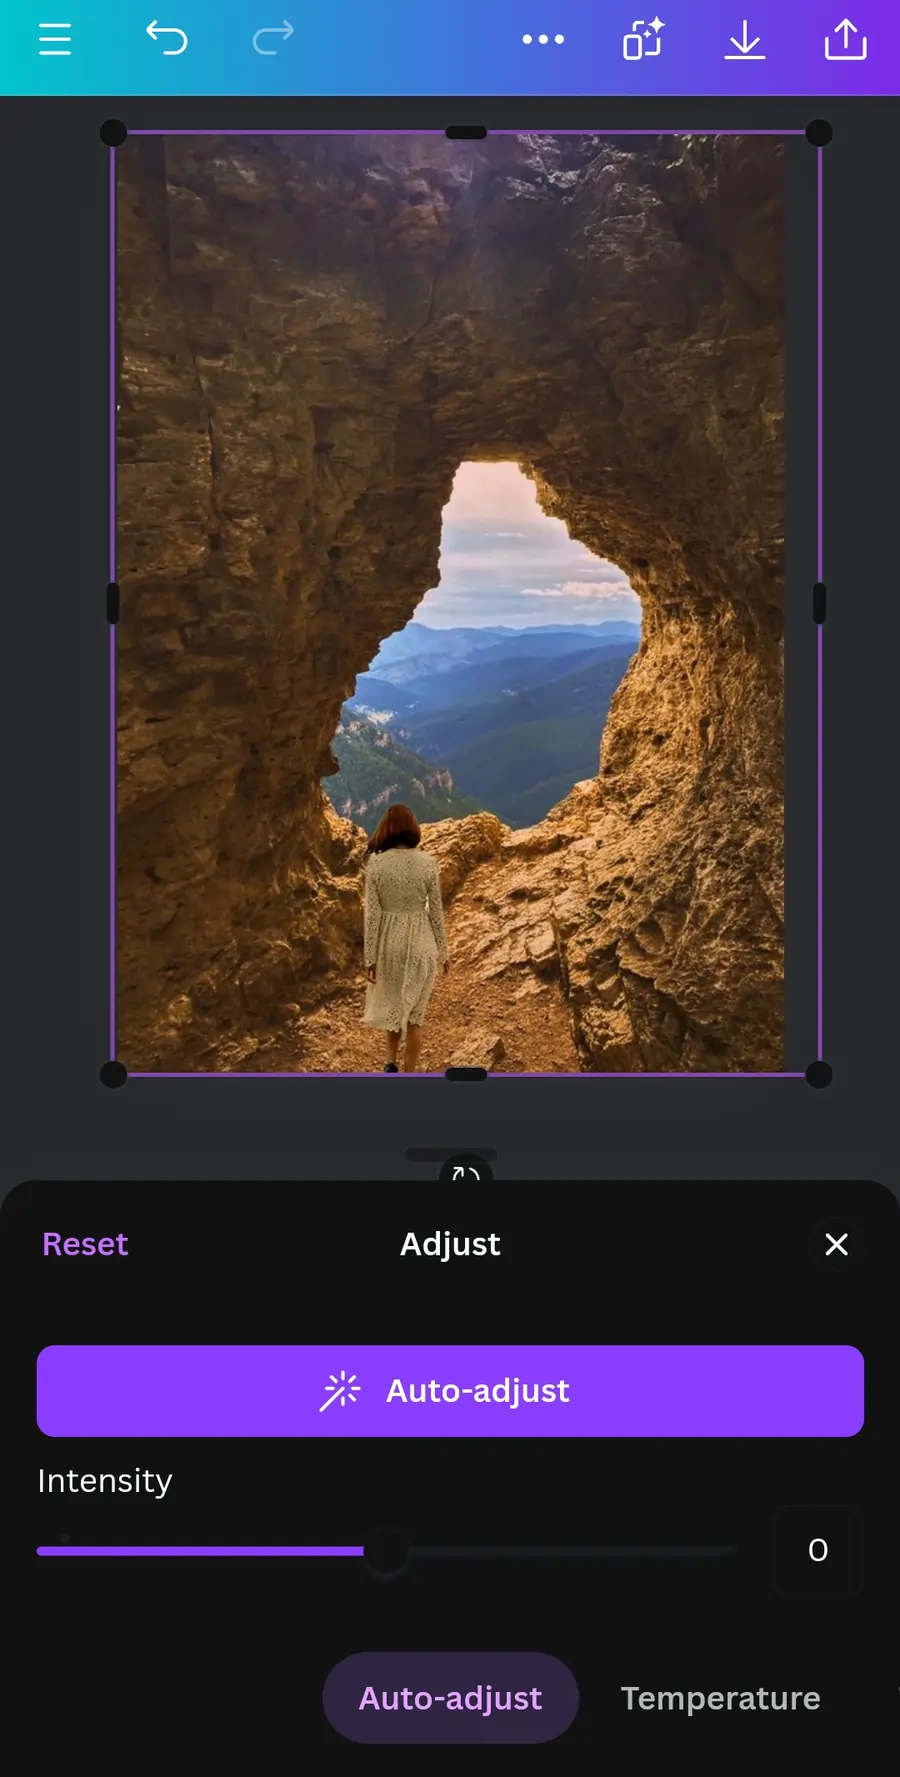
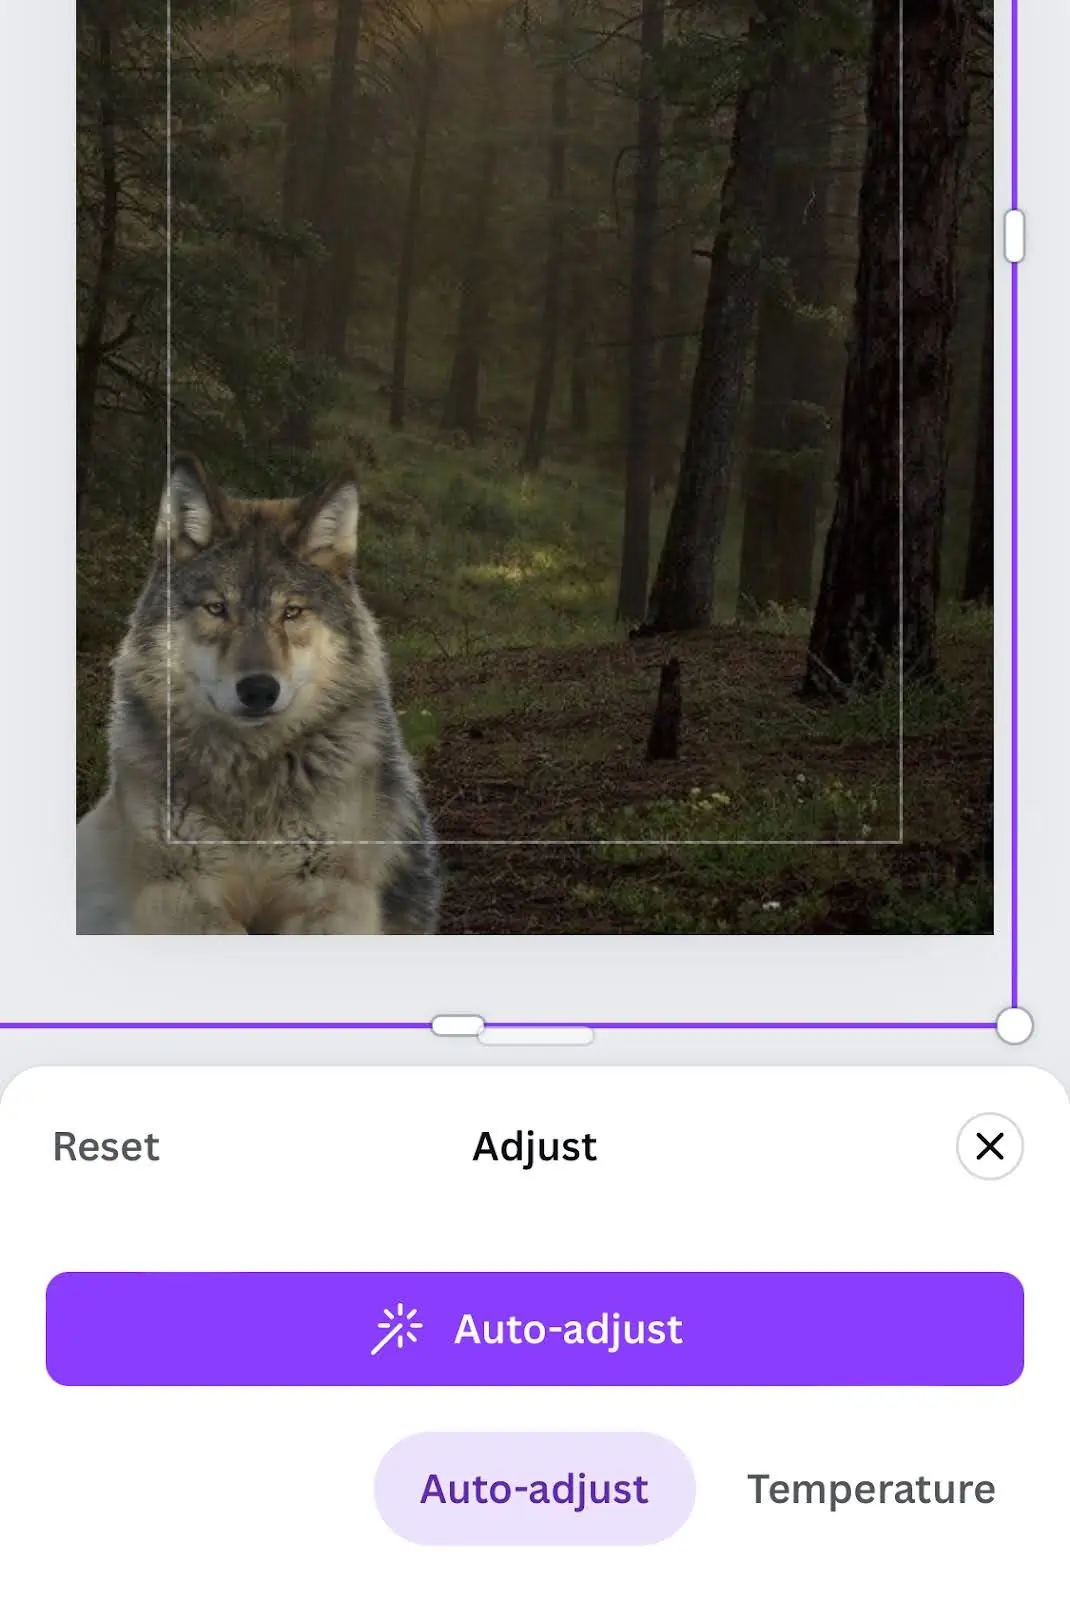
7. Adjust Colors for Consistency
- Ensure that the colors of both images match by adjusting their brightness, contrast, and saturation.
- Tap on an image, then use the “Adjust” option to make changes to each. You can use the “Auto-adjust” to intuitively make changes within the context of both photos.
- Repeat for the other image to create a unified color scheme.
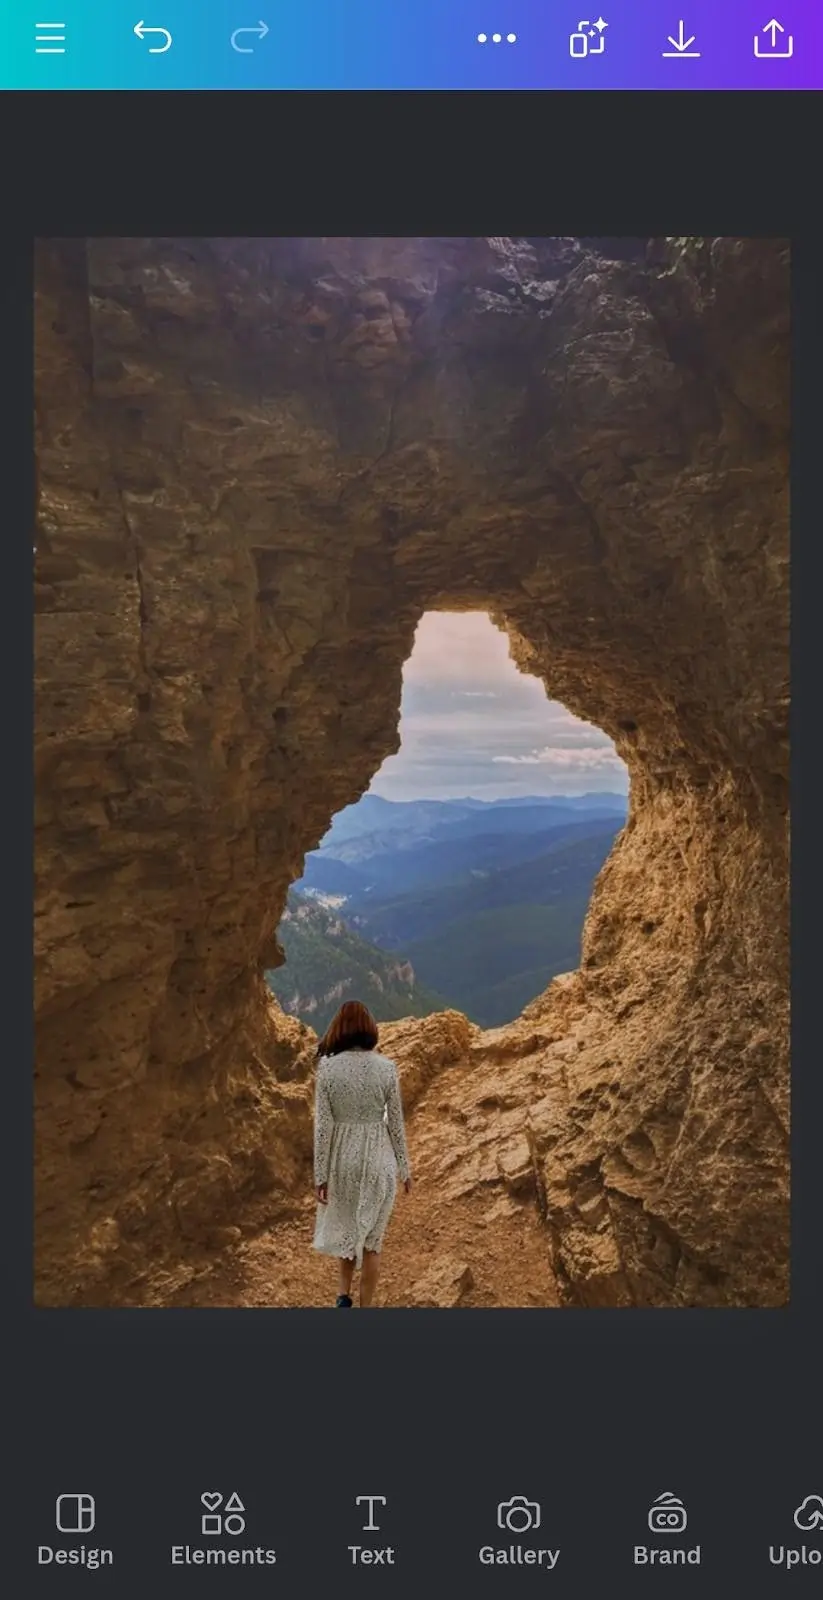
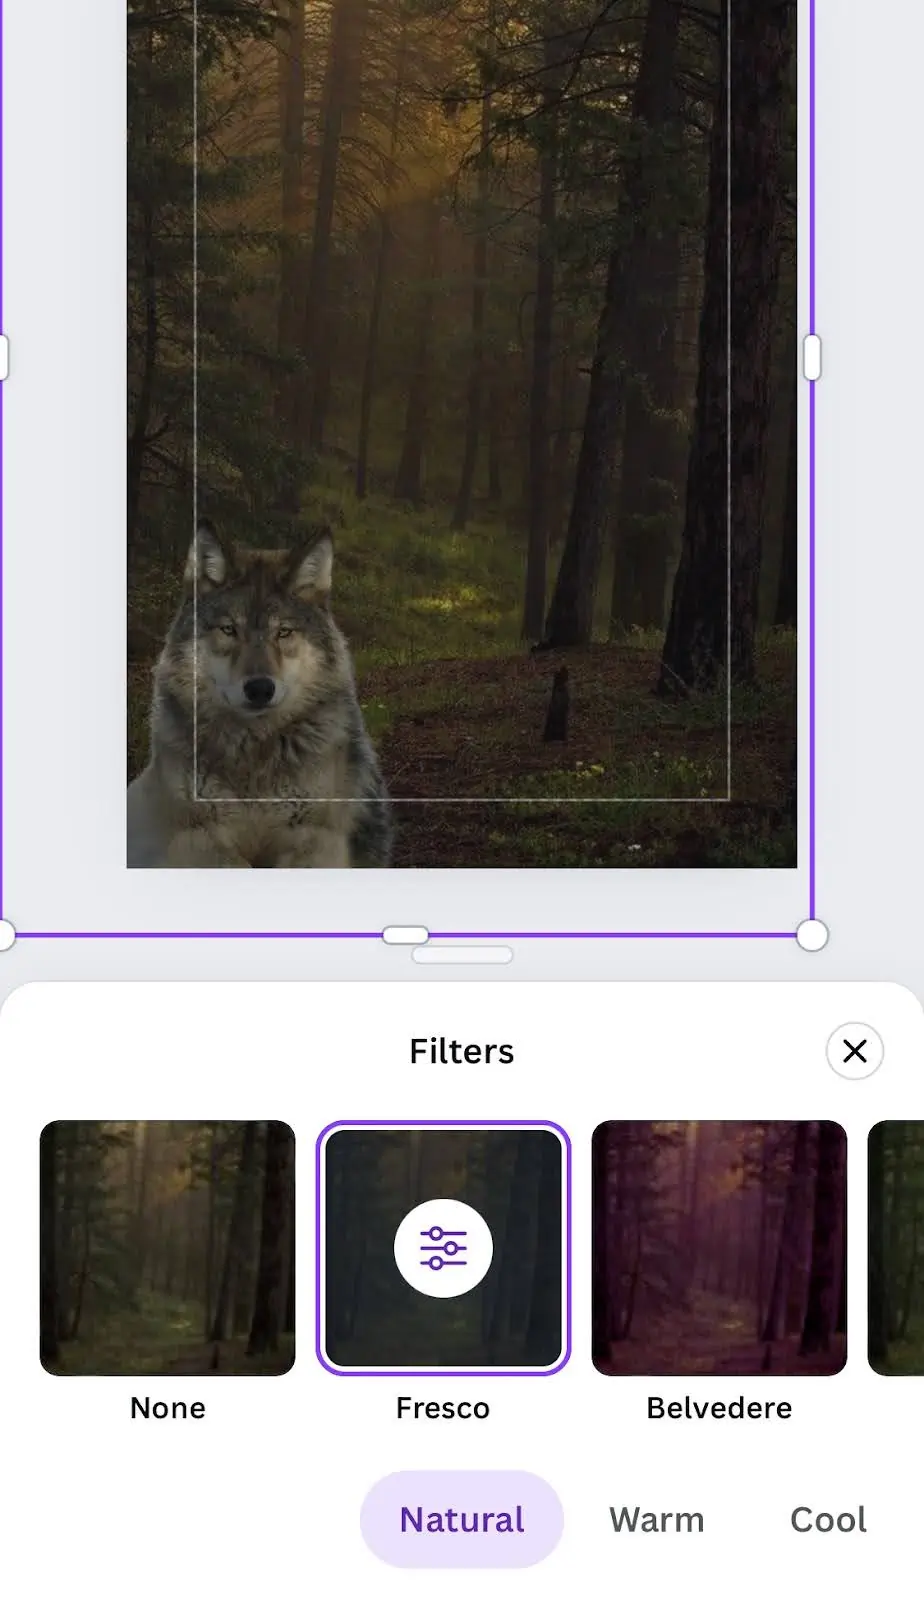
8. Add Finishing Touches
- Enhance your merged image by adding text, overlays, or additional elements from Canva’s library.
- Apply effects like vignettes or shadows to blend two photos further together.
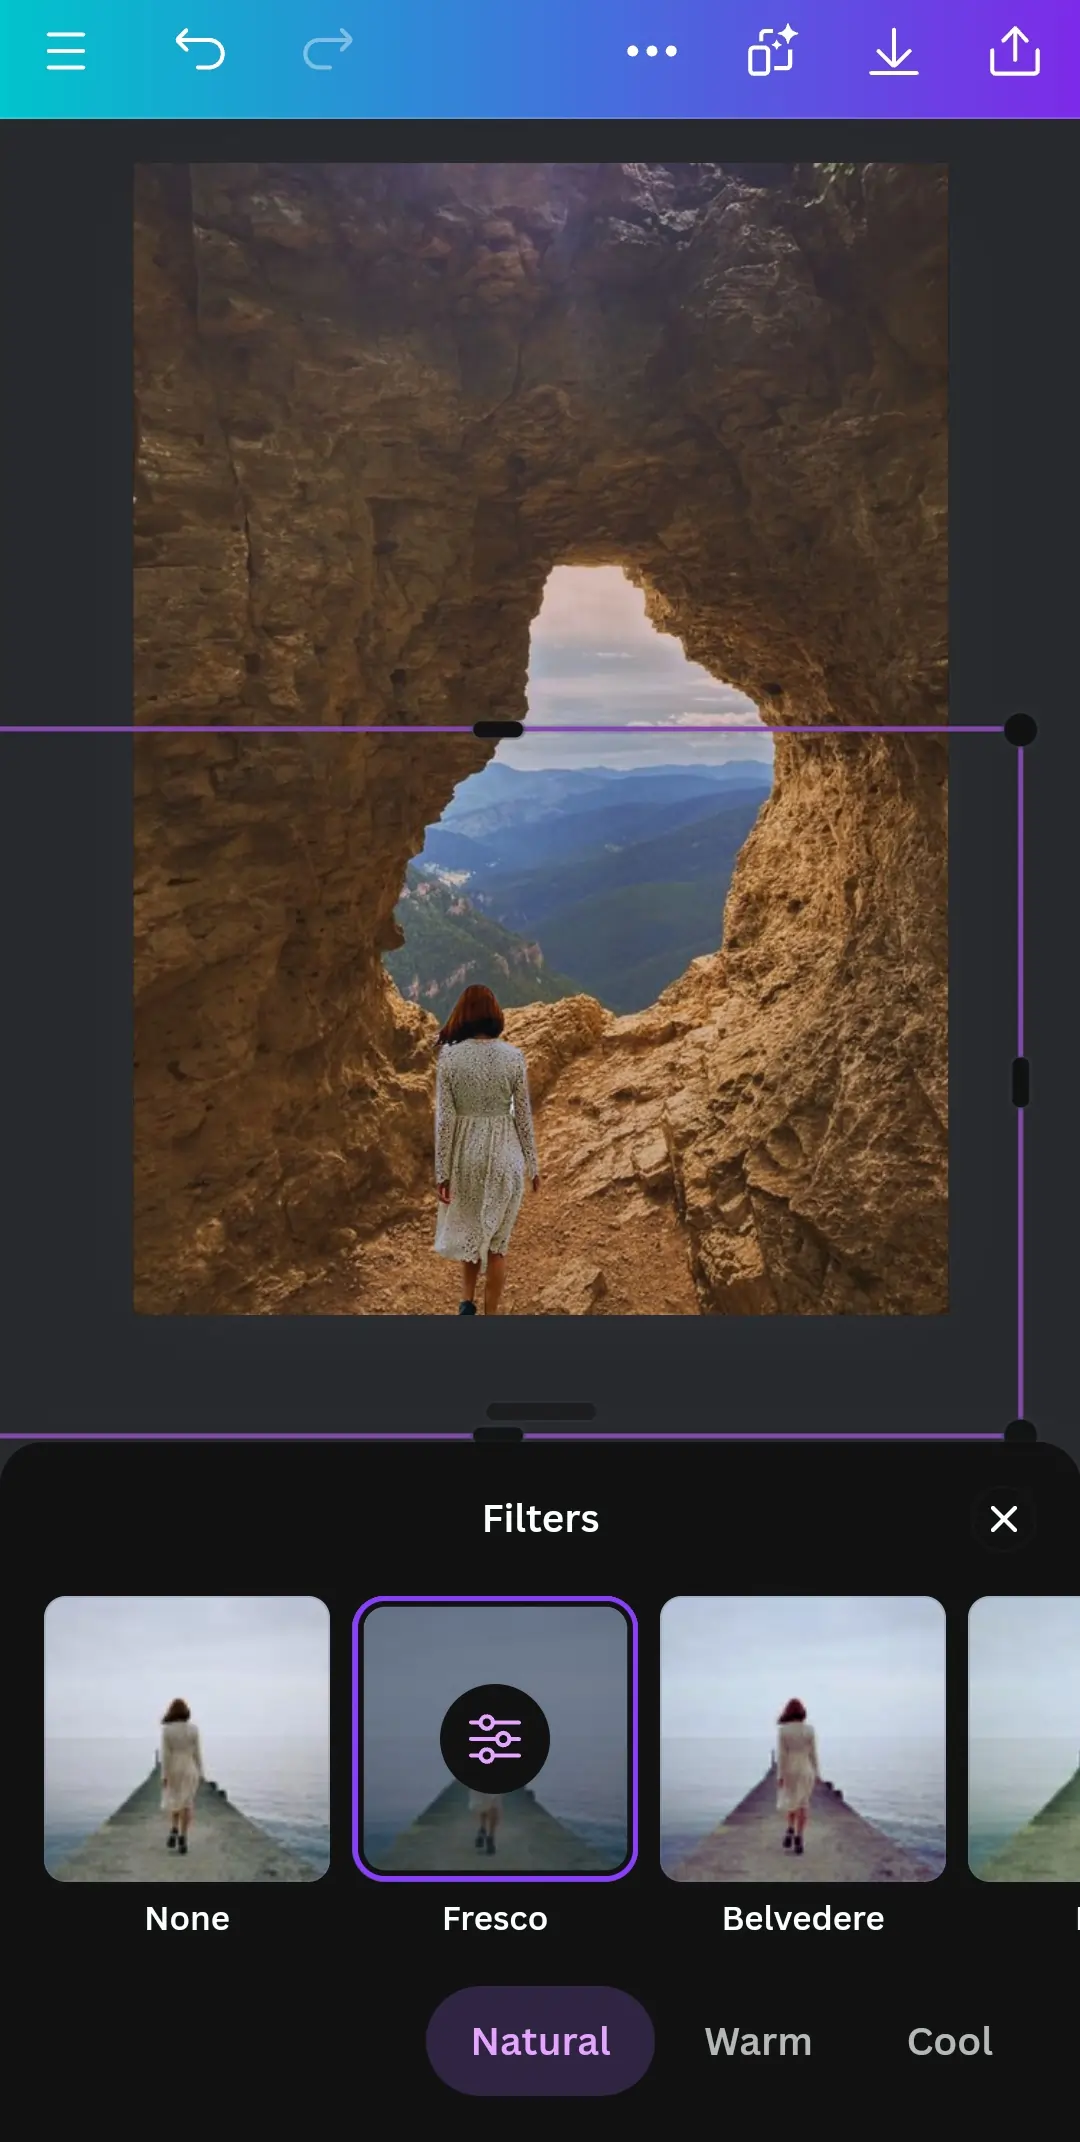
- You can also apply filters by tapping on the “Filter” option to give both images a cohesive look.
9. Save and Export
- Once you’re satisfied with your work, tap on the “Download” icon in the top right corner.
- Choose your preferred file type (PNG, JPG, etc.) and quality, then download the image to your device.
How To Blend 2 Pictures Together on an iPhone Using Canva
Blending photos on an iPhone is a simple process that can produce stunning results, whether you’re using built-in editing features, an image blender online, or specialized apps like Canva, Photoleap, and Adobe Photoshop — follow these easy steps to blend photos seamlessly.
1. Download and Open Canva App
- Open the app and log in or sign up if you’re a new user.
2. Create a New Project
- Tap on the “+” icon at the bottom right of the screen.
- Select “Custom size” to specify the dimensions for your project, or choose a predefined template.
3. Add Your First Image
- Tap on the “Camera” icon to upload your first image.
- Browse your photo library or select “Uploads” to pick a pre-uploaded image.
- Tap on the first image to add it to your project.
- Resize and position the image as desired using the pinch and drag gestures.
4. Add Second Image
-
- Tap on the Camera icon again to upload second image
- Tap on the image of choice to add it to your project.
- Resize and position the image as desired using the pinch and drag gestures.
5. Layering Images
- To reorder the layers, tap on the image you want to move, then select the “Position” option from the toolbar at the bottom.
- Use “Forward” or “Backward” to adjust the stacking order of your images. You can also align the selected photo to the left or right or use the advanced positioning tools available.
6. Remove Background
-
- Remove the background of the first image to properly blend with the second. Remember, this is a Pro feature, so you’ll have to get a subscription to use this.
- Tap on the image, then go to “Effects”
- On the Magic Effects tab, Select BG Remover.
7. Adjust Colors for Consistency
- To ensure the images blend seamlessly, adjust the colors of each image.
- Tap on an image, then use the “Adjust” option to modify brightness, contrast, and saturation.
- Make similar adjustments to the other image to ensure both have a consistent color tone.
8. Add Finishing Touches
- To enhance the merged image, consider adding text, overlays, or additional elements from Canva’s library.
- For more blend-like effects, use the “Filters” option to apply pre-set styles that can help merge images visually.
- You can also apply a vignette or other photo editing effects to unify the composition further.
9. Save and Export
- Tap on the “Save” icon in the top right corner once satisfied.
- Choose “Download” to save the final image to your device, or Share to your preferred app.
- Select the desired file type and quality, then save.
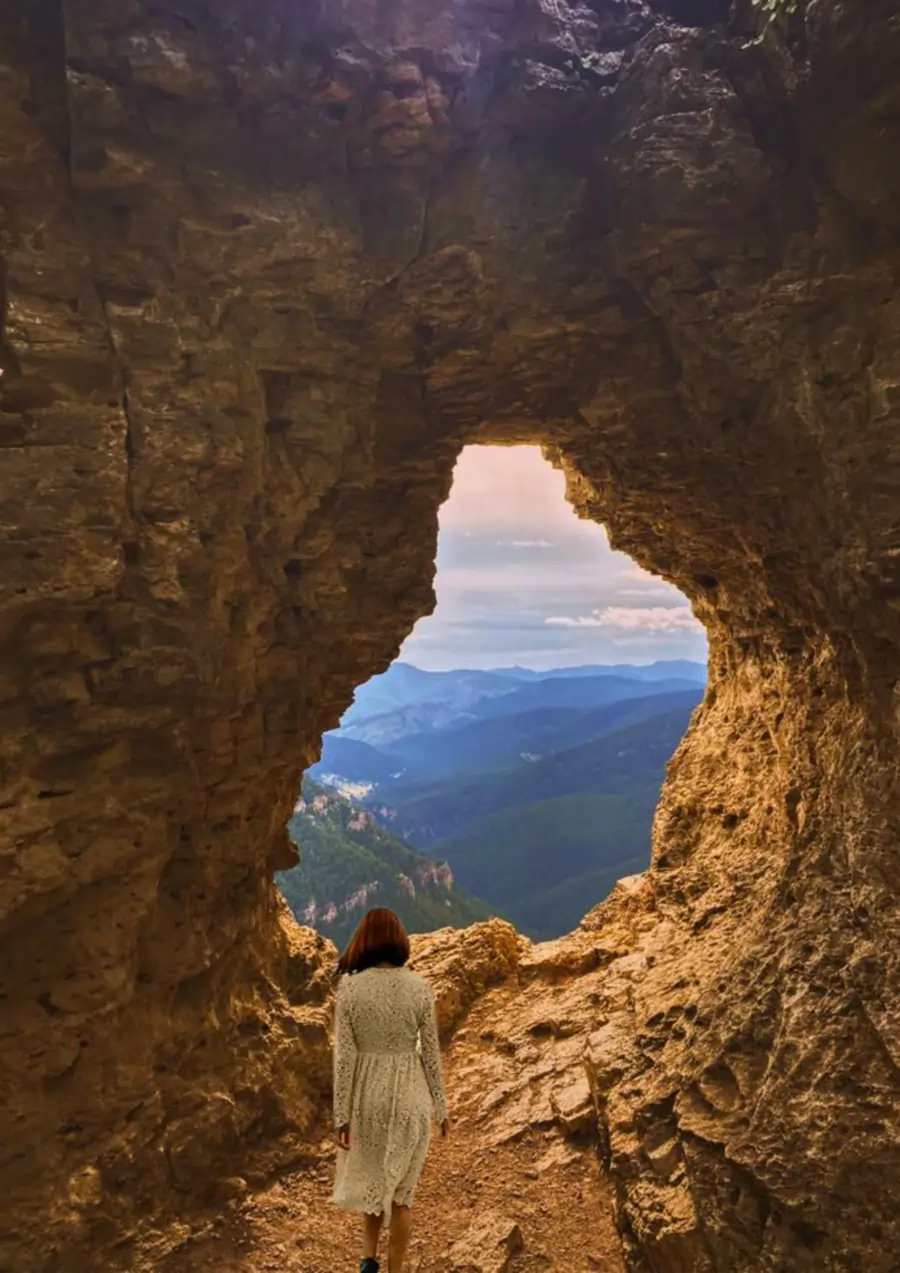
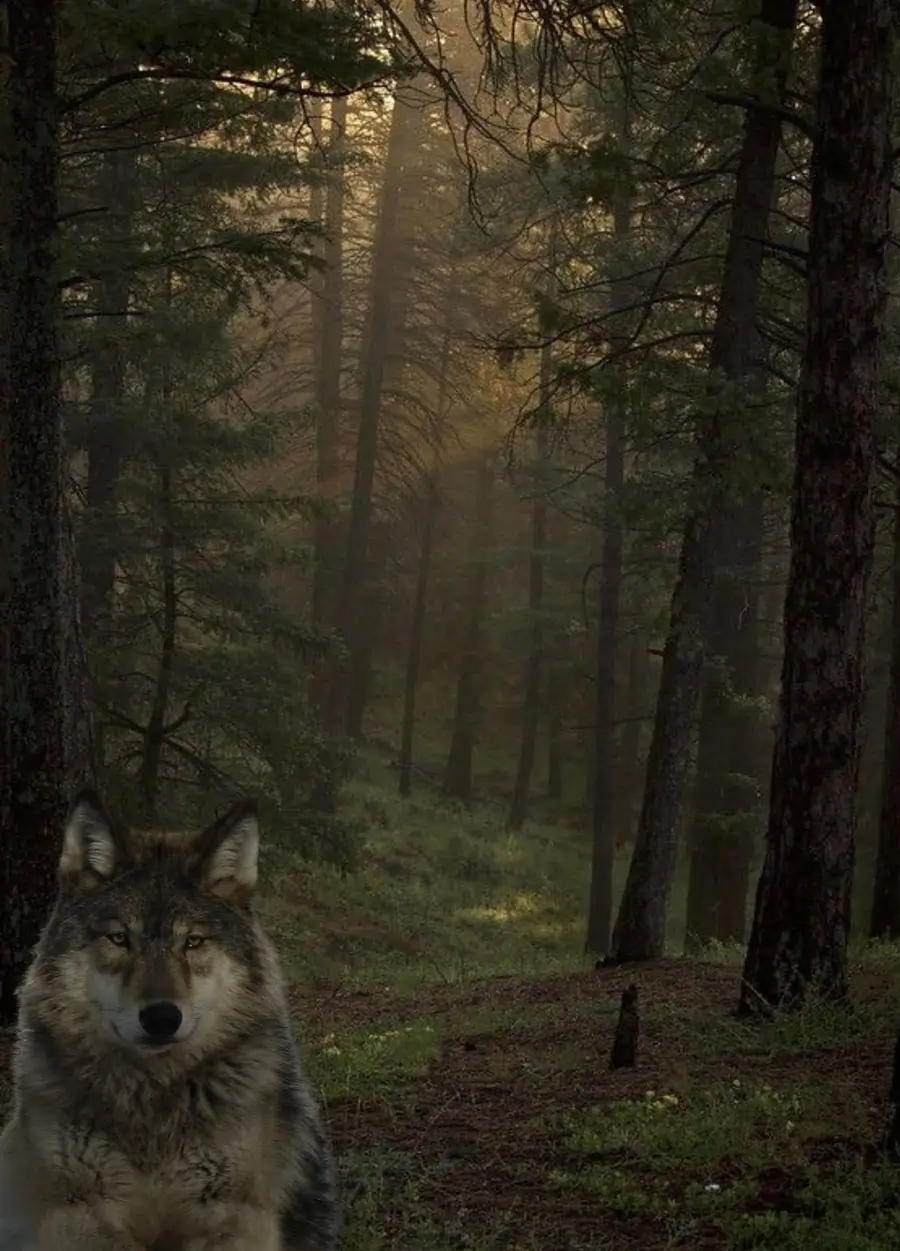
And here’s the final image:
Final Thoughts
Canva’s photo editing tools make it super easy for anyone to create eye-catching visuals. Whether you’re a beginner or a design pro, there’s something for everyone.
With new features constantly being added, Canva stays a top choice for quick and professional-looking edits. As discussed, Canva can be used to blend two images online. But, it can do a lot more, from social media designs and pamphlets to presentations and other business assets. So go ahead, dive in, have fun experimenting with Canva’s photo editor, and let your creativity shine!
FAQs
Q: Is Canva free to use?
A: Canva offers a free version with many features, but also has paid plans. The free version includes thousands of templates, photos, and graphics. You can create free designs for various purposes. However, some premium features, templates, and stock images are only available in paid plans like Canva Pro or Enterprise.
Q: How do I apply filters to my images in Canva?
A: To apply filters in Canva, upload or select your image, then click “Edit image” and choose “Adjust.” In the sidebar, you’ll find the “Filter” option. Browse through various filter options and click to apply. You can adjust the filter’s intensity using the slider. Experiment with different filters to find the perfect look for your image.
Q: Can I use Canva to create animated graphics?
A: Yes, Canva allows you to create animated graphics. Select your design, then click the “Animate” button in the top toolbar. Choose from various animation styles like Rise, Fade, or Pan. You can preview the animation and adjust its speed. Apply animations to individual elements or the entire design. Export your animated graphic as a GIF or video file.
Q: How do I remove the background from an image in Canva?
A: Canva’s background remover tool is available in paid plans. Upload your image, click “Edit image,” then select “Background Remover.” The tool automatically removes the background. Use the “Erase” and “Restore” brushes to refine the result. You can also use Canva as an image combiner by adding a new background or making the background transparent. This feature makes it easy to create professional-looking designs quickly.