How to Easily Group and Ungroup Elements in Canva: A 2-Minute Guide
To group elements in Canva, select multiple items by holding Shift (Windows) or Command (Mac) while clicking them, or drag to marquee‑select, then press Ctrl + G (Windows) or Command + G (Mac), or choose Group from the toolbar.
Once grouped, you can move, resize, or edit the entire set as a single object
Knowing how to group in Canva is essential for designers who want to streamline their workflow and efficiently manage multiple project elements. Canva’s grouping feature allows you to combine text, images, shapes, and other design elements into a single unit, making it easier to move, resize, and edit them together. This is particularly useful when creating business presentations, social media posts, blog images, and marketing materials.
However, there are times when you may need to make changes to individual elements within a grouped design. That’s when learning how to ungroup in Canva becomes equally important. Ungrouping elements allow you to modify specific parts of your design without affecting the rest.
The Importance of Grouping in Design
Grouping different elements is a crucial part of efficiently using Canva. It also has aesthetic benefits and makes the design process a lot easier and faster. It helps you use small collages in a larger design and move them around or resize them in one go. Elements can be organized and grouped together to add harmony to a design, and it takes a lot less time to get the right look rather than having a disjointed feel. Overall, the design will appear less cluttered and much clearer.
These are the problems that Canva editing tools were meant to solve. Designing with Canva is just easier and more attractive with grouped elements.
How to Group Elements on Canva
Grouping elements in Canva is a simple yet powerful feature that helps you organize and manage multiple design components efficiently. Whether you’re creating social media graphics, business presentations, blog images, or marketing materials, grouping allows you to move, resize, and edit multiple elements as a single unit.
Step 1: Select the Elements You Want to Group
- Open your Canva project.
- Click on the first element you want to group.
- Hold the Shift key (on Windows) or the Command key (on Mac) while clicking on additional elements to select them.
Step 2: Group the Elements
- Once all desired elements are selected, right-click and choose “Group”, or use the shortcut:
- Windows: Ctrl + G
- Mac: Command + G
- The elements will now move, resize, and edit as a single unit.
Step 3: Adjust or Edit the Grouped Elements
- After grouping, you can:
- Resize all elements together by dragging the corners.
- Move the grouped design anywhere on the canvas.
- Change colors or styles (some elements may require ungrouping for detailed edits)
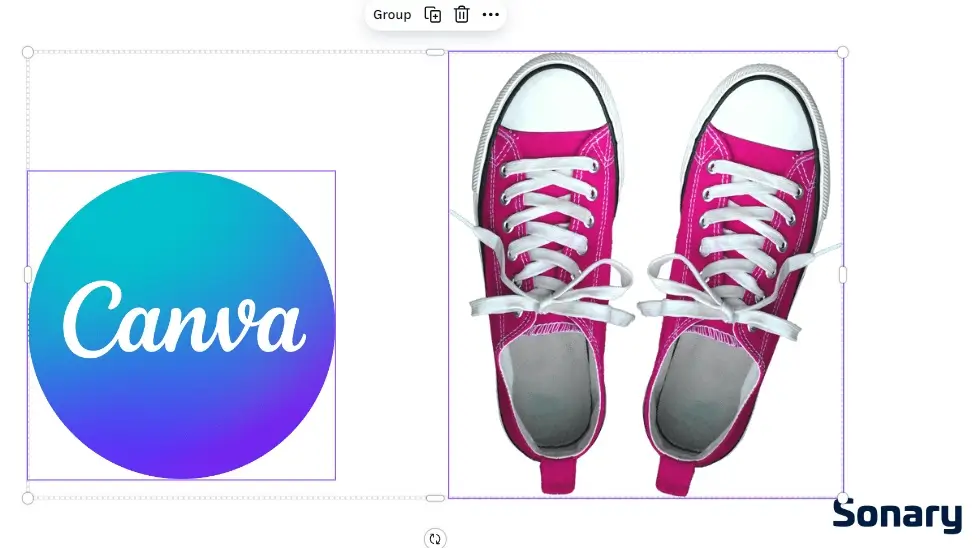
Selecting Elements to Group:
- Group elements from inside the Canva app. This can be done directly with the elements you want to group.
- Drag your cursor over the elements. Alternatively, hold shift while clicking on multiple elements to select them.
While you’re selecting the elements, a menu will automatically pop up:
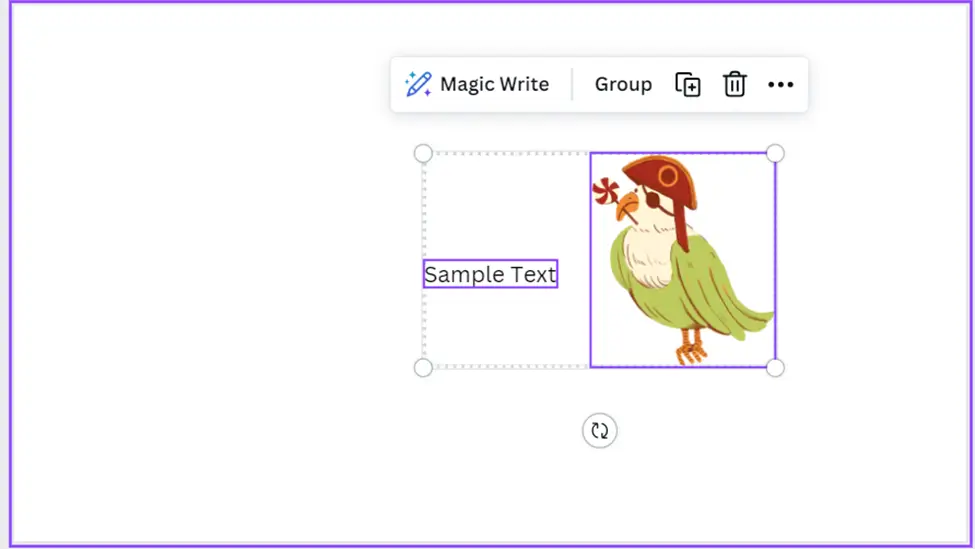
Grouping Elements:
- As you can see, “Group” is displayed on the pop-up menu.
- All you need to do is click “Group” to compile them into one element.
The result looks like this:
Now, both elements are one. You interact with the new element as you would with a single element.
Pro tip: you can also press Ctrl + G to group selected elements.
How to Group Elements on Canva Mobile
Step 1: Select the First Element
- Tap and hold on to the first element you want to group. This will open a menu with various editing options.
Step 2: Select Multiple Elements
- From the menu, choose the “Select Multiple” option. Now, tap on the additional elements you want to group. Each one will be highlighted as you select them.
Step 3: Group the Elements
- Once all elements are selected, find the “Group” option on the toolbar at the bottom of the screen. Tap it to group the elements together.
This allows you to group and manage multiple elements easily using Canva on mobile.
Related Articles


How to Ungroup Elements, Objects, or Items in Canva
When designing in Canva, grouping elements allows you to move and edit multiple components as a single unit. However, there are times when you need to make individual adjustments. That’s when knowing how to ungroup in Canva becomes essential.
Follow this step-by-step guide to quickly ungroup elements in Canva.
Step 1: Select the Grouped Elements
- Open your Canva design.
- Click on the grouped elements you want to separate.
- If the elements are already grouped, you’ll see a single bounding box around them.
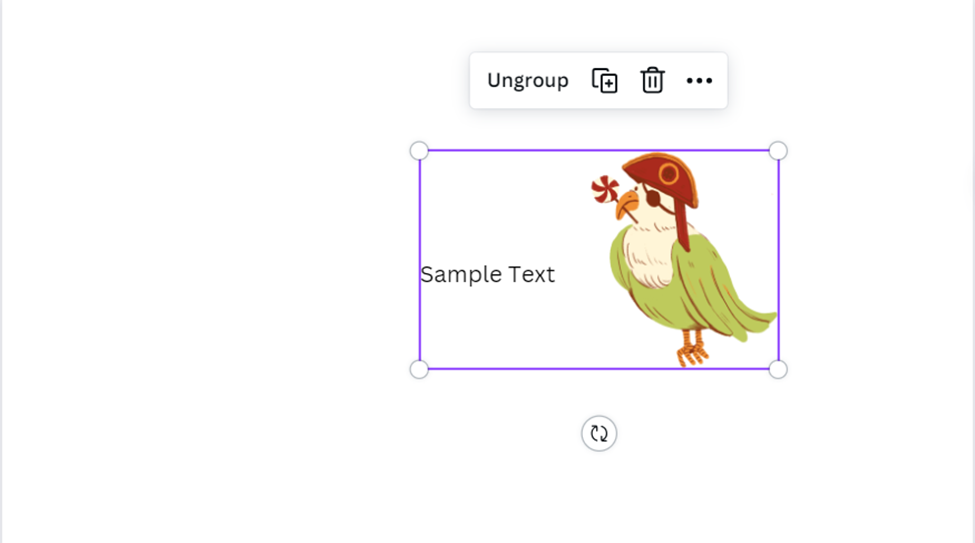
Step 2: Ungroup the Elements
- Right-click on the selected group and choose “Ungroup” from the menu.
- Alternatively, use the shortcut:
- Windows: Ctrl + Shift + G
- Mac: Command + Shift + G
Step 3: Edit Individual Elements
- Once ungrouped, you can move, resize, or edit each element separately.
- If needed, you can always regroup the elements by selecting them again and pressing Ctrl + G (Windows) or Command + G (Mac).

Ungrouping is often necessary when designing promotional content. For example, combining sales text and ad designs. You can use ungrouping to mix and match dozens of different ad designs and copy.
Advanced Grouping Techniques
There are some other pro tips for maximizing the utility of grouped elements.
1. Layering and Alignment of Grouped Elements
You can use the layering and aligning features to make grouped elements crisper. These features help ensure each element is in the ideal place when you group them. Layering is useful when one element partially or fully covers another. Layering each element before grouping determines what is seen in these cases.
The purple lines in Canva are for alignment. There is one solid horizontal and one solid vertical line. These two are the lines of symmetry for the whole design. The broken purple lines near elements are the barriers of that element. Those broken purple lines are useful for making attractive, symmetrical groupings.
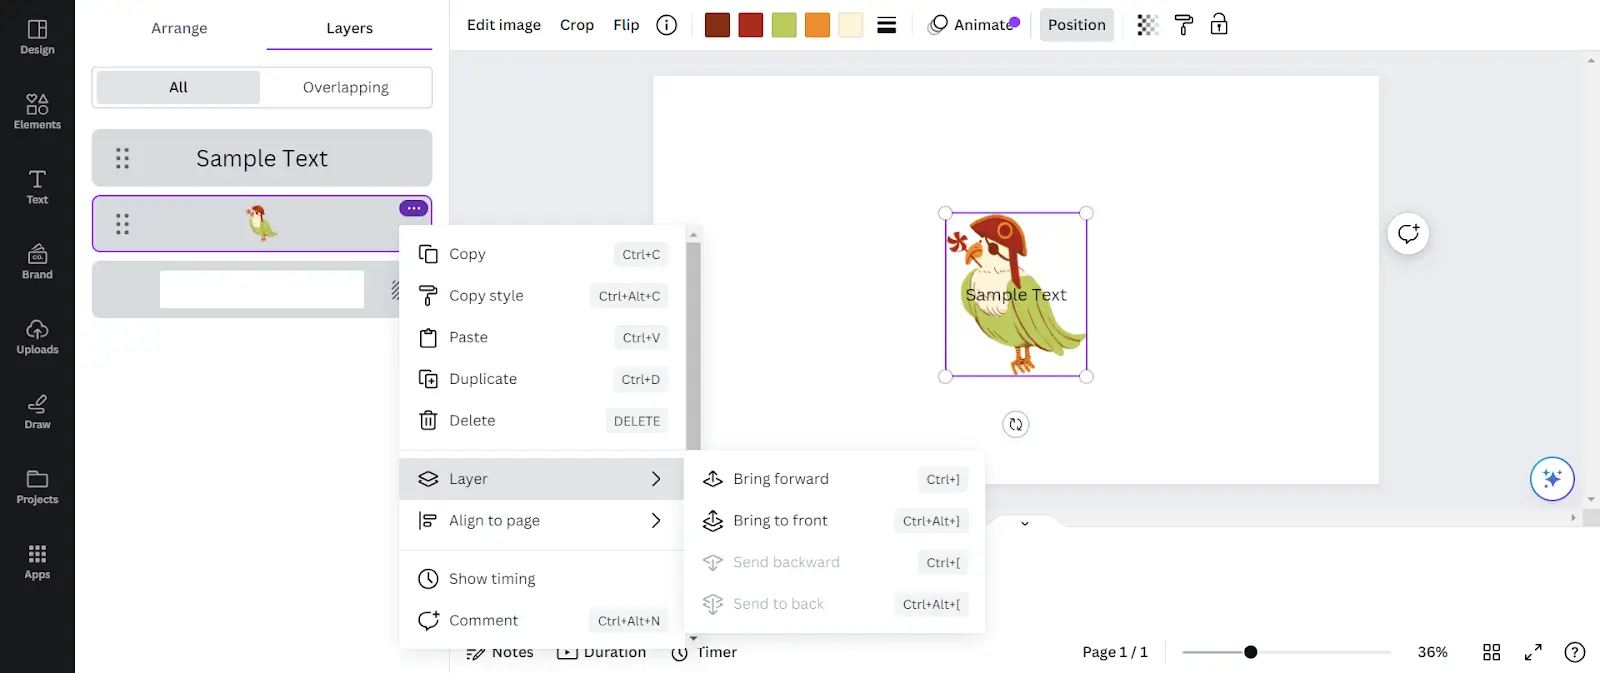
2. Rearranging Element Layers
All you need to do is select from the Bring Forward or Send Backward options.
You can use Bring To Front or Send To Back to put it at the very front or the very back layer.
This step requires a bit more navigation. The navigational order is:
Layers —> The Element —> Layer
3. Aligning Elements
You don’t need to use buttons or specific actions to align elements. Canva simply includes lines for reference in the design interface.
- Open a new design and put your elements in it. The horizontal and vertical purple lines are meant to be used for easier alignment.
- Pay attention to the broken purple lines beside the elements. These are the borders for each element in the design. You will see them when dragging one element close to another.
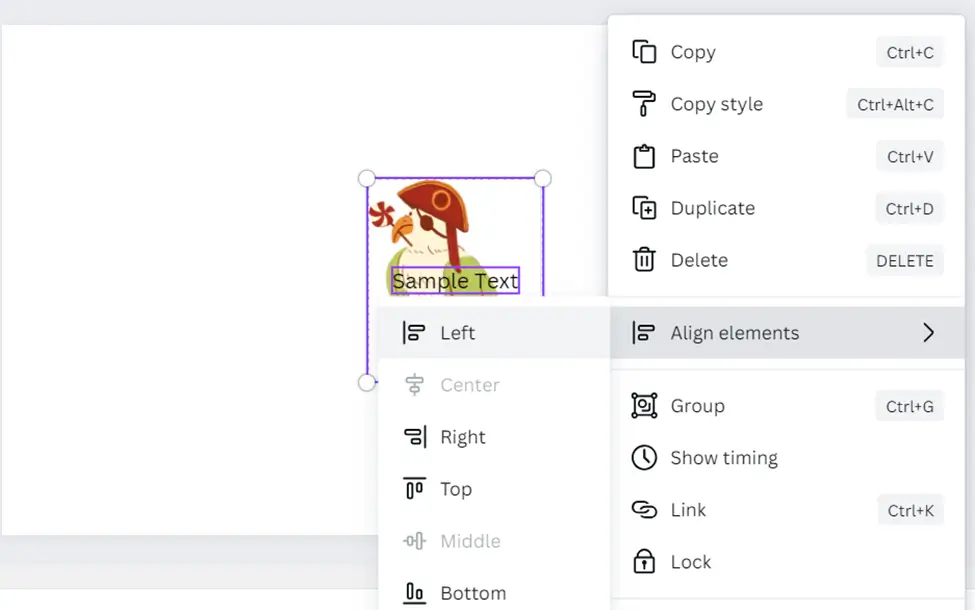
Alternatively, you can automatically align one element within the borders of another. You can use “Align to Page” when one element is selected. If two elements are selected, you use “Align elements” to align the smaller one on the larger one’s borders:
Additional Features Related to Elements
There are several additional features for Canva element management.
Adding, Duplicating, and Deleting Elements
Adding elements is as simple as dragging and dropping. It’s best to group a set of elements only once you have all of them together. But you can later ungroup elements, add others, and group them all together. Duplication can be done on the drop-down menu. It’s easier to just remember to use Ctrl + D. This immediately duplicates the selected element. It can also duplicate a group.
Lastly, deletion is as easy as pressing Delete on your keyboard.
Pro tip: If you accidentally press Delete, just press Ctrl + Z to undo deletion.
Moving Elements in Your Design
Canva is famous for simple drag-and-drop actions. You can drag and drop any element or group easily. But you can take it a step further by adding coordinates.
Once you select an element, press “Position” at the top right of the interface.
Now, you can use precise coordinates when grouping your elements.
Troubleshooting Common Issues
Here are a few examples of common problems and their solutions that users experience using Canva.
Some people complain that their work goes missing. They have their work saved in their Canva account but later cannot access it. The majority of the time, it’s a simple navigation issue.
The most common fixes for this are:
- Checking which account you’re using
- Changing the team you are working with
- Going into the trash folder
- Looking into the owner of the work
Another problem that some users have reported is that they cannot group objects. This is usually a small mistake in object selection.
The most common fixes for this are:
- Make sure you always hold Shift and click on each additional item.
- Or, always hold and drag your mouse. If you simply click on one item, then another, you will only have the second item selected.
If you do this and the problem persists, close your browser. Open Canva again, and the problem should be solved.
Final Thoughts
Understanding how to group and ungroup in Canva is essential for efficient and seamless design creation. Grouping elements helps you organize, align, and move multiple design components effortlessly, making it easier to work on complex layouts. Meanwhile, ungrouping gives you the flexibility to edit individual elements without affecting the entire design.
By mastering these simple but powerful features, you can:
- Save time by managing multiple elements at once.
- Maintain consistency in your layouts for professional designs.
- Easily modify designs without disrupting the entire composition.
Whether you’re working on social media posts, presentations, blog graphics, or marketing materials, knowing when to group and ungroup elements in Canva will boost your creativity and improve your workflow. Try experimenting with these features in your next Canva project and take your designs to the next level!
FAQ
Q: What is the keyboard shortcut to group in Canva?
A: The keyboard shortcut to group elements in Canva is Ctrl + G on Windows or Cmd + G on a Mac. To ungroup, the shortcut is Ctrl + Shift + G or Cmd + Shift + G.
Q: Do I need to pay for Canva Pro to use Element features?
A: No. The element grouping and editing features are free. You can do anything covered in this guide with a free Canva account. Some advanced tutorials for using these features require Canva Pro.
Q: How do teams affect element grouping?
A: Teams affect the work you have access to. That work can include individual files used for grouping elements. So, make sure you’re using both the correct account and the correct team. Switching teams means switching which work you can access.
Q: Can you group text and images together in Canva?
A: Yes, you can group any combination of elements, including text boxes, images, shapes, and icons. Simply select all the items you want to group and press Ctrl + G.
Q: How do you group elements on the Canva mobile app?
A: To group on the Canva mobile app, tap and hold the first element, then choose “Select Multiple” from the menu that appears. Tap the other elements you want to add, and finally, tap the “Group” button on the toolbar.