How To Make A Professional Presentation on Canva in Minutes
Creating a compelling presentation used to take hours and professional design skills. Not anymore. With Canva, you can build beautiful, impactful presentations in minutes—even if you’re a beginner.
Whether you’re prepping for a business pitch, classroom talk, or webinar, this guide will walk you through step-by-step instructions, pro-level tips, and hidden Canva features to help you create stunning slides quickly and effectively.
🎯 Why Use Canva for Presentations?
- Easy to Use – Drag-and-drop simplicity for all skill levels
- Thousands of Templates – Business, educational, creative, and more
- Collaborative – Invite team members, add comments, and edit live
- Professional-Looking Slides – Access to fonts, icons, animations, transitions
- Presenter Tools – Includes presenter mode, speaker notes, and recording
Quick Start: Build Your Presentation in 8 Simple Steps
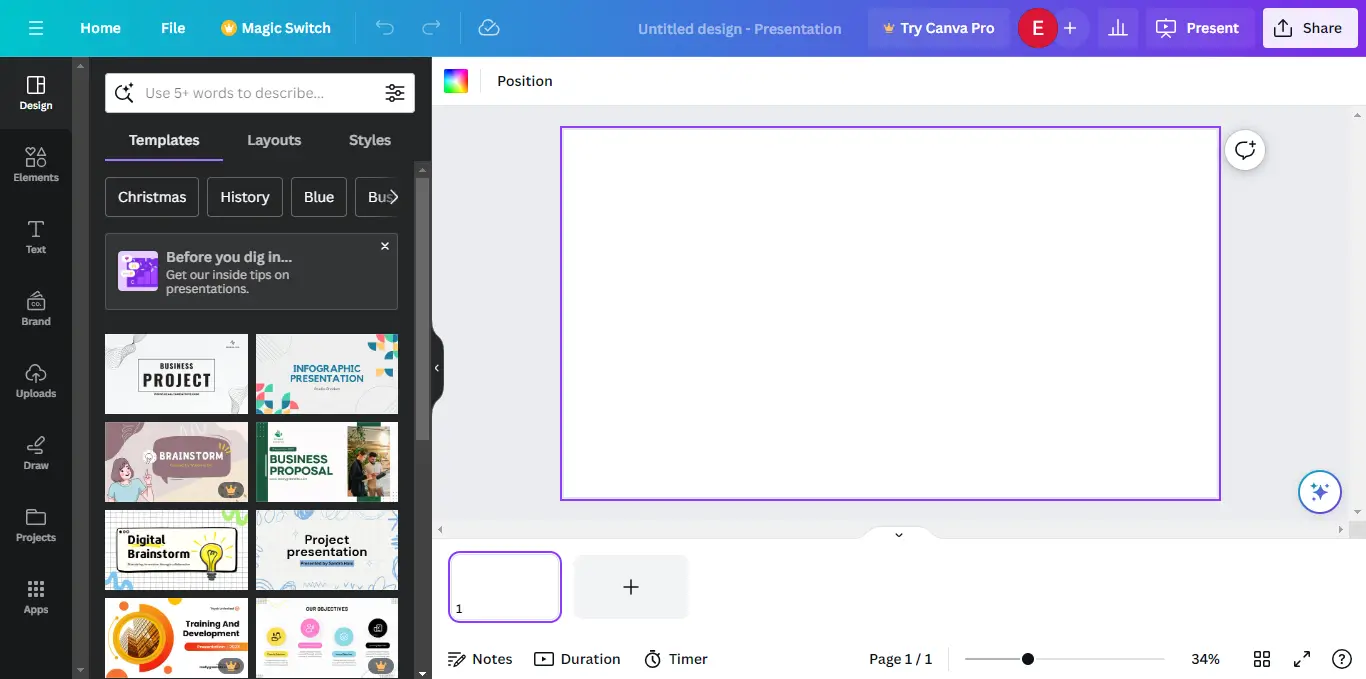
1. Start Your Project
- Log in to Canva and click “Create a Design” → “Presentation.”
- Choose a 16:9 layout or any format that suits your needs.
- Name your file right away to stay organized.
💡 Pro Tip: Download the Canva app or bookmark the web tool for quick access.
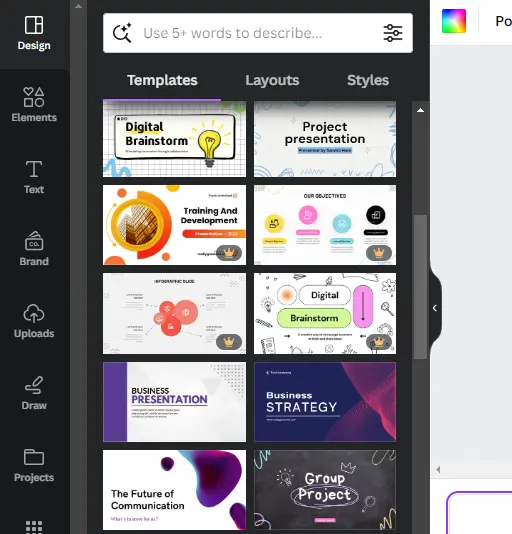
2. Choose a Template That Fits Your Purpose
- Use the search bar to explore thousands of professionally designed templates.
- Preview and apply a full template by clicking “Apply All Pages.”
- Want a more polished look? Search for “Company Profile” or “Pitch Deck.”
💡 Pro Tip: Use your brand kit (Pro users) to auto-match fonts, logos, and colors.
3. Customize Your Content
- Click any text box, image, or shape to edit.
- Use frames to easily drop in profile photos or product shots.
- Drag in your own uploads or choose from Canva’s vast stock library.
💡 Pro Tip: Keep slides clean. One idea per slide = better engagement.
4. Organize and Structure Your Slides
- Use the sidebar to reorder slides with drag-and-drop.
- Duplicate slides to build sequences or add visual consistency.
- Group content into sections: Intro, Problem, Solution, Proof, CTA.
💡Pro Tip: Use headings and section dividers to keep your flow smooth and clear.
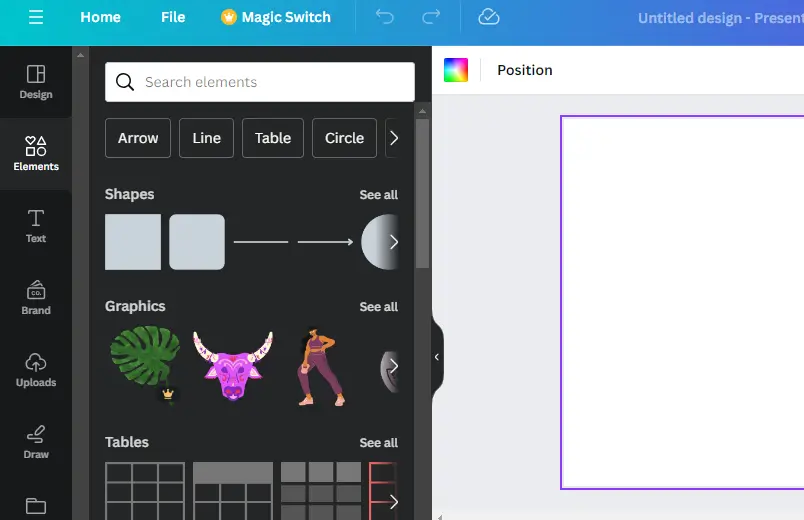
5. Add Visual Elements and Enhance Appeal
- Insert icons, charts, shapes, or videos using the “Elements” tab.
- Use Background Remover (Pro feature) to isolate images.
- Add simple animations and transitions to bring your content to life.
💡Pro Tip: Avoid overuse of motion—too many effects can distract from your message.
6. Make Your Slides Interactive and Engaging
- Use Canva’s “Duplicate Slide” trick to build step-by-step reveals.
- Add arrows or callouts to highlight product features or important ideas.
- Use comments to track edits, feedback, or notes for collaborators.
💡 Pro Tip: Want to build suspense or teach step-by-step? Duplicate slides and remove elements gradually.

7. Use Presenter View for Live Presentations
- Go to “Present” → “Presenter View.”
- See current and upcoming slides + speaker notes (not visible to the audience).
- Perfect for live talks or webinars.
💡 Pro Tip: Add brief speaker notes in Canva’s editor under each slide for reminders.
8. Share, Export, or Record Your Presentation
- Download in PDF, PPT, or MP4 formats.
- Share via view-only link (great for clients or teammates).
- Use “Present and Record” to record a narrated video version.
💡 Pro Tip: Export as video if you’re posting to YouTube or embedding on your website.
✨ Advanced Canva Features You Should Know
| Feature | What It Does | Pro Tip |
| Frames | Crop images into shapes | Use for profile pics or icons |
| Background Remover | Cleanly remove image backgrounds | Great for product shots & personal branding |
| Transitions | Adds flow between slides | Stick with dissolve or slide for a clean look |
| Collaboration | Team editing & live comments | Perfect for group projects or team decks |
| Presenter Mode | See notes & next slide during live talks | Practice timing with slide previews |
| Canva Live | Take audience questions live | Boosts engagement during live sessions |
Canva offers a healthy range of features that let users of varying experiences create top-shelf presentations.
Templates
Jumpstart your creative process by using professionally designed presentation templates. There are a lot of easy presets available for use. These templates are customizable, allowing you to change colors, fonts, and images. You can then match your preferences or branding as you see fit.
Images And Icons
Canva provides access to a library of relevant images, icons, illustrations, and other design elements. These assets can enhance the visual appeal of your presentations. You’re of course allowed to import your images and icons if you want a more personalized touch.
Charts and Graphs
Canvas’s range of effects and graphics is some of the very best available. Between simple things like font variety and color tweaks, and more complex stuff like animations and transitions, there’s no shortage of options for creating a dynamic and visually appealing presentation.
Collaboration Features
Canva allows for real-time collaboration between multiple users. This is rather useful with group presentations. This way, members of the presenting team can interact and make edits to their section. They can do this while working on the same presentation simultaneously.
Multimedia
With Canva, you can embed multimedia elements, such as videos and audio, directly into their presentations. This allows for a more interactive and fun experience.
🔄 Canva Integrations You’ll Love
- Zoom / Google Meet / Microsoft Teams → Present directly during video calls
- Pear Deck & Mentimeter → Add quizzes, live polls, and drag & drop activities
- Learning Platforms → Share in Google Classroom or embed in LMSs
Canva Pricing
Canva offers a flexible pricing structure to cater to the needs of individuals and teams. There are three main packages:
- Canva Free: This typically provides access to all the features you may need for your presentation at no cost.
- Canva Pro: $14.99 a month or $119.99 per year
- Canva Teams: *$300 per year for 5 team members, with additional members costing $60 per year each.
Conclusion
Canva’s robust set of tools makes it easy and efficient to create stunning presentations without requiring design experience. By following this guide, you can structure and customize your slides to engage, inform, and impress your audience.
Final Actions:
✔ Apply these steps to create your next presentation.
✔ Experiment with Canva’s advanced design tools.
✔ Share or present your polished slideshow effortlessly.
Ready to create a professional presentation? Try Canva today and transform your ideas into visually stunning slides! 🚀
FAQs
Q: Can you transfer Canva directly to Google Slides?
A: You can easily import your Google Slides to Canva for editing. All you need to do is to connect your Google Drive account to your Canva account, and import files when needed. Transferring presentations from Canva is less straightforward. You’ll have to download your Canva presentation as a PDF, then open the file within Google Slides.
Q: Can you make a slideshow on Canva?
A: Yes, you can. Canva supports the creation of slideshows. All you have to do is open Canva and choose a slideshow template.
Q: Can I present directly from Canva?
A: Yes, you can. Canva offers a presenter mode that lets you use notes, timers, and annotation tools as you present. You can, of course, download your presentation in any format to present offline if preferred.