How to Sharpen an Image in Photoshop
Have you ever taken a photo that looked great on your camera screen, only to find it a little blurry when you uploaded it to your computer? Don’t worry — we’ve all been there! Sharpening an image in Photoshop is a quick and easy process that can significantly improve an image’s clarity and detail. Photoshop even has a free 7-day trial so you can try it out before committing and paying for a subscription.
In this guide, I’ll walk you through different methods for sharpening images using Photoshop on your desktop computer as well as on your smartphone.
Sharpening Images in Photoshop Desktop
There are two main methods for sharpening images in Photoshop: the Unsharp Mask filter and the Smart Sharpen filter. Both offer effective ways to enhance clarity but differentiate in their own strengths and uses.
Method 1: Using the Unsharp Mask Filter
The Unsharp Mask is a classic tool for sharpening images in Photoshop. It works by identifying edges in the photo and increasing the contrast around them, creating a sharper appearance. You can control the strength of the sharpening, the size of the area affected, and the sensitivity to contrast changes.
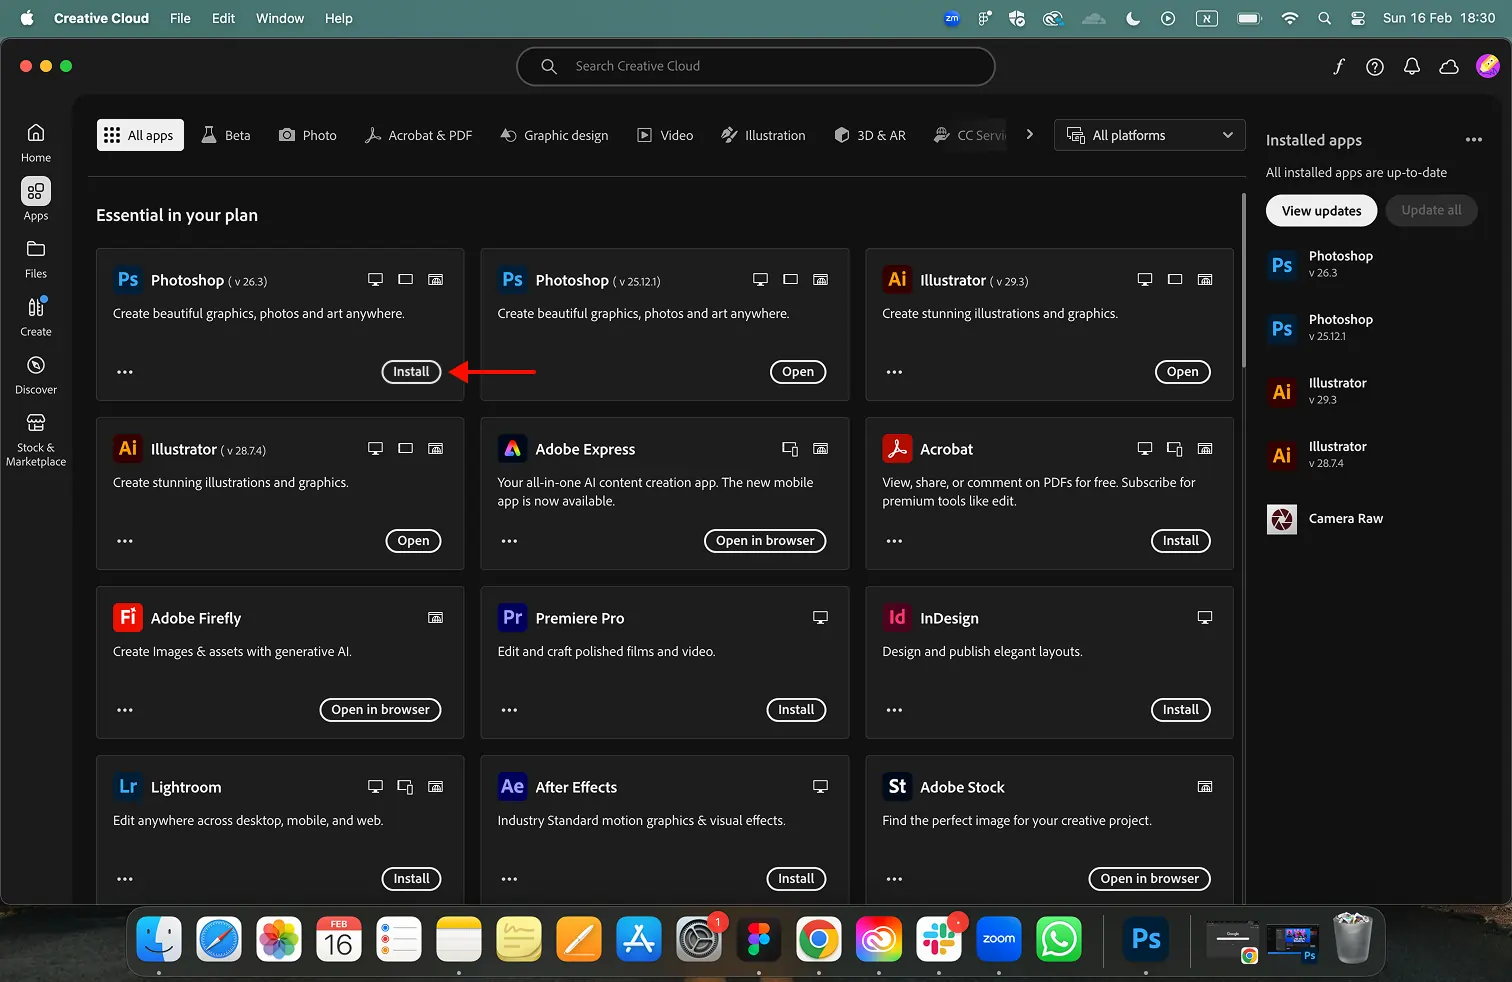
Step 1. Download Photoshop.
Step 2. Choose an image from which you want to make it clearer
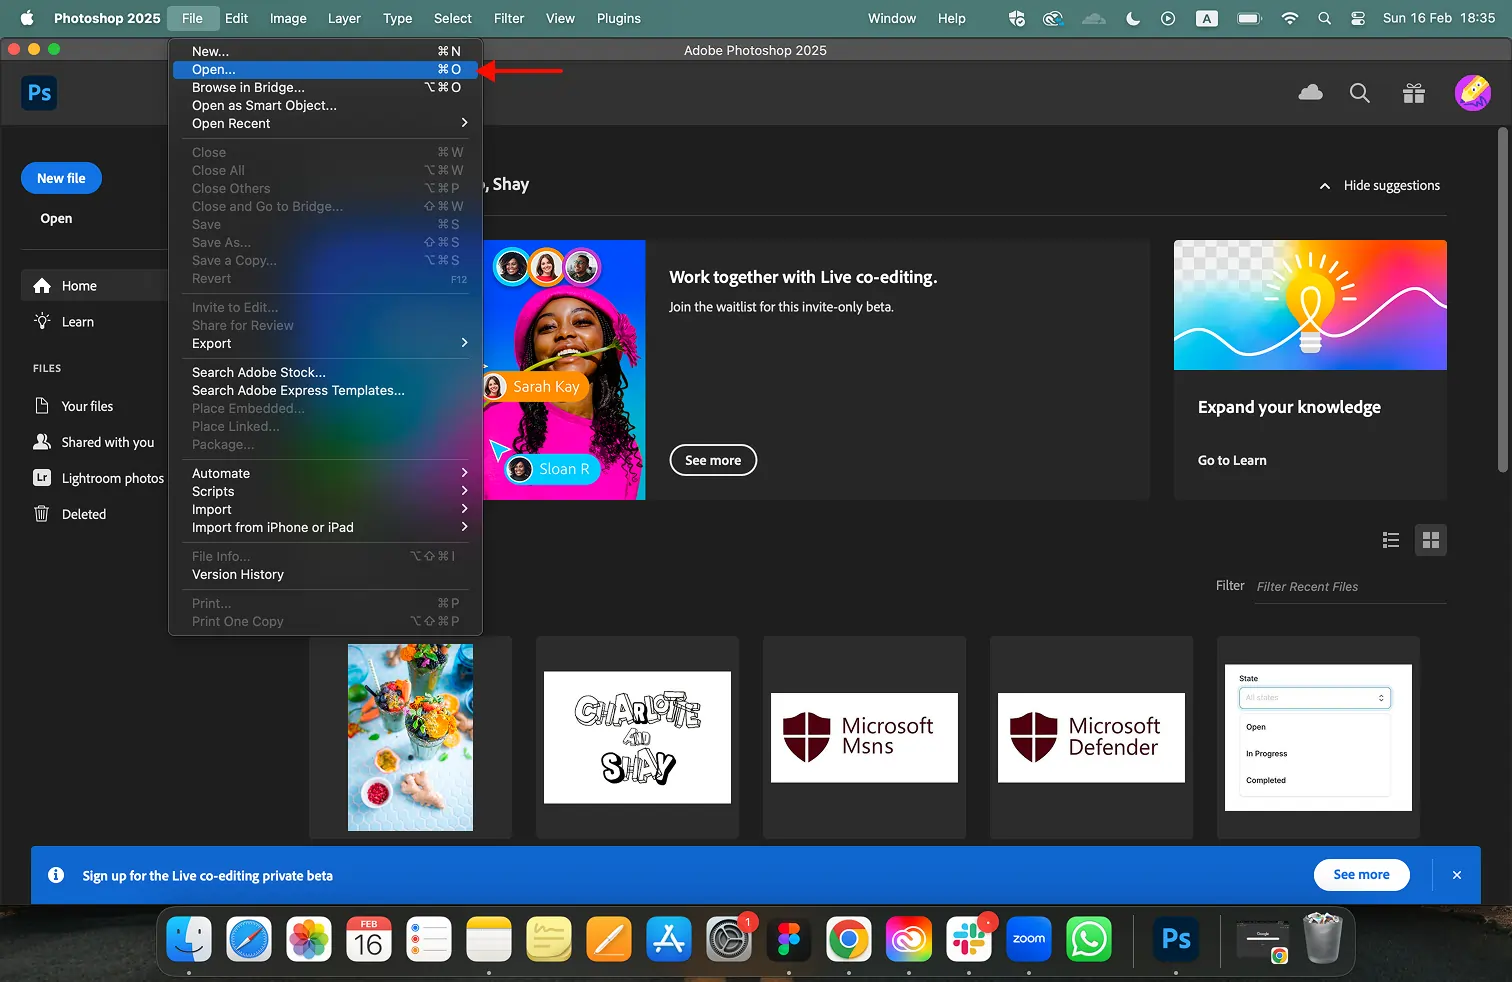
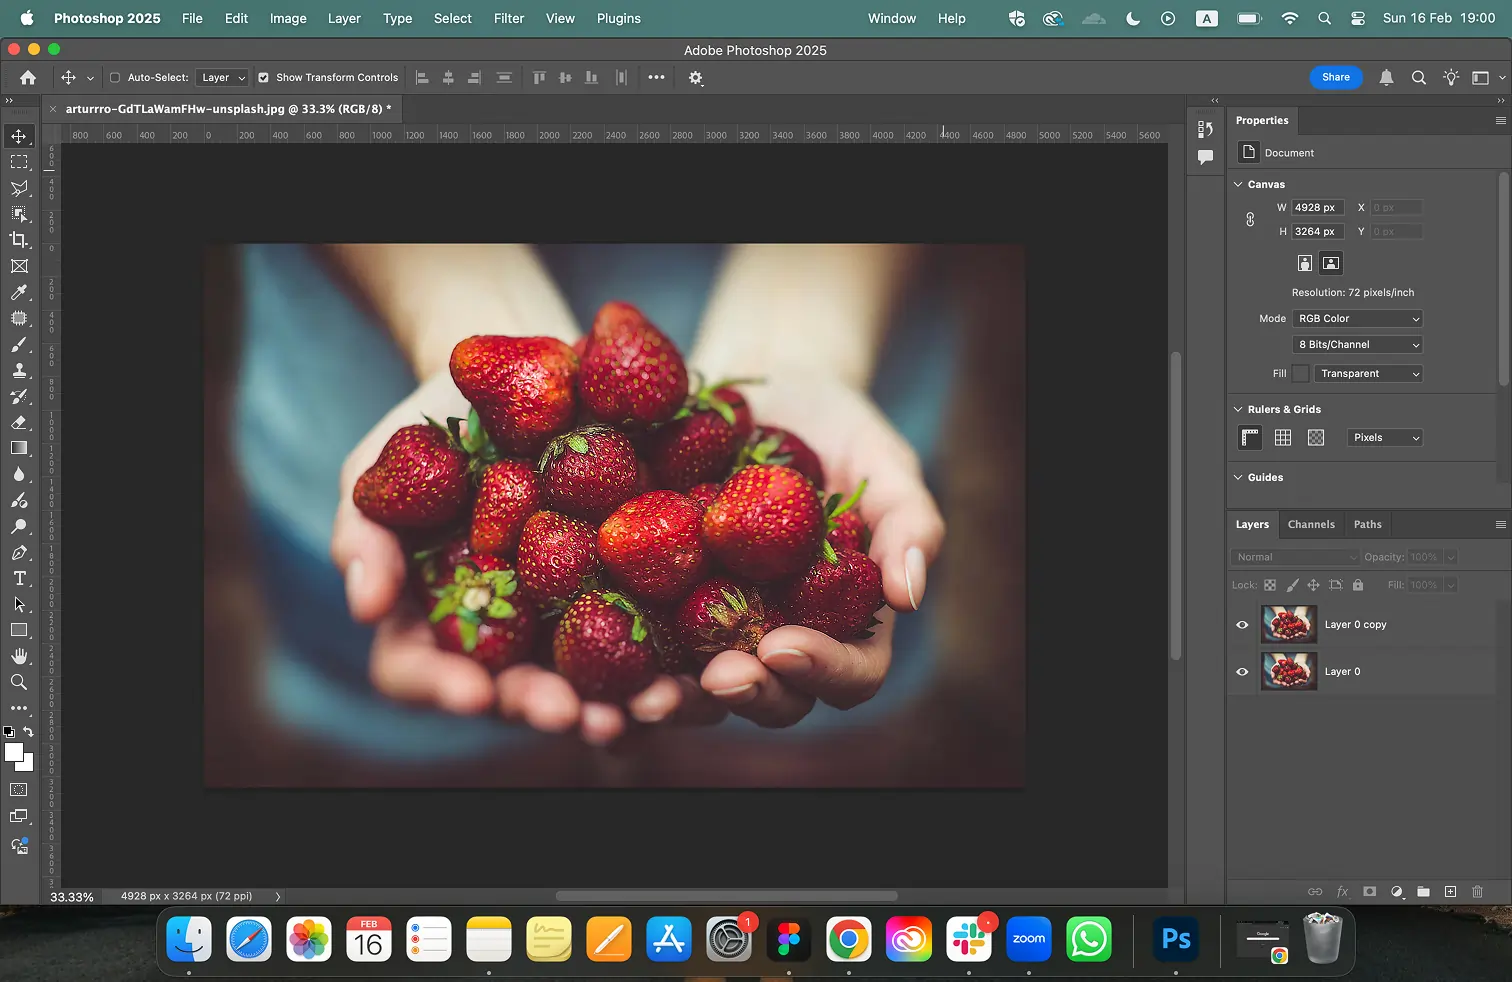
Step 3. Upload the image to Photoshop by selecting the ‘Open’ button on the left side of your screen.
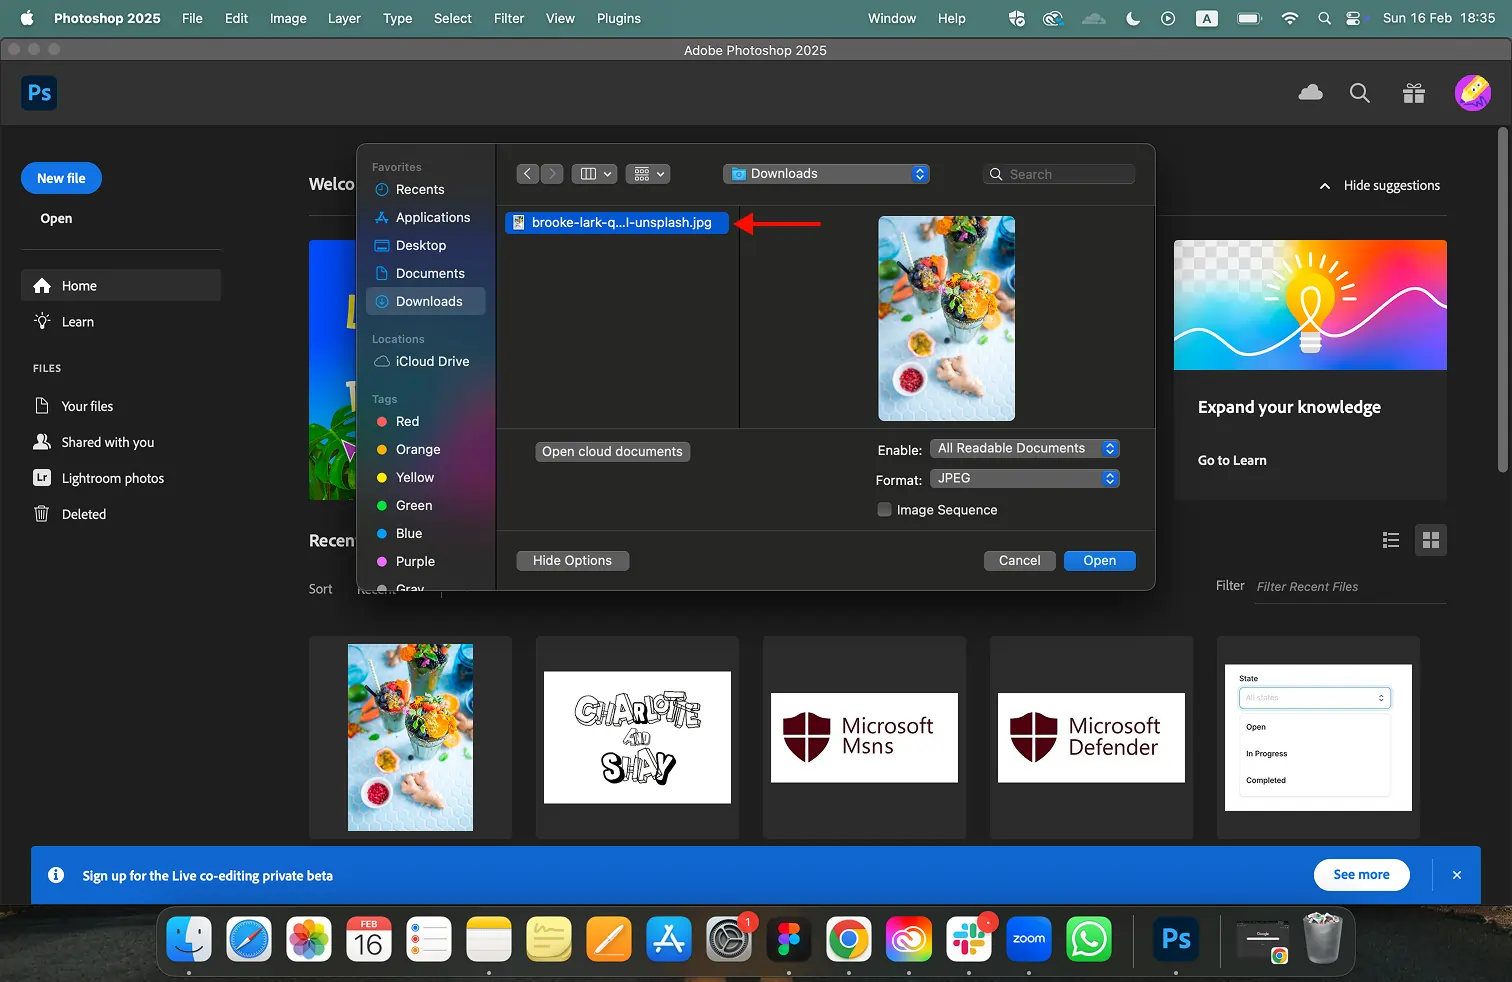
Step 4. Select your image from the relevant folder, and then click ‘Open.’
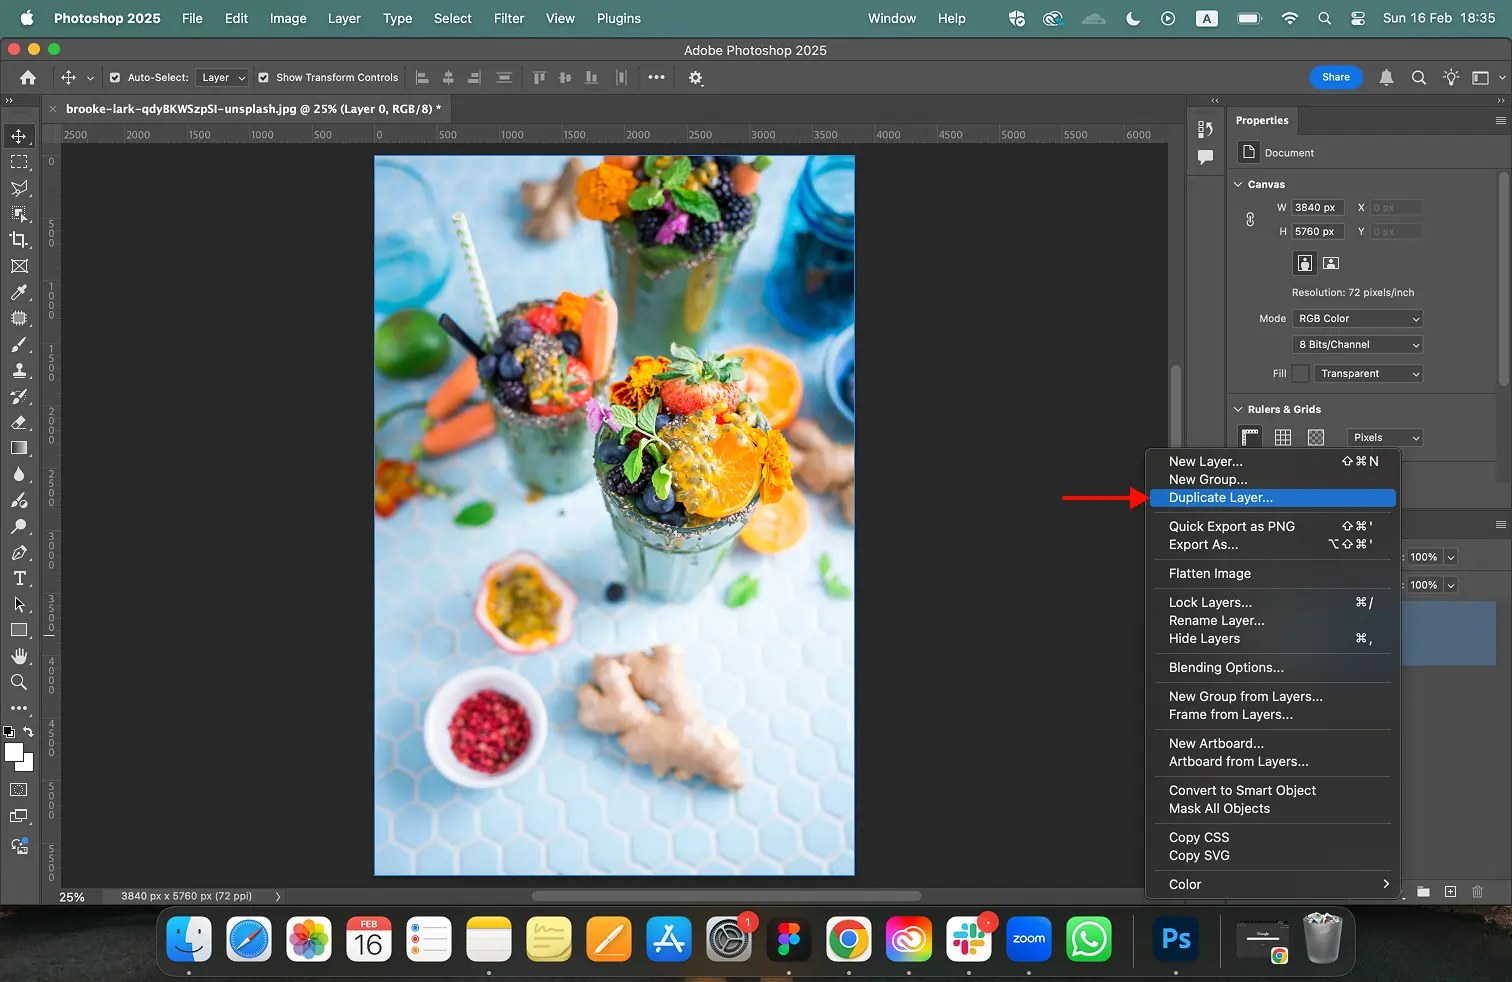
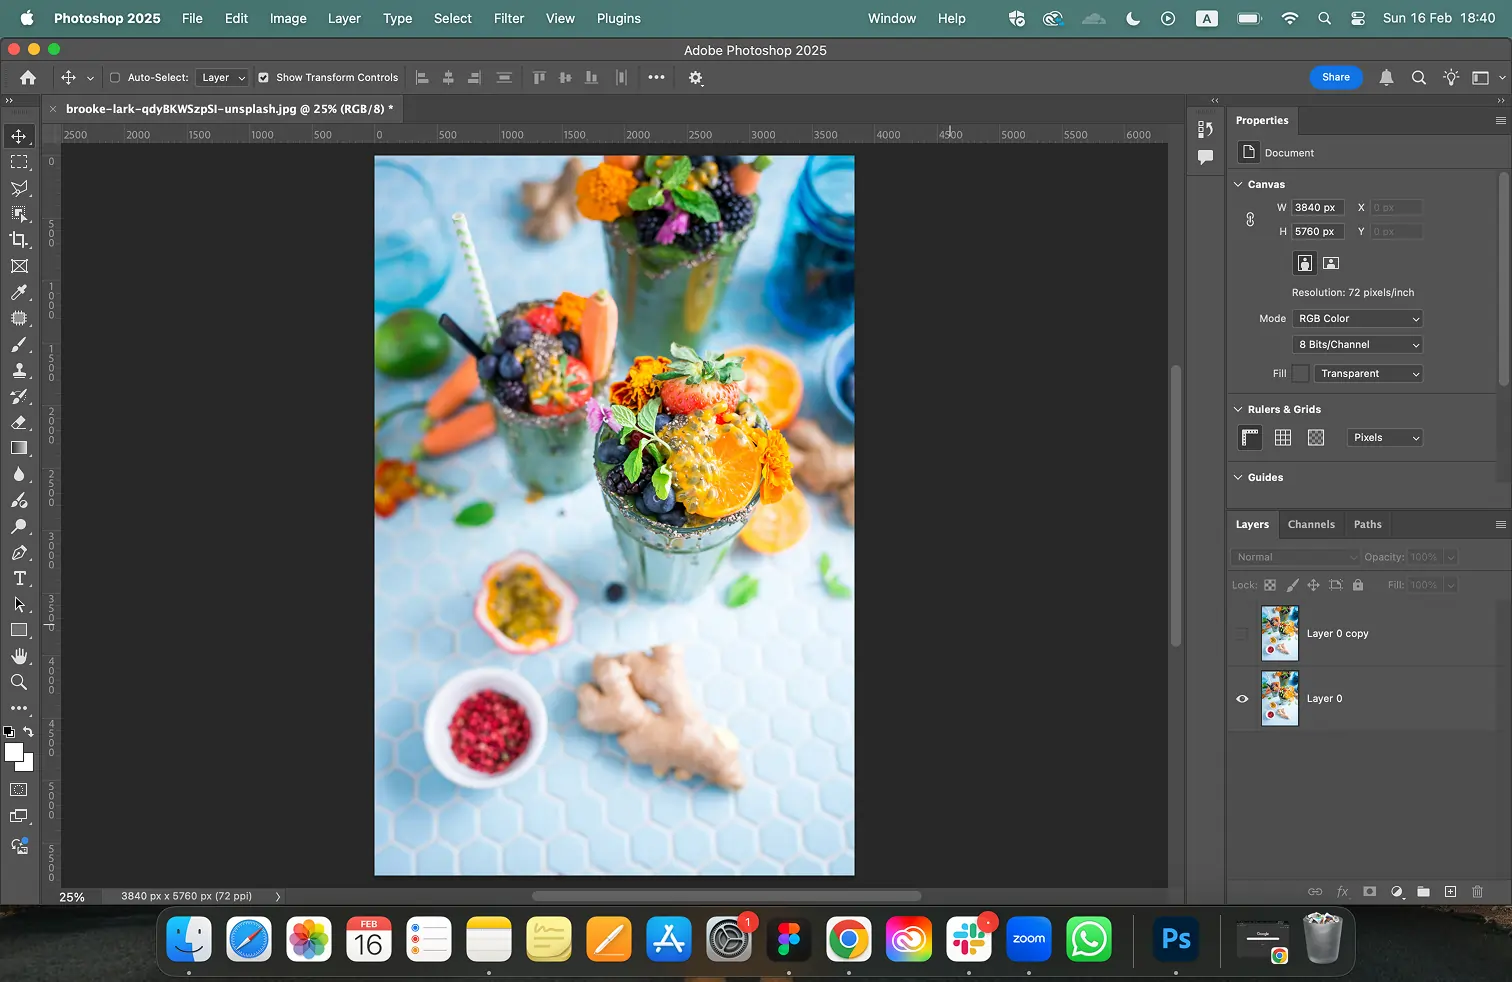
Step 5. Duplicate the image layer (important for non-destructive editing). In the Layers panel, right-click on the image layer and select Duplicate Layer.
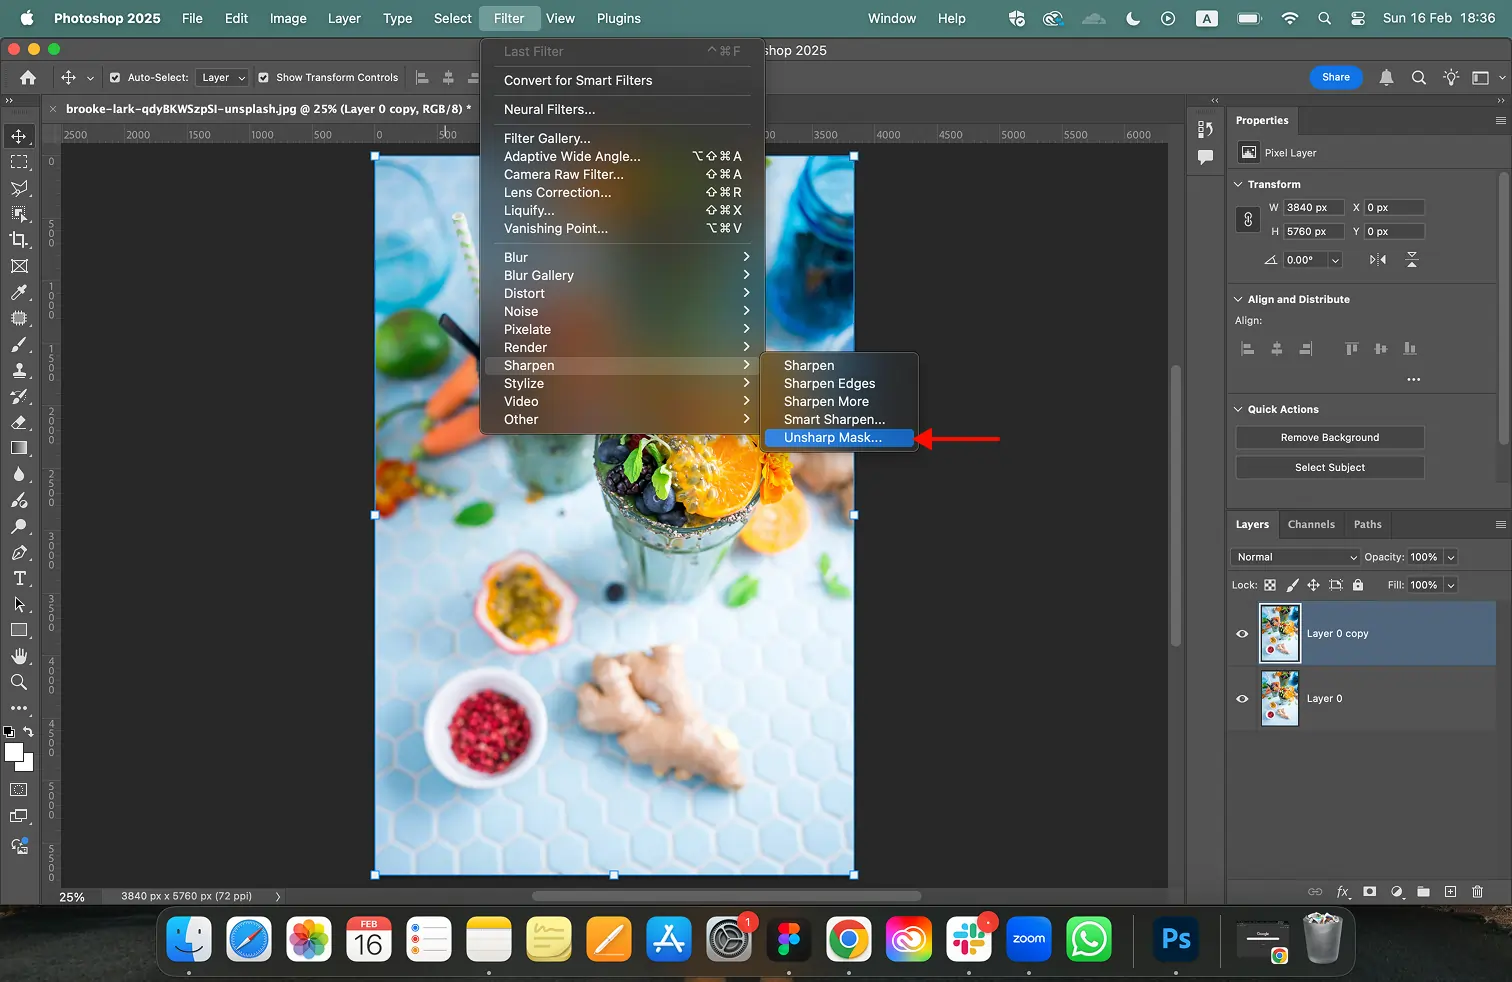
Step 6. Go to Filter > Sharpen > Unsharp Mask.
Step 7. The Unsharp Mask dialog box will appear. Here’s what each slider does
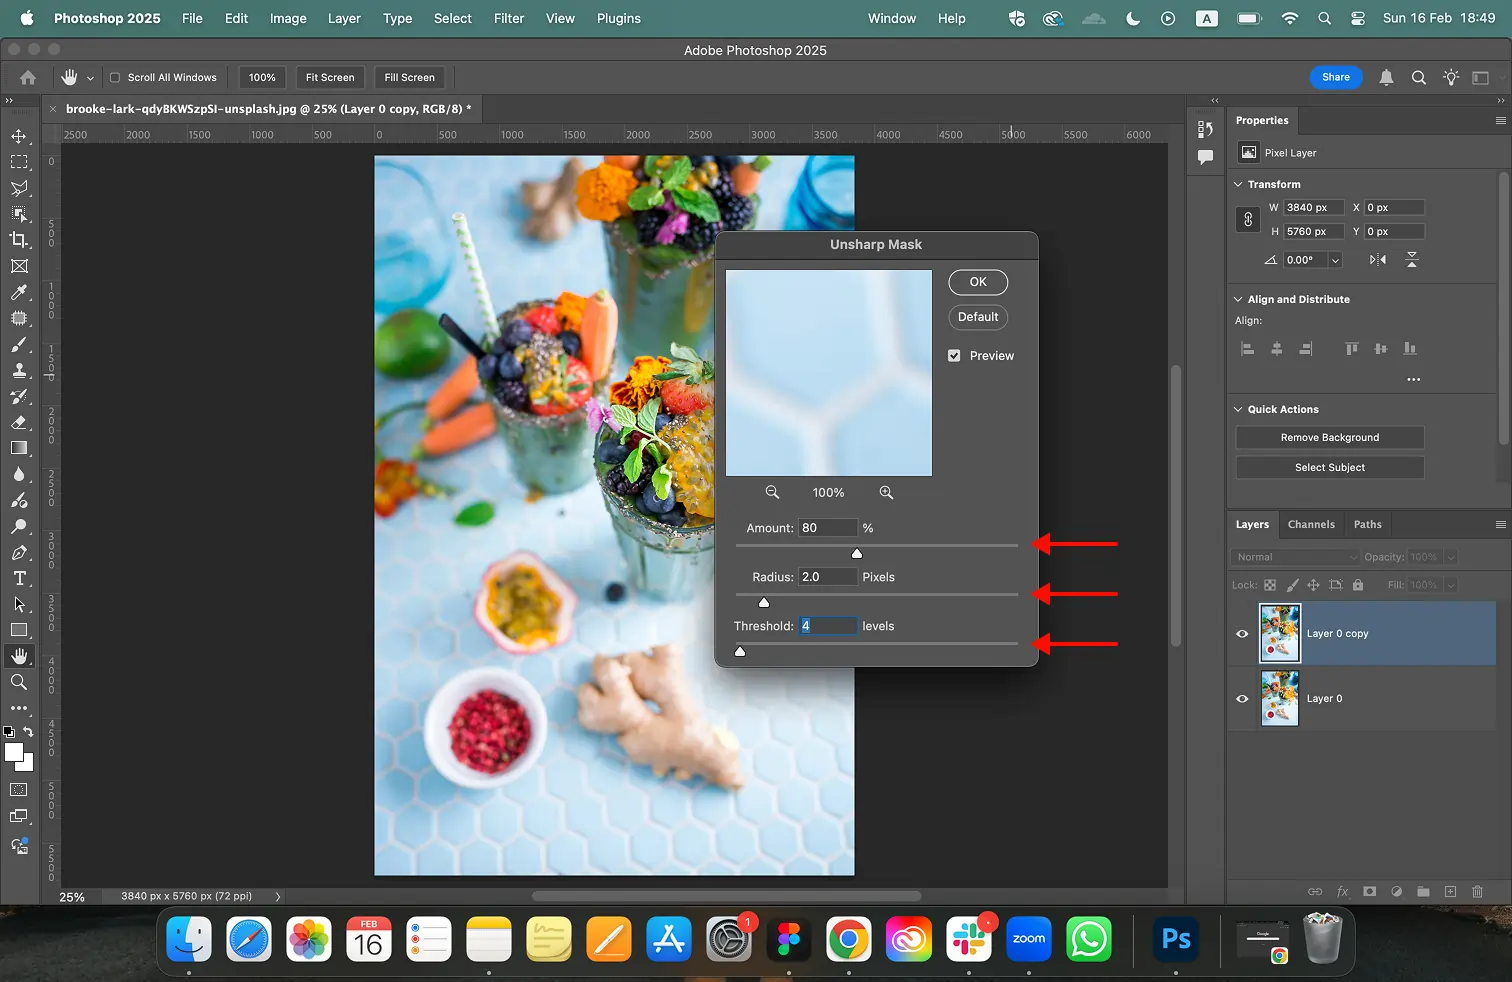
- Amount: Controls the strength of the sharpening effect. Drag the slider to the right for more sharpening, but be careful not to overdo it.
- Radius: Defines the width of the area sharpened around the edges. A larger radius will sharpen a wider area around the edges, but it can also create halos if overused.
- Threshold: Ignores details below a certain level of contrast. This helps prevent sharpening noise in your image.
Step 8. Adjust the sliders to achieve your desired level of sharpening. You can refer to the preview window to see the effect in real-time. Here’s a general starting point:
- Amount: 50-100%
- Radius: 1-2 pixels
- Threshold: 0-4 levels
Step 9. Click OK when you’re satisfied with the results.
Method 2: Using the Smart Sharpen Filter
The Smart Sharpen filter offers a more advanced approach to sharpening images. It analyzes your photo and applies sharpening selectively to areas that need it most, helping to minimize halos and noise.
Step 1. Follow steps 1 through 5 from the Unsharp Mask method.
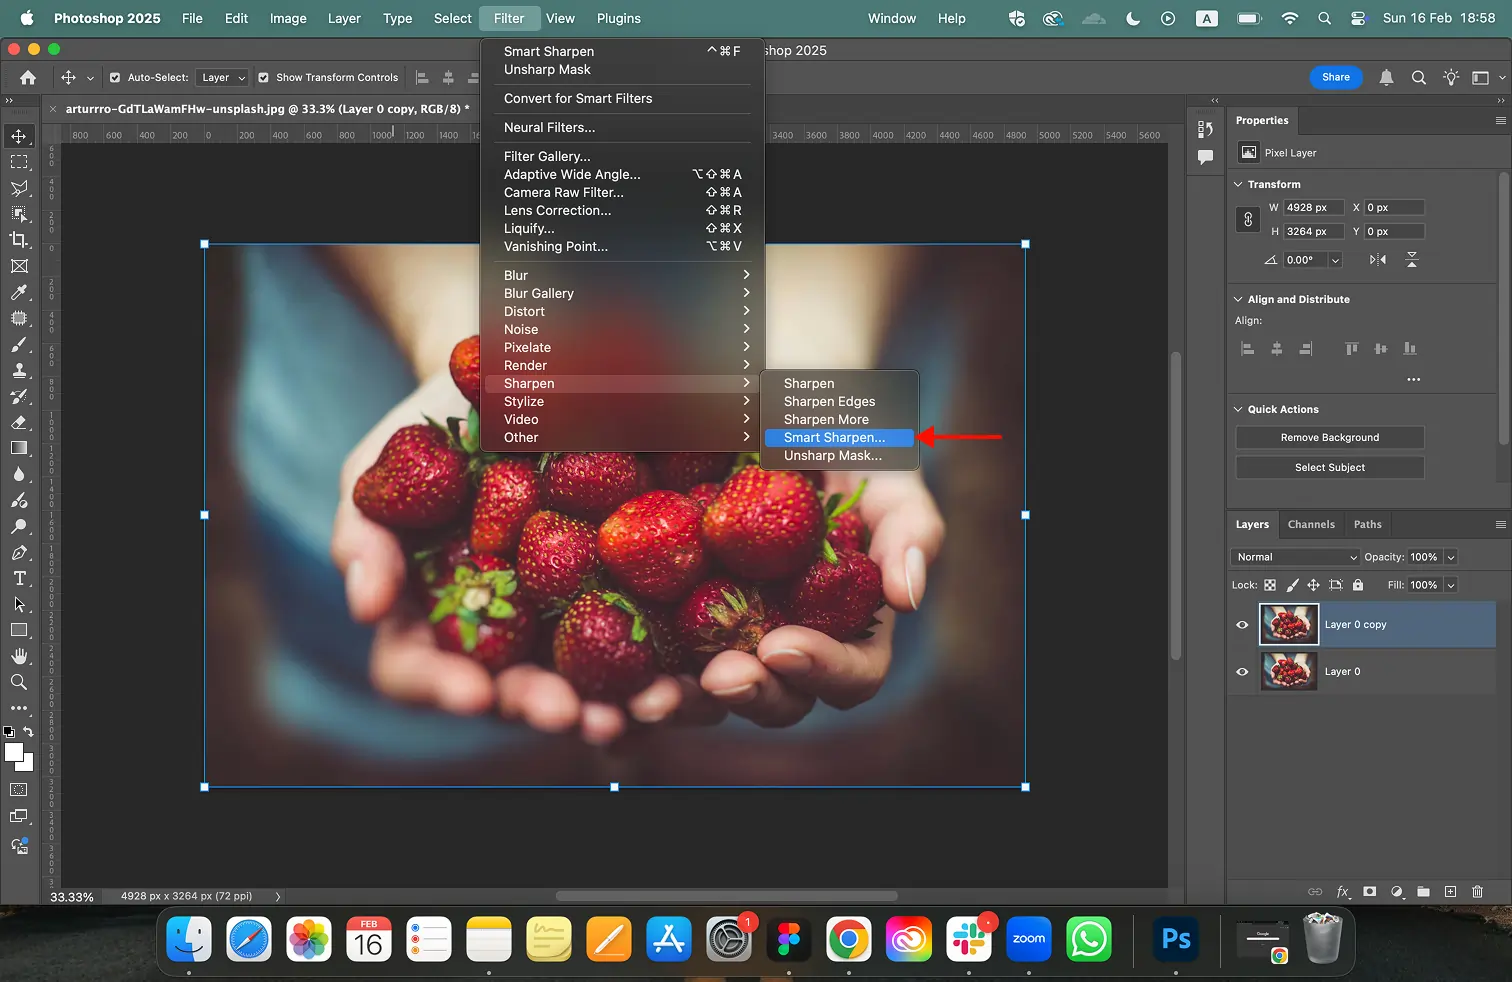
Step 2. Go to Filter > Sharpen > Smart Sharpen.
Step 3. The Smart Sharpen dialog box will appear and you will see several options at this point, similar to the Unsharp Mask dialog box. The options are:
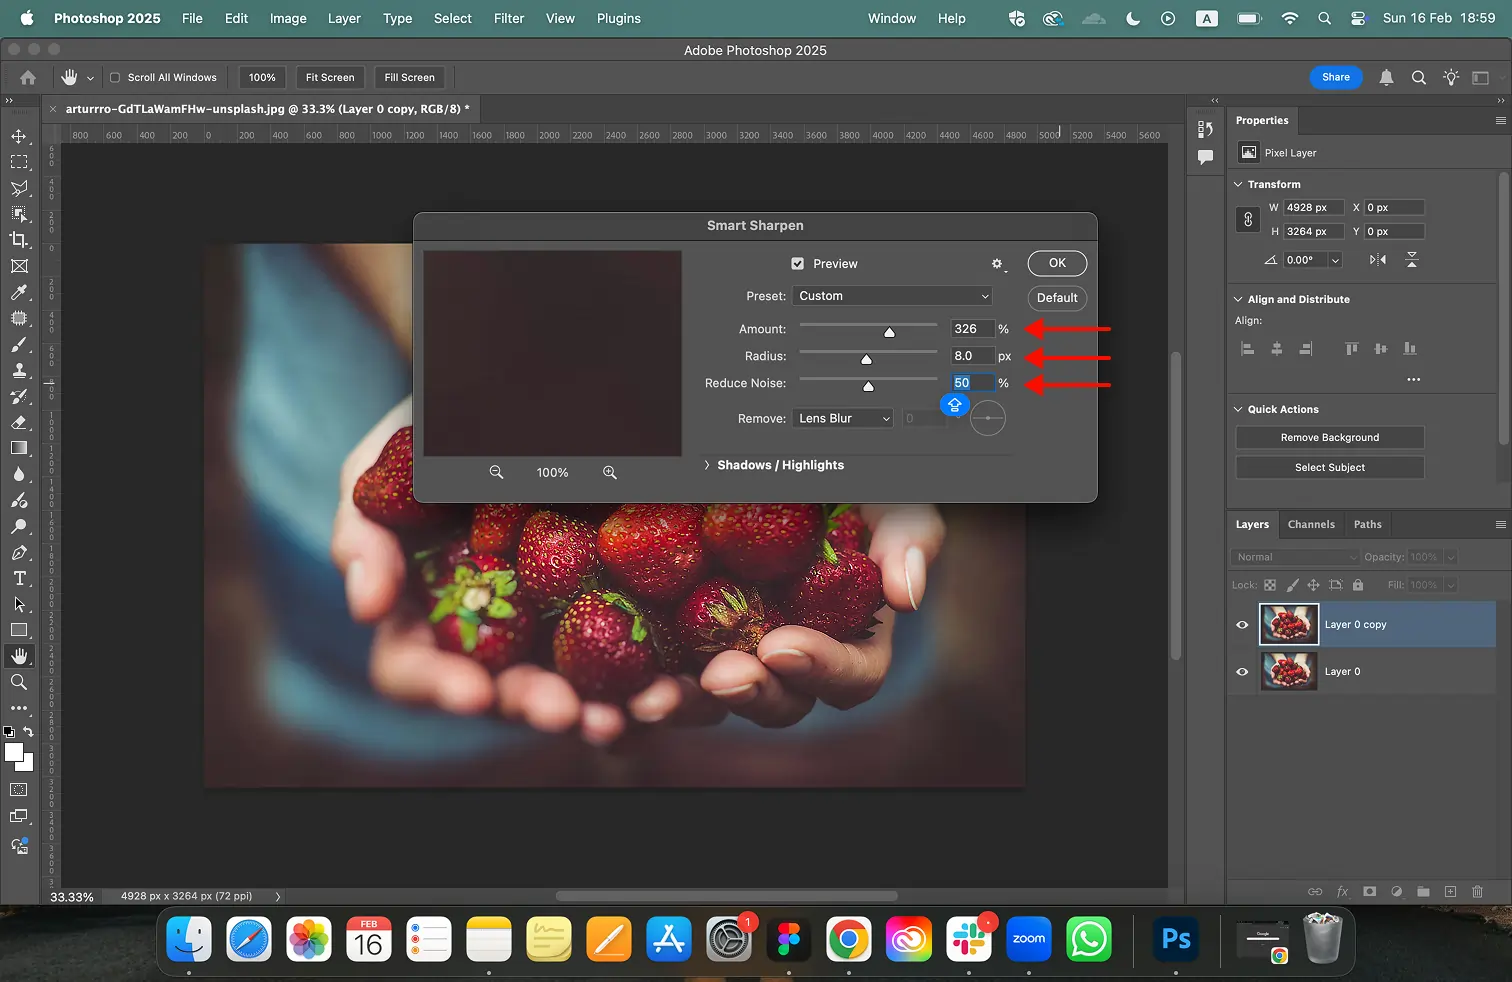
- Amount: Controls the strength of the sharpening effect.
- Radius: Defines the size of the area sharpened around the edges.
- Reduce Noise: Minimizes noise artifacts that can appear during sharpening.
- More Options: Provides additional controls for sharpening specific types of detail (e.g., sharpening shadows or highlights).
There is also the option to remove blur from the photo with the following:
- Gaussian Blur: The method used by the Unsharp Mask filter.
- Lens Blur: Detects the edges and detail in an image, and provides finer sharpening of detail and reduced sharpening halos.
- Motion Blur: Attempts to reduce blur effects due to camera or subject movement. Set the Angle control if you choose Motion Blur. This sets the direction of motion for the Motion Blur option of the Remove control.
Step 4. Experiment with the sliders to achieve the best results for your image. Keep an eye on the preview window as you adjust them.
Step 5. When you’re happy with the sharpening of your image, Click OK.
How to Sharpen an Image in Photoshop on iPhone and Android
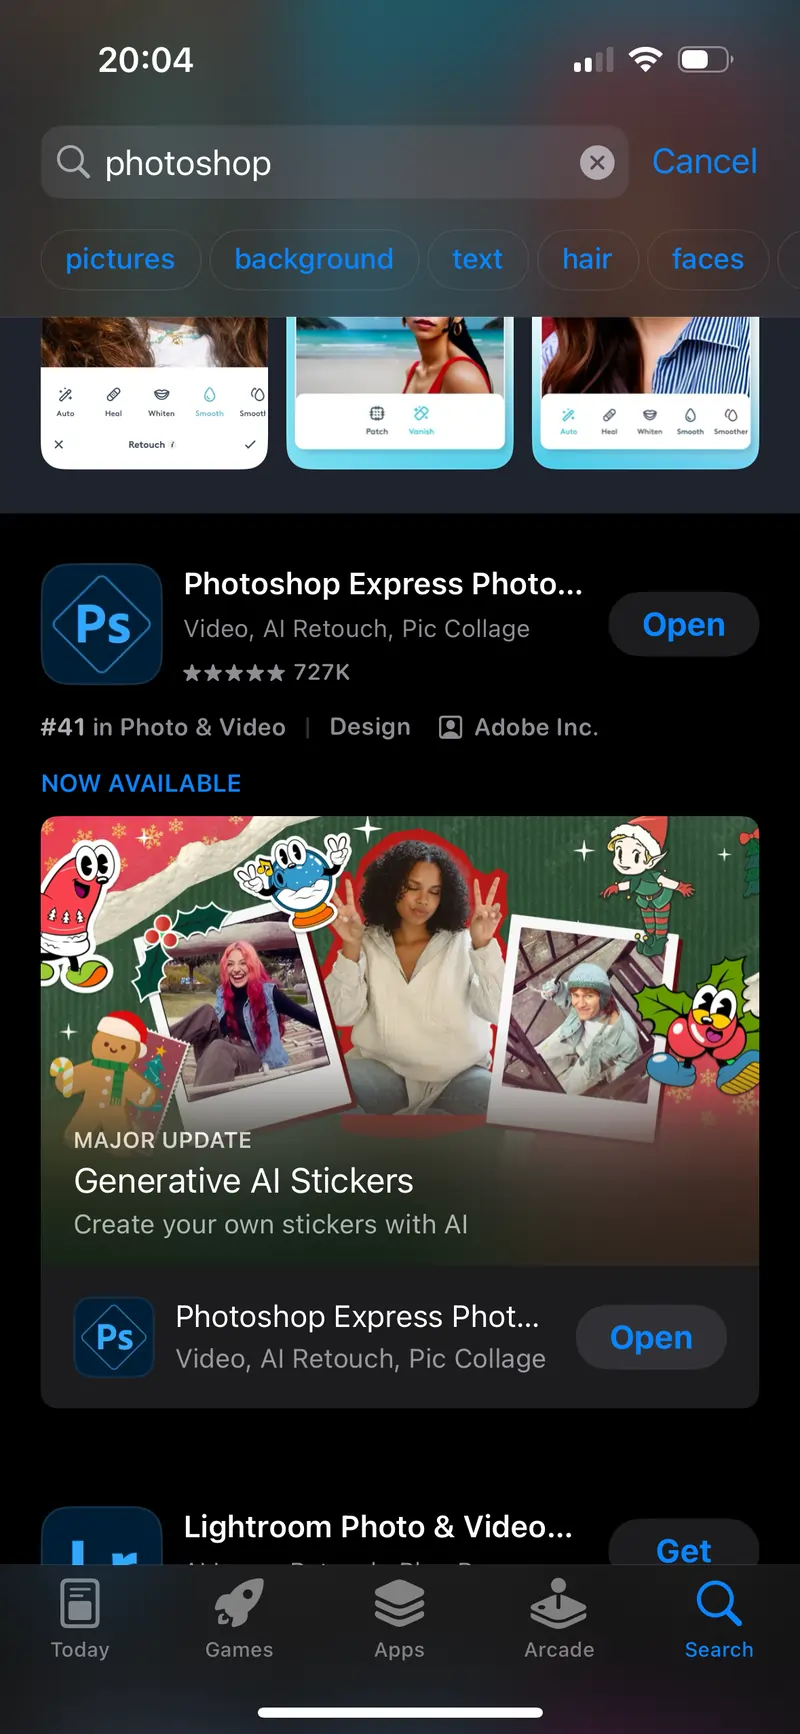
Now, you can flix blurry photos and sharpen your images on the go. Photoshop Express Photo Editor is available for free download on the iPhone App Store and Google Play Store. With just a few taps, you can enhance the details and bring your photos to life.
Step 1. Download Photoshop Express Photo Editor from the App Store or Google Play Store.
Step 2. Open the app on your phone
Step 3. Tap the ‘Add button’ at the bottom of the screen.
Step 4. Tap an image from which you want to sharpen and make clearer
Step 5. Select the “Adjustments” option.
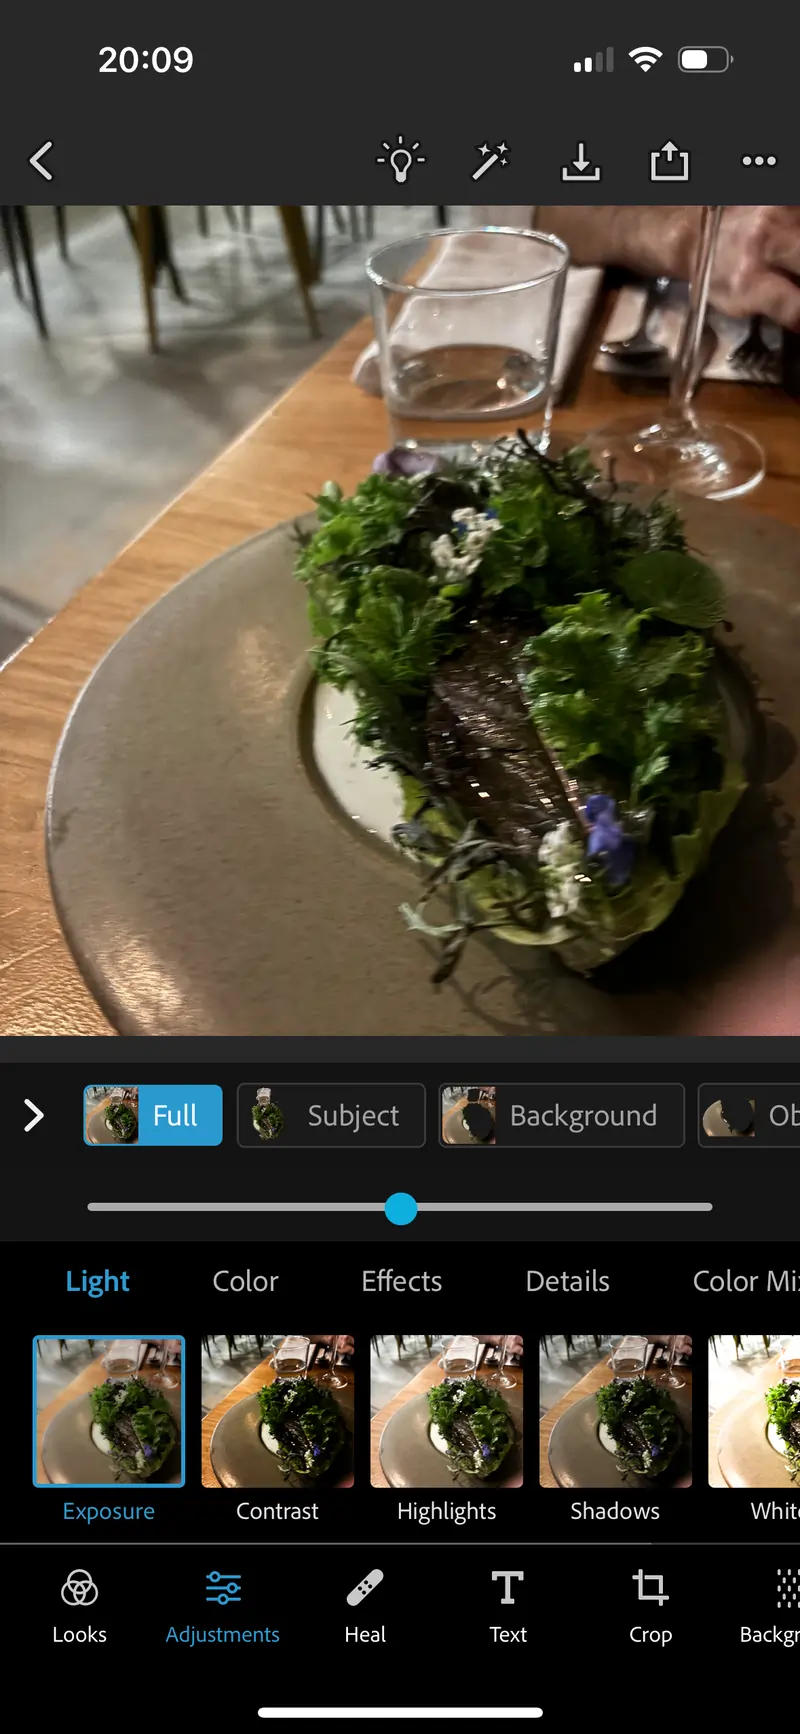
Step 6. Locate the “Sharpen” slider in the Adjustments panel.
Step 7. Drag the slider to the right to increase the sharpness of the image.
Step 8: Preview the changes to see the effect of the sharpening.
Step 9. Once you’re satisfied, save the image.
Final Thoughts
Sharpening your images in Photoshop is a simple process that can dramatically improve their visual appeal. By following these steps and experimenting with the Unsharp Mask and Smart Sharpen filters, you’ll easily understand how to unblur an image or make a blurry picture clear in Photoshop. There is also an option to sharpen your image on iPhone and Android with the Photoshop app. Remember, a little sharpening goes a long way, so start with subtle adjustments and gradually increase the strength as needed.
FAQs
Q: How do you sharpen an image in Photoshop?
A: Photoshop has a few different methods you can use to sharpen and make an image clearer. They have a “Sharpen” tool and other filters like “Smart Sharpen” and “Unsharp Mask.”
Q: Can you sharpen parts of the image?
A: You can selectively sharpen specific areas of an image without resizing the entire image. For example, you might want to sharpen the eyes in a portrait without affecting the rest of the image
Q: Can you use Photoshop on an iPhone?
A: Photoshop is available on both iPhone and Android, just under the name Photoshop Express Photo Editor.
Q: Is there a free trial?
A: Luckily, the Photoshop desktop version has a 7-day free trial so you can try it before you buy it. After the 7 days, there is a 14-day money-back guarantee. The Photoshop app is free to download from the App Store and Google Play Store.