
How to Build a Website with WordPress: A Step-by-Step Guide for Beginners

Building a website with WordPress is one of the most beginner-friendly and scalable ways to get online. Whether you're starting a blog, launching an online store, or building a business website, WordPress offers the flexibility, power, and community to make it happen — no coding required.
In this guide, we’ll walk you through every step of the process, from buying a domain to customizing your site and getting it live.
How to Build a Website with WordPress: A Step-by-Step Guide for Beginners
Building a website with WordPress is one of the most beginner-friendly and scalable ways to get online. Whether you're starting a blog, launching an online store, or building a business website, WordPress offers the flexibility, power, and community to make it happen — no coding required.
In this guide, we’ll walk you through every step of the process, from buying a domain to customizing your site and getting it live. Each step is practical, easy to follow, and packed with tips that help you confidently create your first website.
Step 1: Define the Purpose of Your Website
Before you start building anything, get clear on what your website is for. Are you:
- Starting a blog?
- Promoting a business?
- Selling products?
- Showcasing a portfolio?
Knowing your goal will shape everything else: your theme, your layout, and even the plugins you install.
✅ Pro Tip: Write a one-line mission for your website. This will guide your content and design.
Step 2: Choose a Domain Name and Hosting Provider
Your domain is your web address (e.g., www.yoursite.com). Your hosting provider stores your website files and keeps your site live on the internet.
Suggested Hosting:
- Visit hostgator.com
- Choose the Hatchling Plan(best for one website)
- Register a new domain(e.g., mybizwebsite.com)
- Uncheck all the upsells — you won’t need them
- Select the 12-month plan for the best price-performance balance
- Use coupon code"unlock"for the biggest discount
Once you complete the checkout, you’re ready to install WordPress.
Step 3: Install WordPress
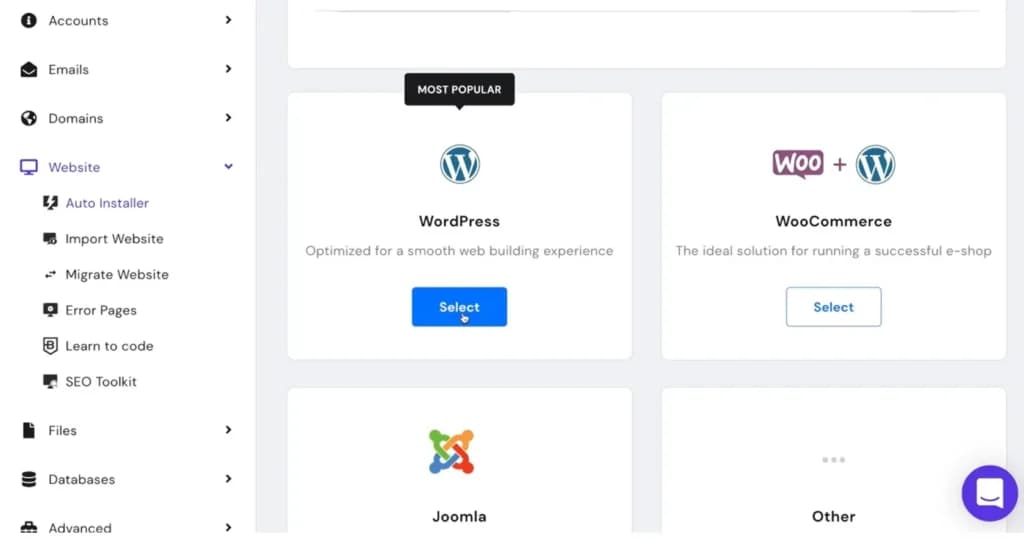
Most hosting providers (like HostGator) offer 1-click WordPress installation. Here's how to do it:
- From your hosting dashboard, click"Install WordPress."
- Choose your domain and leave the directory field blank.
- Fill in your site name, admin username, password, and email.
- Click Install.
- Wait a few minutes. Your site will be live at
yourdomain.com, and you can log in atyourdomain.com/wp-admin
Note: It may take 10–20 minutes for the domain to fully activate.
Step 4: Clean Up the Default WordPress Setup
Before customizing, declutter your WordPress install:
- Log into your WordPress dashboard (
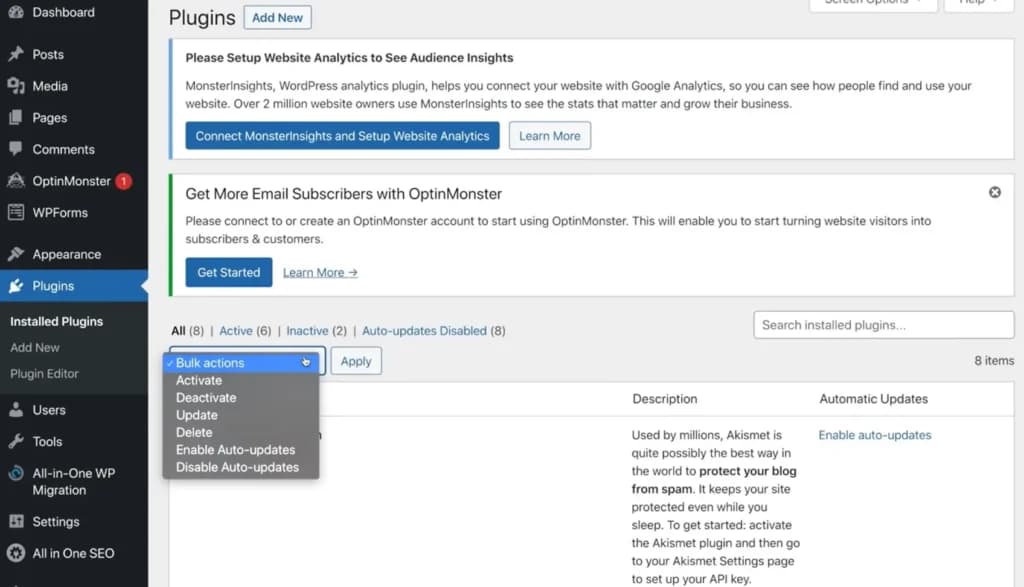
yourdomain.com/wp-admin) - Go to Plugins > Installed Plugins
- Select all plugins, deactivate, then delete
- Go to Pages and Posts, and delete the sample content
- Install the All-in-One WP Migration plugin and create a backup of your clean site
Step 5: Choose and Install a Theme
Themes control your site’s look and layout.
Recommended Theme: Astra
To Install Astra:
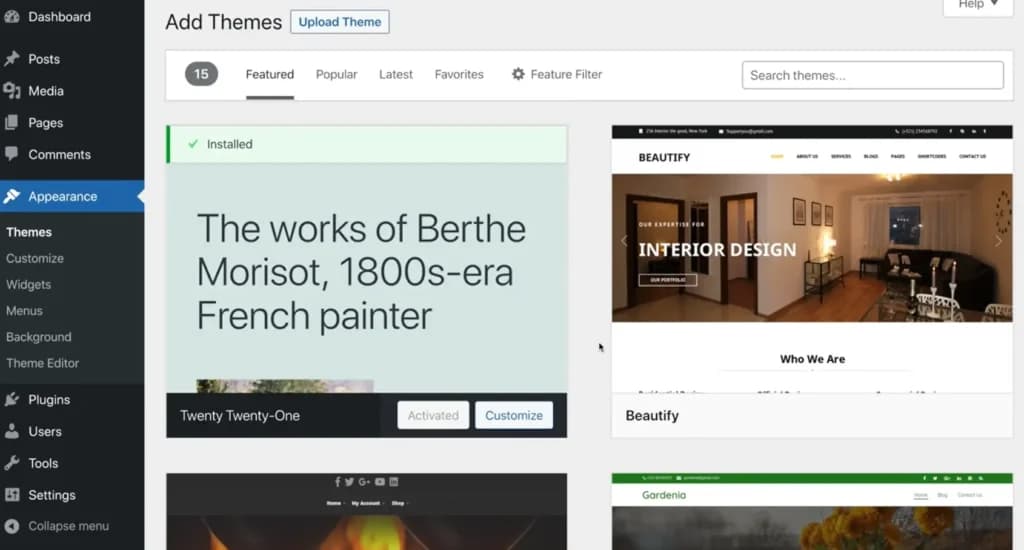
- Go to Appearance > Themes > Add New
- Search for "Astra"
- Click Install, then Activate
Next, install the Starter Templates plugin:
- Go to Plugins > Add New
- Search for "Starter Templates"
- Install and activate
Launch Starter Templates:
- Go to Appearance > Starter Templates
- Choose Elementor as your page builder
- Browse or search for a design template
- Click a template you like and Import Complete Site
Step 6: Customize Your Site Design
Customize the template to match your brand:
To Edit a Page:
- Go to Pages, click Edit with Elementor under the homepage
- Click any text/image section to edit
- Use the left panel to change content, style, spacing, and layout

Edit Global Design:
- Go to Appearance > Customize > Global
- Change typography (fonts) and colors sitewide
Add a Logo:
- Go to Appearance > Customize > Header Builder > Site Title & Logo
- Upload your logo or create one using LogoMakr.com
Step 7: Add Key Pages
Start with:
- Home
- About
- Services or Products
- Contact(includes a form)
- Blog(optional)
Create a Page:
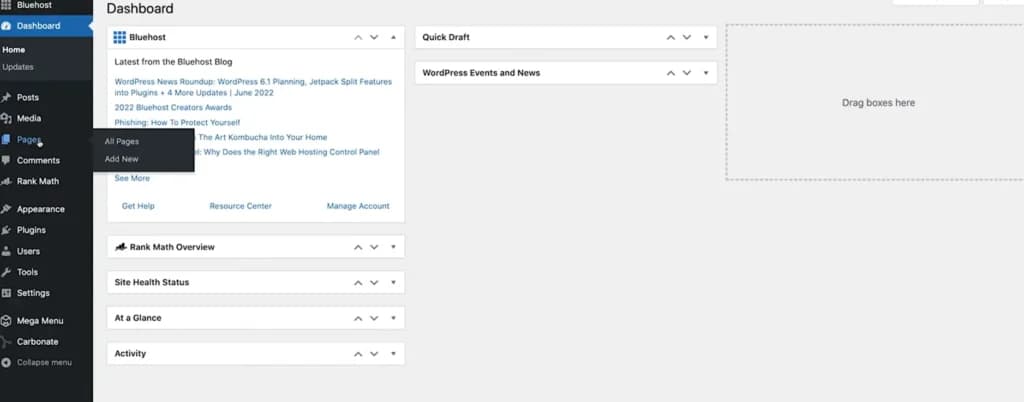
- Go to Pages > Add New
- Click Edit with Elementor to start designing
Add Blocks or Sections:
- In Elementor, click the folder icon
- Choose from pre-designed blocks(e.g., testimonials, FAQs)
- Mix & match to build each page quickly
Step 8: Add a Navigation Menu
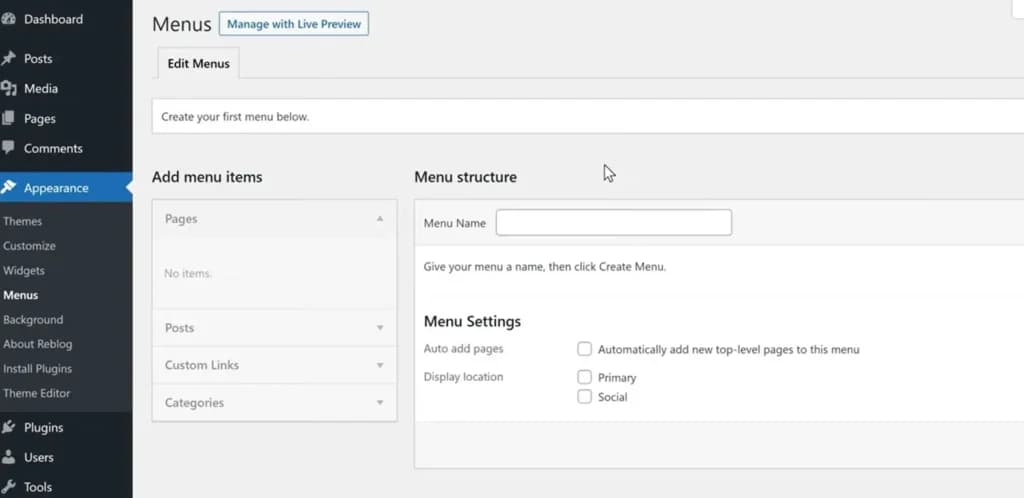
- Go to Appearance > Menus
- Click Create a New Menu
- Add the pages you've created
- Assign the menu to the Primary Location
You can also create dropdowns by dragging items slightly to the right under a parent page.
Step 9: Install Essential Plugins
Plugins extend your site’s functionality. Here are must-haves:
- Elementor– page builder
- WPForms– contact form builder
- Yoast SEO or Rank Math– SEO optimization
- UpdraftPlus– site backups
- Wordfence– security
- All-in-One WP Migration– backup/export/import site
To Install a Plugin:
- Go to Plugins > Add New, search, install, and activate
Step 10: Optimize for Mobile
Elementor is mobile-friendly, but you should fine-tune:
Steps:
- Open any page with Edit with Elementor
- Click the responsive mode (mobile icon)at the bottom
- Adjust font sizes, image positioning, and spacing for tablets and mobile
- Click Update to save changes
Step 11: Launch Your Site
Pre-Launch Checklist:
- All pages created and linked in the menu
- Mobile and desktop views tested
- Contact form works (test it yourself!)
- Favicon and logo set
- SEO titles and descriptions written (use Yoast or Rank Math)
- Backup created
Go Live:
- Remove "Coming Soon" plugin if enabled
- Start promoting!
Step 12: Promote Your Site
- Share on social media (Facebook, Instagram, LinkedIn)
- Email friends, clients, or subscribers
- Add to Google My Business, Yelp, or relevant directories
- Start publishing blog content to build SEO
Final Thoughts
WordPress is a powerful and flexible website platform. With tools like Elementor, Astra, and Starter Templates, anyone can create a stunning and professional website in a matter of hours.
This guide gives you a clear, practical path from blank canvas to live website — with no coding required. Ready to start? Open your browser and start building today.