How to Set Up a VPN

Up until quite recently, Virtual Private Networks (VPNs) were mainly used by businesses and those deeply concerned about privacy.
Today — thanks to a thriving market of user-friendly commercial VPNs — anyone can enhance their online security and privacy with just a few clicks. These slick apps come at affordable prices and require no advanced network know-how to operate.
We’ll dig into what VPNs do best, how to pick a reliable one, and how to set it up to safeguard your online activities.
What is a VPN?
A VPN is a service that creates a secure, encrypted tunnel for your internet traffic, shielding your online activities from prying eyes, whether they be hackers, ISPs, or anyone else on the network.
By routing your connection through a remote server, VPNs also allow you to appear as if you’re browsing from a different location, unlocking geo-restricted content and maintaining your privacy.
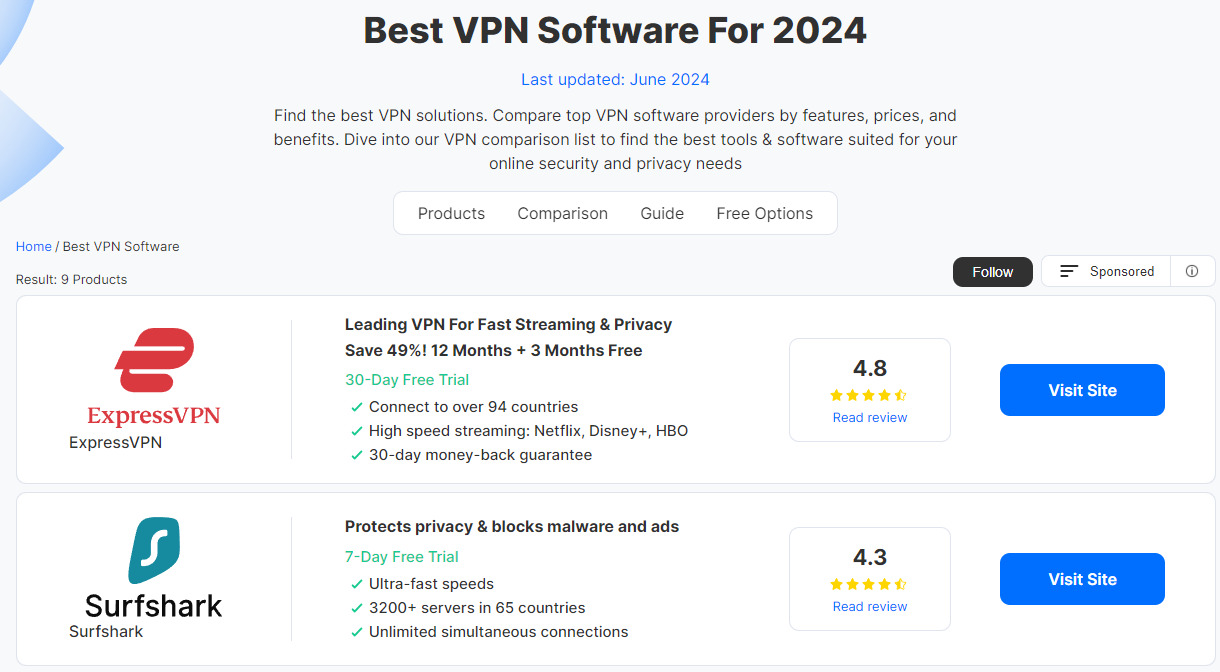
Top 5 VPN services
Here are the top 5 VPN services that stand out for their exceptional performance, robust security features, and user-friendly interfaces.
How to get a VPN that’s an ideal choice for both beginners and seasoned users:


 Connect to over 94 countries
High speed streaming: Netflix, Disney+, HBO
Connect to over 94 countries
High speed streaming: Netflix, Disney+, HBO  Ultra-fast speeds
3200+ servers in 65 countries
Ultra-fast speeds
3200+ servers in 65 countries  Ultra-fast streaming experience
Over 6400 servers worldwide
Ultra-fast streaming experience
Over 6400 servers worldwide  Connect up to 6 devices simultaneously
Browse the internet with total privacy
Connect up to 6 devices simultaneously
Browse the internet with total privacy  Unlimited bandwidth on over 2,500 servers
Military-grade encryption & no logs
Unlimited bandwidth on over 2,500 servers
Military-grade encryption & no logs Getting Started With a VPN
Starting with a VPN is a straightforward process that can significantly enhance your online security and privacy.
If you need specific instructions for setting up a VPN on Android devices, Macs, PCs, at home, and more, scroll further down the article. We’ve got you covered.
Here’s how to get up and running quickly:
-
Select a VPN provider
Choose a reliable VPN service based on your needs for security, speed, and server options.
Ensure it has a strong privacy policy and user-friendly apps. -
Install the VPN software
Download and install the VPN app on your devices from the provider’s official website or app store.
Follow the installation prompts to complete the setup. -
Configure your VPN
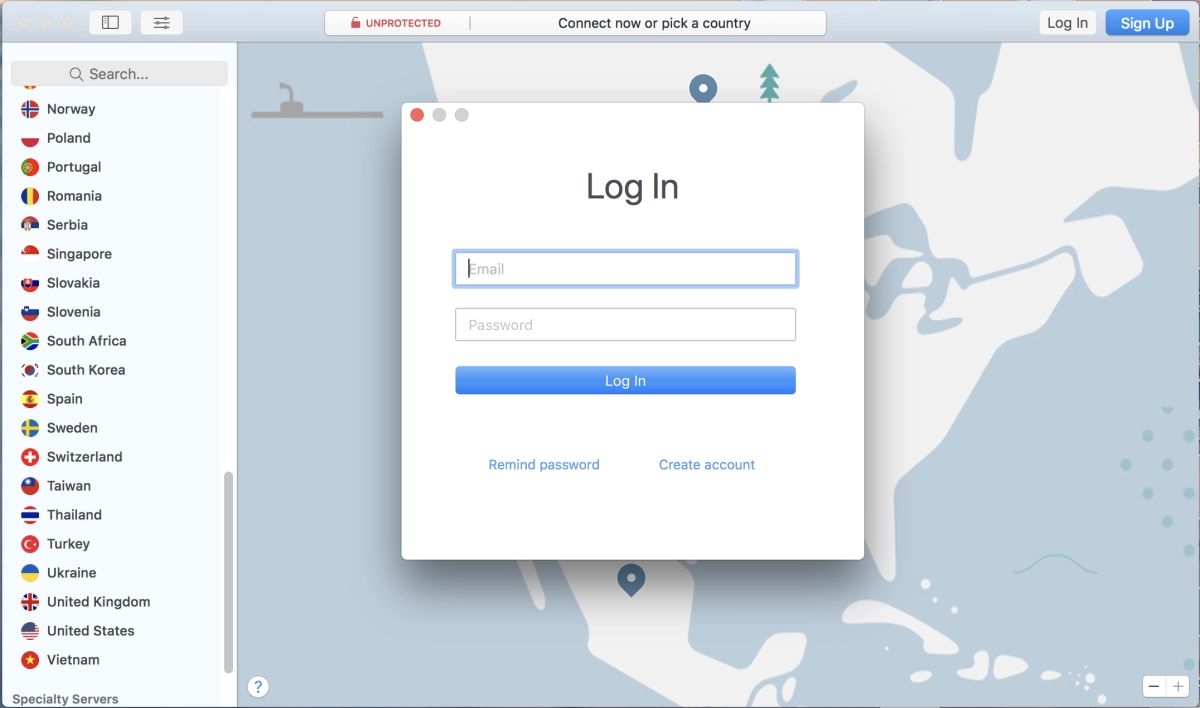
Log in to the app using your credentials.
Adjust settings such as the VPN protocol and server location according to your preferences for optimal performance. -
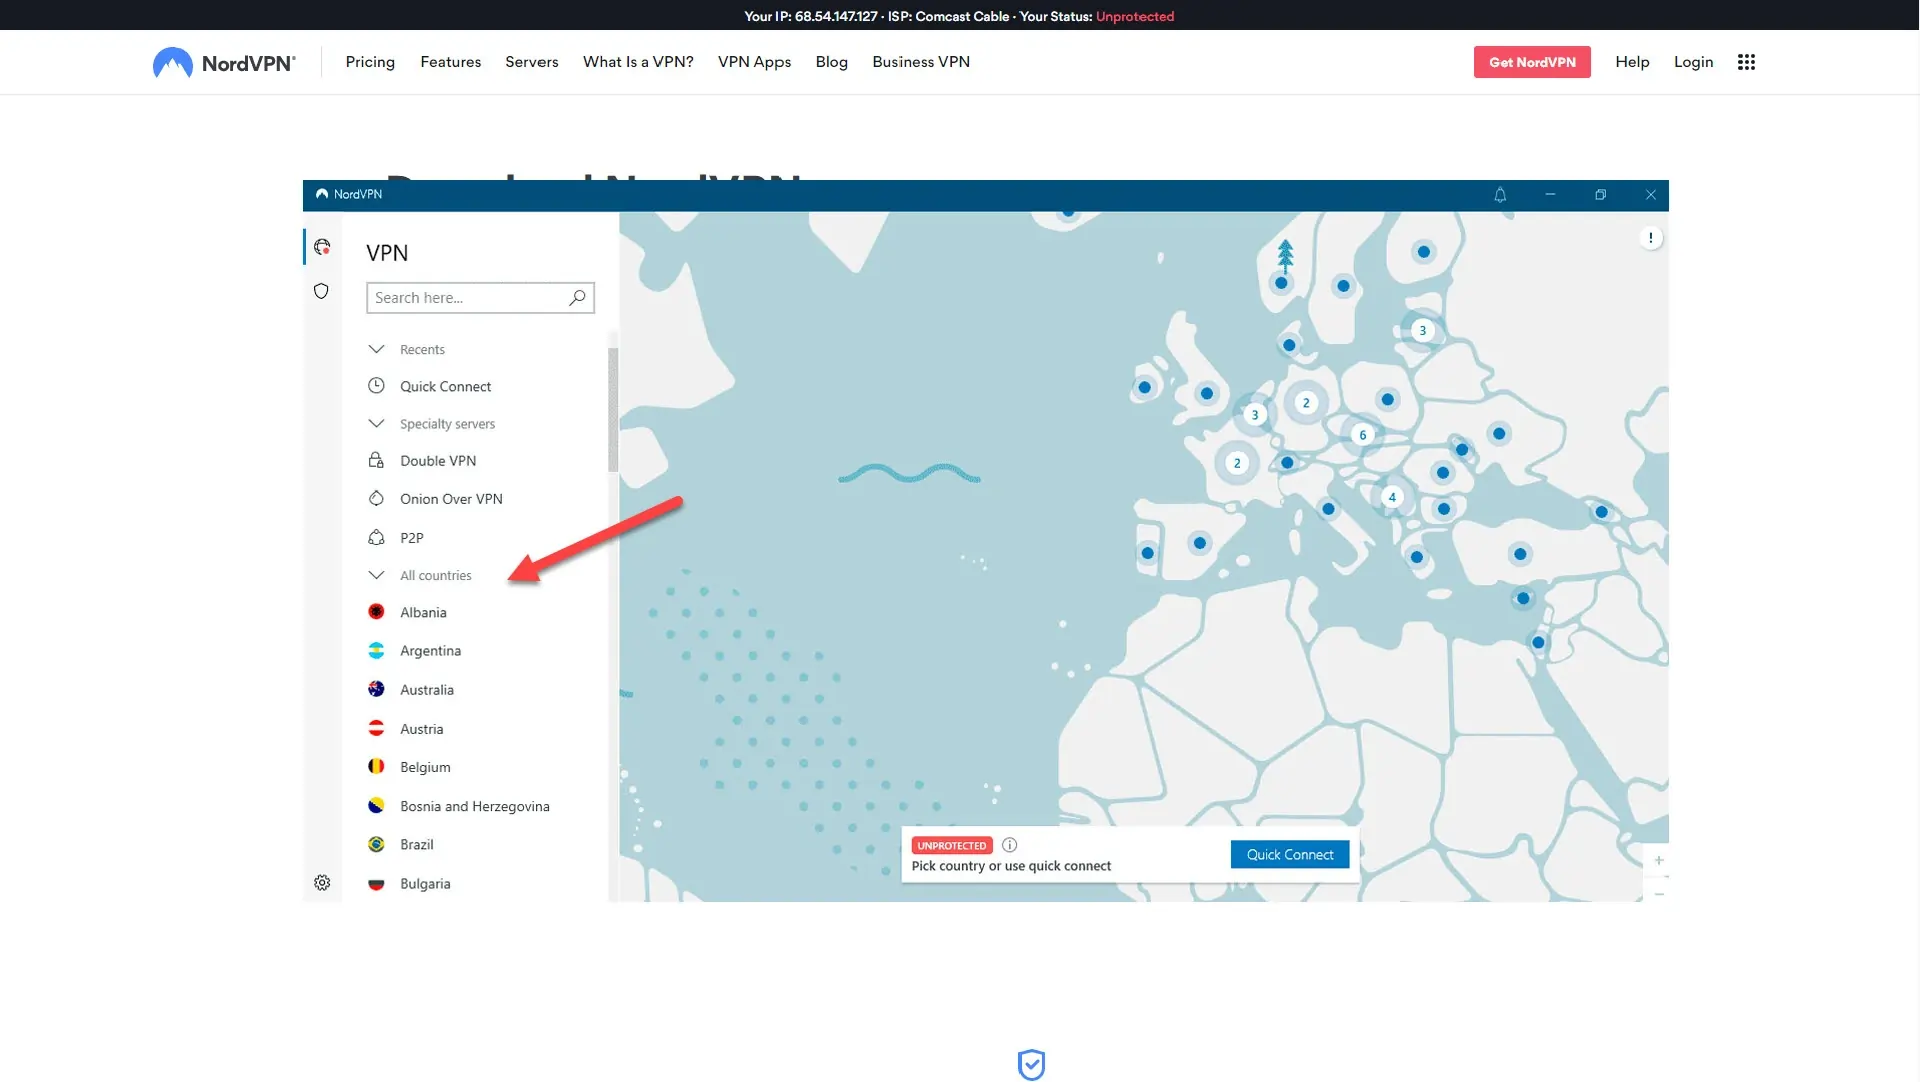
Connect to a server
Select a server from the list provided by your VPN app.
Click ‘Connect’ to establish a secure and private internet connection. -
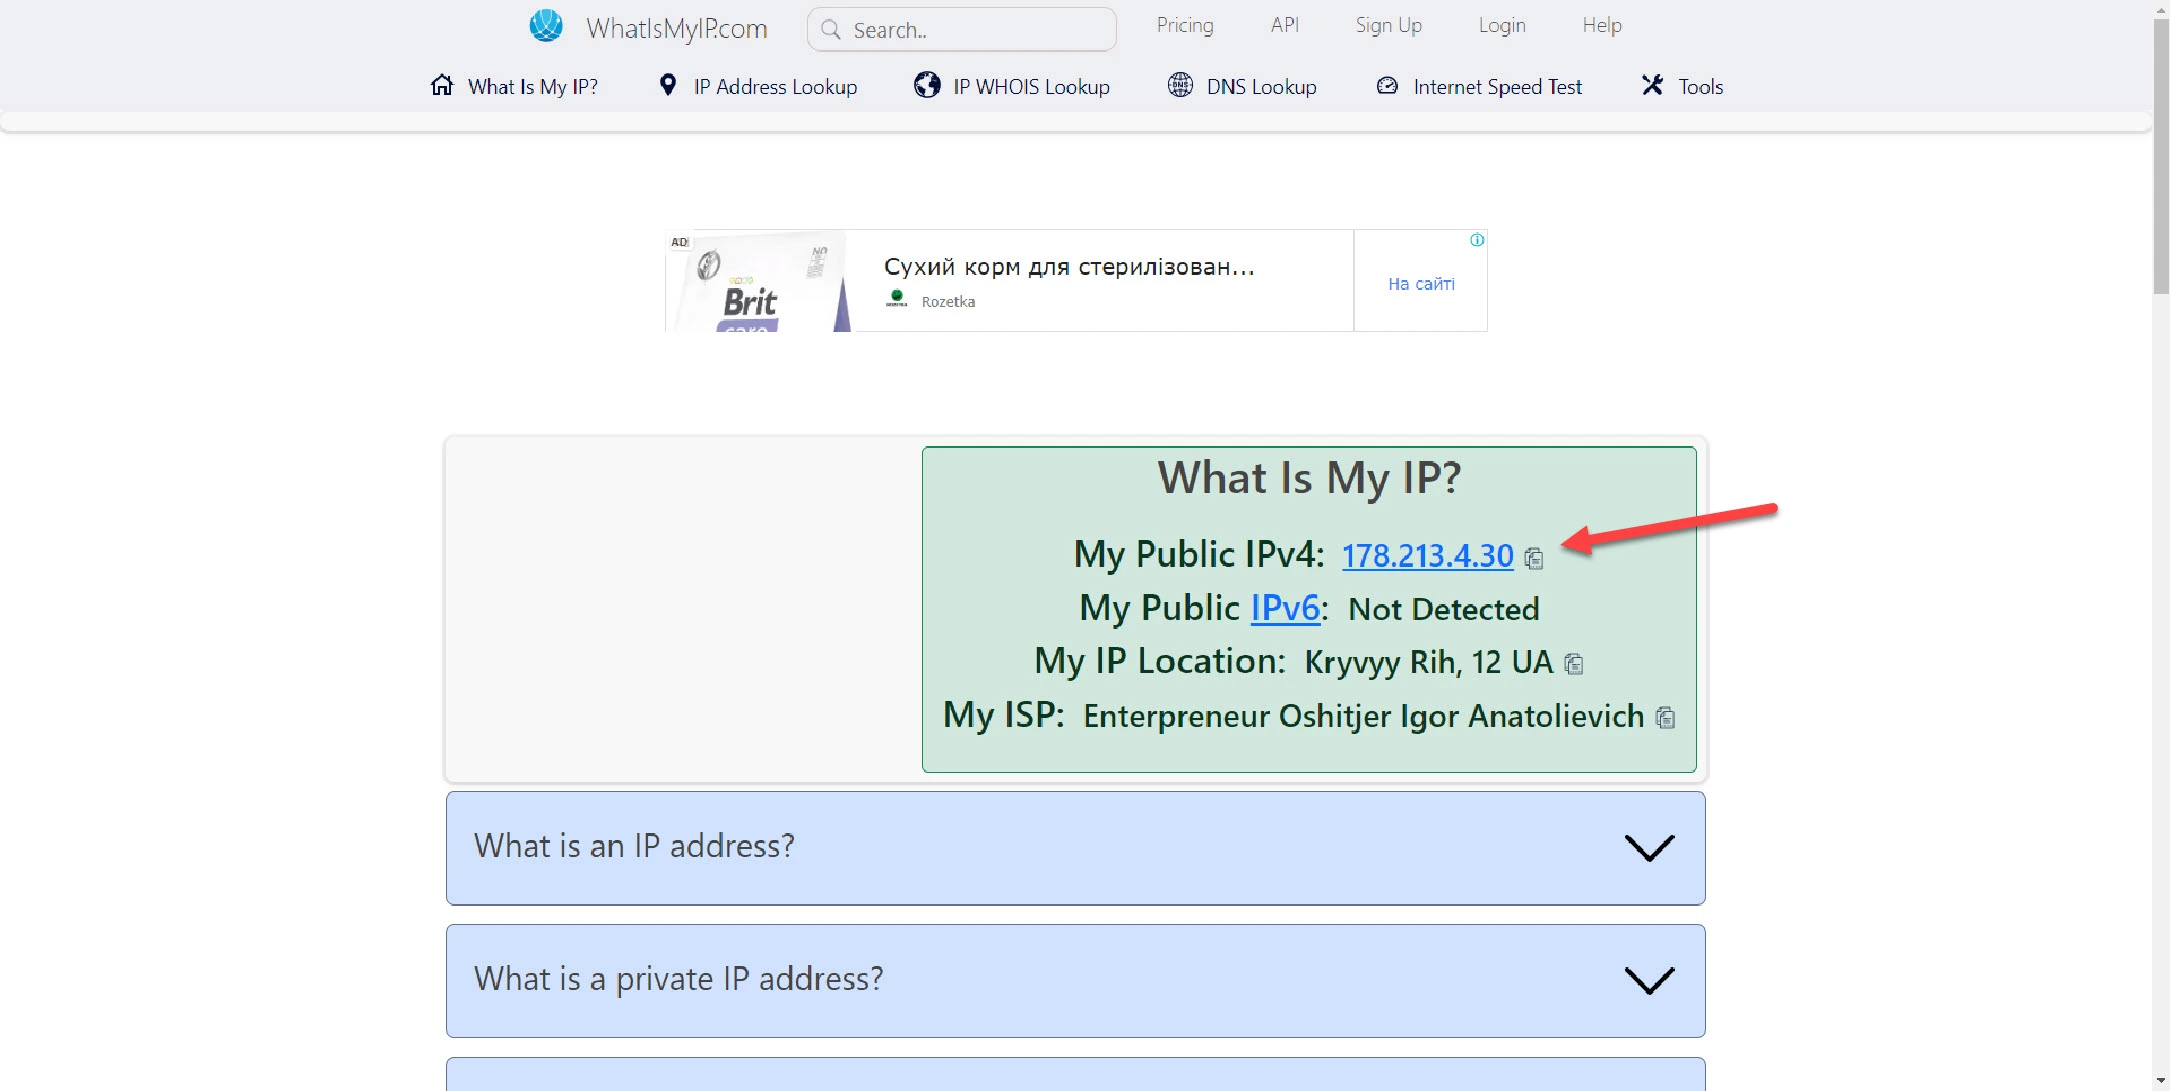
Verify the connection
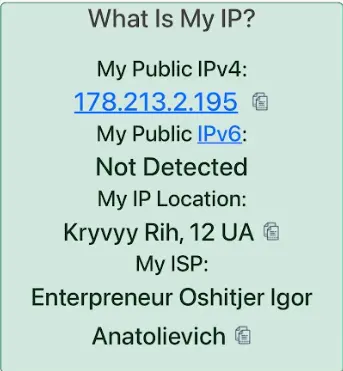
Check your IP address using a tool like “What is my IP” to ensure it reflects the VPN server’s location and not your actual one.
Related Articles:
How to Set up a VPN on an iPhone or iPad
Here’s how to get started:
-
Select a reputable VPN provider
Choose a reliable VPN service that offers strong encryption, a variety of server locations, and iOS compatibility. Ensure the provider has a dedicated iOS app to simplify the setup process. -
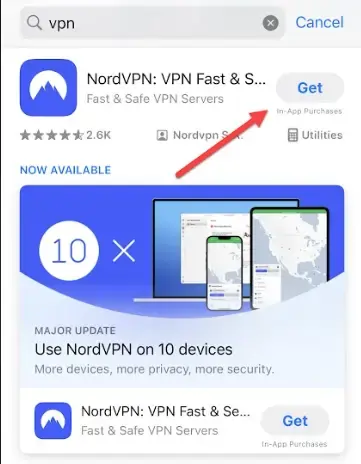
Download and install the VPN app
Go to the App Store and search for the VPN provider’s app. Download and install it on your iPhone or iPad. Make sure to download the official app to avoid security issues.
-
Log in and configure the VPN
Open the app and sign in with your account credentials. You might need to create an account and select a subscription plan if you’re a new user.
Grant any necessary permissions the app requests to function properly. -
Connect to a VPN server
The app will typically show a list of available servers. Choose the server you want to connect to based on your needs—be it for enhanced privacy, speed, or access to geo-restricted content.
Tap the ‘Connect’ button to start a secure VPN connection. The app will indicate once you are connected. -
Adjust and verify settings
Explore the app’s settings to ensure options like “Kill Switch” or “Auto-Connect” are enabled according to your preferences, adding an extra layer of protection.
If the app allows you to choose the VPN protocol, select one that balances security and speed, such as IKEv2 or WireGuard. -
Test your VPN connection
After connecting, use a website like What is my IP to verify that your IP address has changed to match the VPN server’s location.
Browse the internet to see if you can access content that was previously unavailable and ensure that your privacy is maintained.
How to Set up a VPN on an Android Device
Follow these steps to configure your VPN and enjoy a secure connection:
-
Choose a reliable VPN provider
Start by selecting a trustworthy VPN service that offers robust security features, a wide range of servers, and compatibility with Android devices. Many providers have dedicated VPN apps that simplify the setup process. -
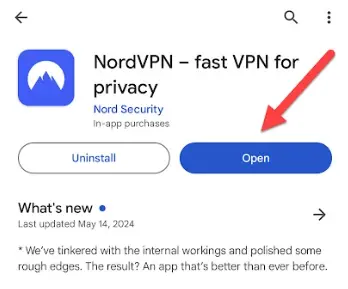
Download and install the VPN app
Visit the Google Play Store and search for the VPN provider’s app. Download and install it on your Android device. Ensure you’re getting the official app to avoid security risks.
-
Sign in and configure the VPN
Open the app and log in using your credentials. If you’re a new user, you might need to sign up and choose a subscription plan.
Once logged in, you may need to grant necessary permissions for the app to operate correctly. -
Connect to a VPN server
The app will likely present a list of available servers. Select the server you wish to connect to based on your needs — for privacy, speed, or accessing geo-restricted content.
Tap the ‘Connect’ button to establish a secure VPN connection. The app should indicate once you’re connected. -
Verify and adjust settings
Check the app’s settings to ensure features like “Kill Switch” or “Auto-Connect” are enabled according to your preferences. These features enhance your VPN’s effectiveness by providing continuous protection.
Some apps allow you to choose the VPN protocol. Select one that balances speed and security, like OpenVPN or WireGuard, if available. -
Test your connection
Once connected, use a tool like “What is my IP” to verify that your IP address has changed and reflects the VPN server’s location.
Browse the internet and check if you can access previously unavailable content or notice improved privacy.
How to Set up a VPN on a Mac
Here are the steps to get your VPN up and running on macOS:
-
Choose a reliable VPN provider
Select a reputable VPN service that offers strong encryption, a wide selection of server locations, and compatibility with macOS. Many providers have dedicated macOS apps that streamline the VPN setup process. -
Download and install the VPN app
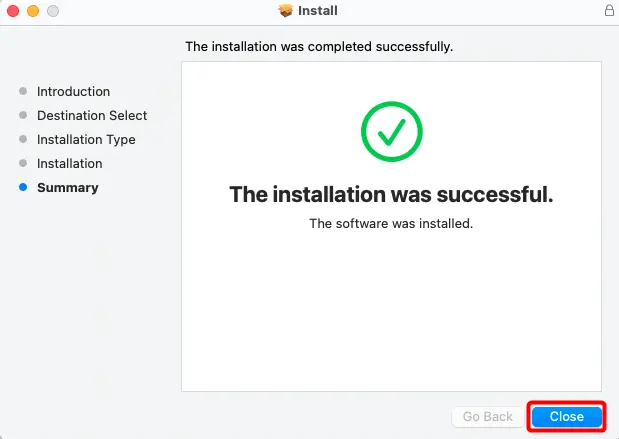
Visit the official website of your chosen VPN provider and download the macOS app. To avoid security risks, be sure to download the app from a trusted source.
Install the app by dragging it into your Applications folder, then open it.
-
Log in and configure the VPN
Launch the VPN app and sign in using your account credentials. If you’re a new user, you may need to sign up and choose a subscription plan.
Grant any permissions the app requires to ensure it functions correctly.
-
Connect to a VPN server
The app typically displays a list of available servers. You can select the server you wish to connect to based on your needs—whether for privacy, speed, or access to geo-blocked content.
Click the ‘Connect’ button to establish a secure VPN connection. The app should show a notification or change its status to indicate that you are connected. -
Check and adjust settings
Review the app’s settings to enable features like “Kill Switch” or “Auto-Connect” according to your preferences. These features enhance your VPN’s effectiveness by ensuring continuous protection.
If the app allows you to choose the VPN protocol, opt for one that provides a good balance of security and speed, such as OpenVPN or IKEv2. -
Test your connection
Once connected, use a service like “What is my IP” to verify that your IP address has changed to match the VPN server’s location.
Test the VPN by accessing websites or services to ensure you can view content previously unavailable and that your online activities are securely encrypted.
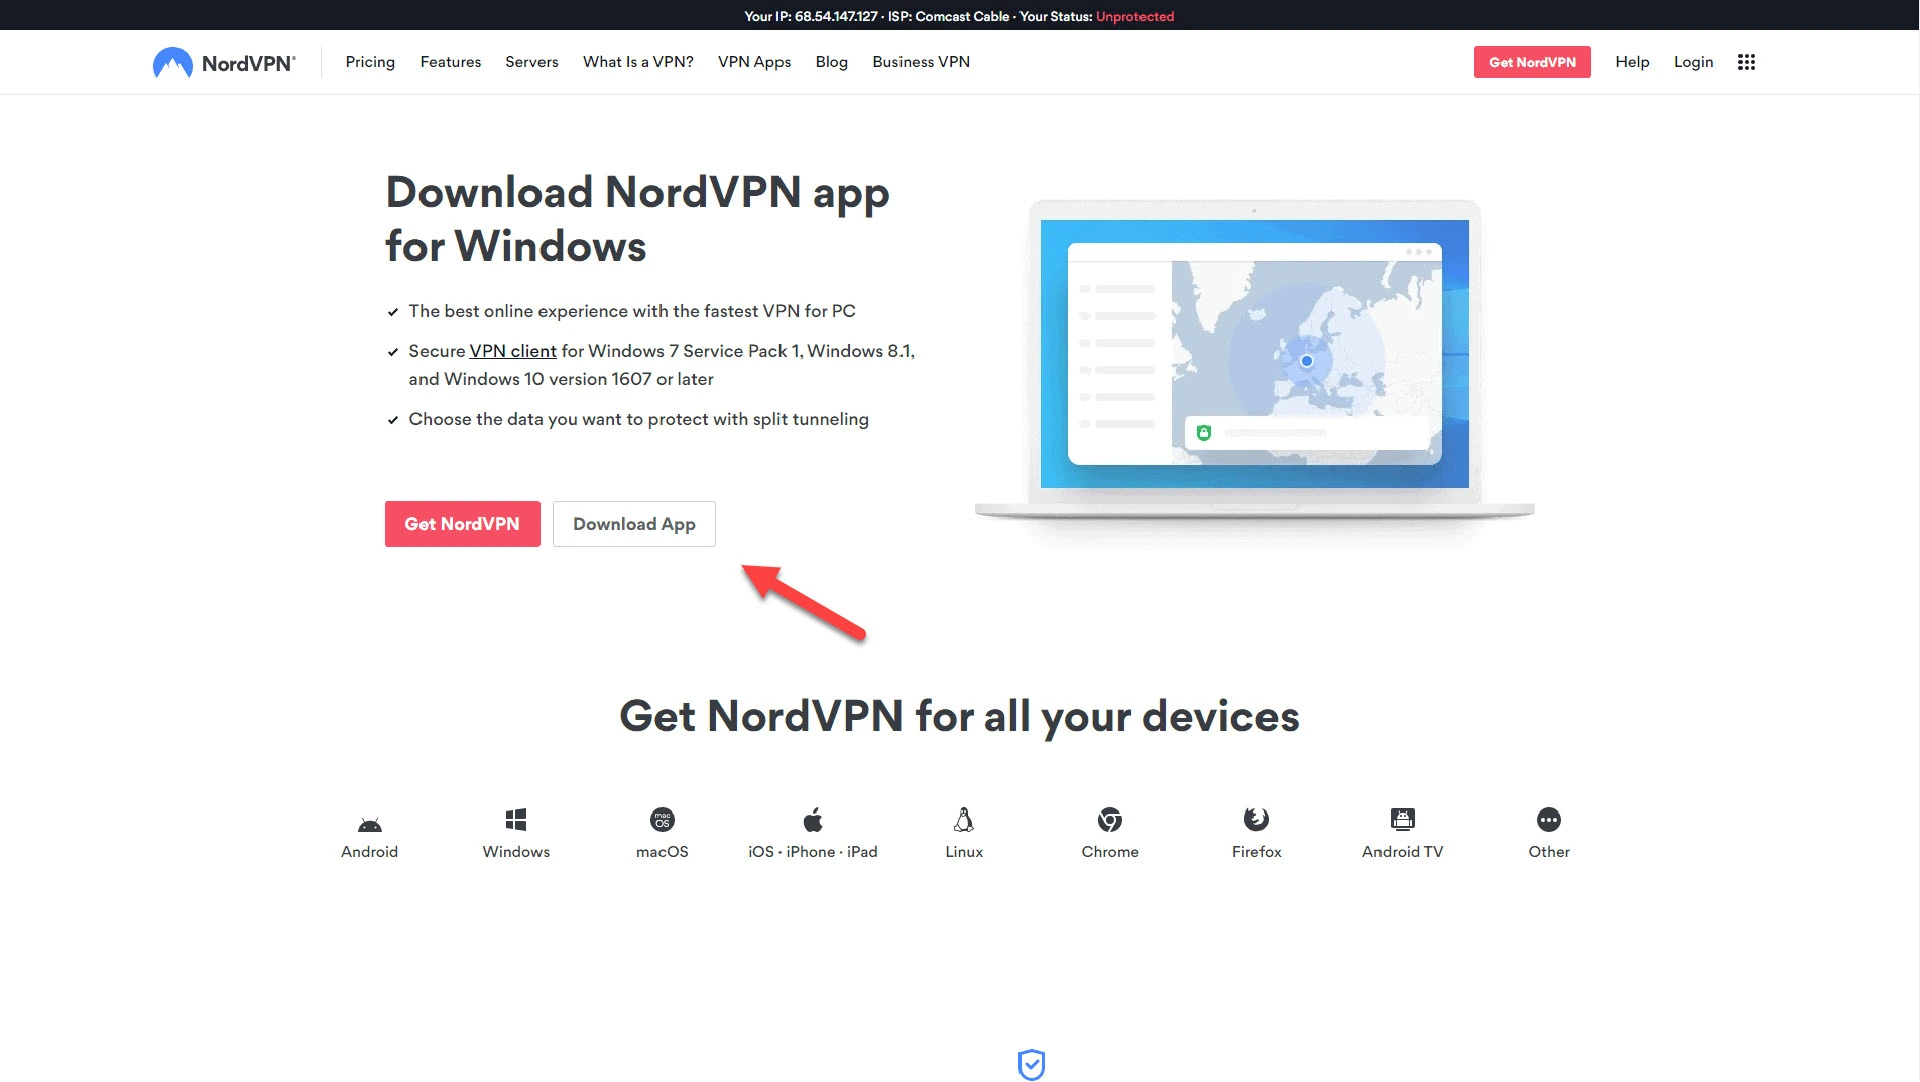
How to Set up a VPN on a PC
Here’s how to configure a VPN on a Windows-based PC:
-
Select a reputable VPN provider
Choose a reliable VPN service with strong encryption, numerous server locations, and Windows compatibility. Look for providers with dedicated Windows apps to simplify the VPN setup process.
-
Download and install the VPN app
Visit the official website of your chosen VPN provider and download the Windows version of their app. To avoid security issues, ensure you download from a trustworthy source.
Follow the installation instructions to install the app on your PC.
-
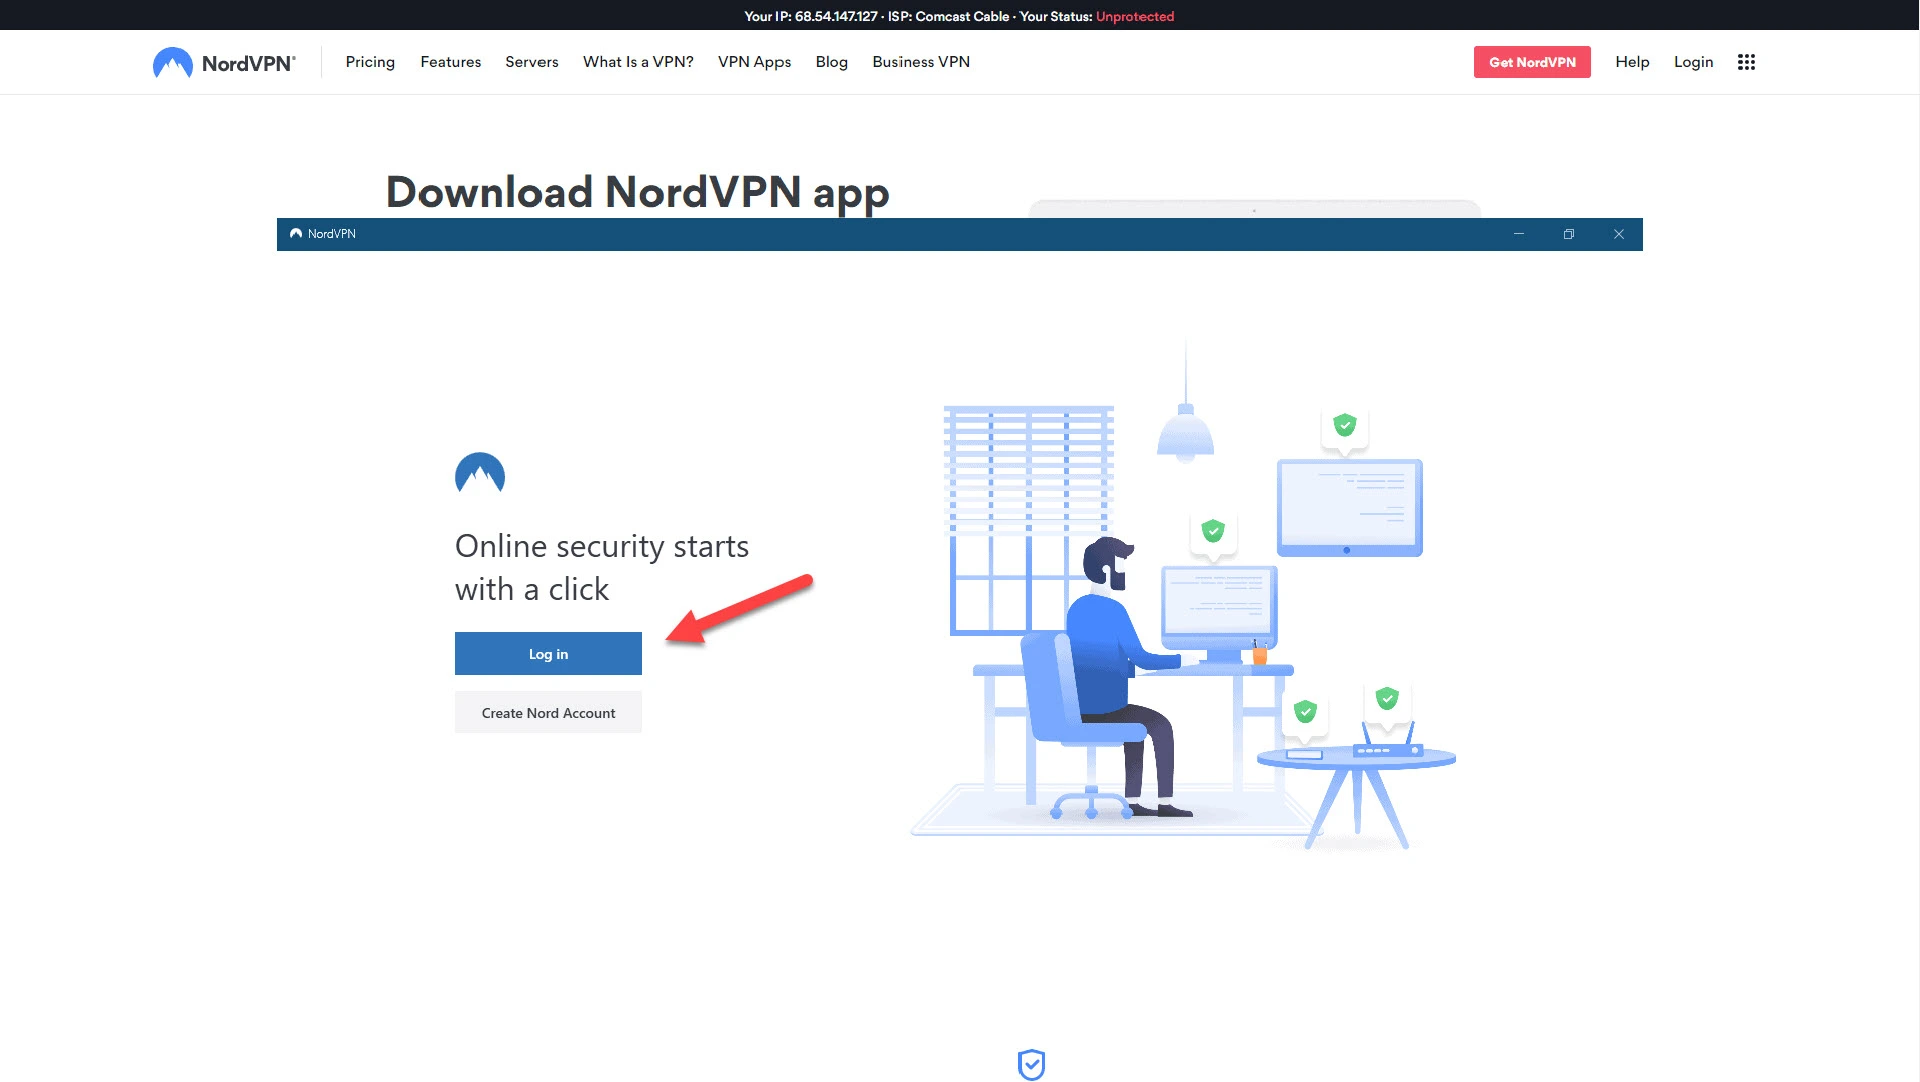
Log in and configure the VPN
Open the VPN app and sign in using your account details. If you’re a new user, you may need to create an account and choose a subscription plan.
Grant any necessary permissions the app requests to operate correctly.
-
Connect to a VPN server
The app will usually display a list of available servers. Choose the server you want to connect to based on your needs—whether for privacy, speed or accessing geo-restricted content.
Click the ‘Connect’ button to start a secure VPN connection. The app should indicate when you are successfully connected.
-
Adjust and verify settings
Explore the app’s settings to ensure options like “Kill Switch” or “Auto-Connect” are enabled according to your preferences. These features add an extra layer of protection by ensuring continuous VPN coverage.
If the app allows you to choose the VPN protocol, select one that balances security and speed, such as OpenVPN or IKEv2. -
Test your VPN connection
After connecting, use a tool like “What is my IP” to verify that your IP address has changed to match the VPN server’s location.
Test the VPN by browsing the internet to see if you can access previously unavailable content and ensure your online activities are encrypted.
How to Set up a VPN at Home
Here’s how to establish a VPN connection for your home network:
-
Choose a VPN service
Select a reliable VPN provider that supports multiple simultaneous connections and offers robust encryption and a variety of server locations. Ensure the service is compatible with a wide range of devices you use at home. -
Install VPN on individual devices
For the easiest setup, download and install the VPN provider’s app on each device in your home—smartphones, tablets, PCs, and Macs. Then, follow the provider’s instructions for installation and login. -
Install VPN on individual devices
You can set up the VPN directly on your router to protect all devices connected to your home network. This requires a router that supports VPN configurations.
You can log in to your router’s admin panel, usually through a web browser, using the router’s IP address (commonly 192.168.0.1 or 192.168.1.1).
Find the VPN or advanced settings section and enter your VPN credentials, including server information, username, and password.
Choose a VPN protocol compatible with your router, such as OpenVPN or WireGuard, and complete the setup according to your VPN provider’s instructions. -
Enable VPN connection
Once the VPN is configured on your router, enable the VPN connection. This will automatically secure all internet traffic from devices connected to your router.
Launch the VPN app on individual devices and connect to your preferred server for devices not using the router’s VPN connection. -
Test and adjust settings
Use a service like “What is my IP” to verify that your home network’s public IP address has changed to the VPN server’s location.
Check for any connectivity issues and adjust settings, such as choosing different servers or protocols to optimize speed and stability. -
Maintain and update regularly
Keep your VPN software and router firmware up to date to ensure the highest level of security and performance.
Regularly review and adjust your VPN settings as needed to maintain optimal privacy and access to content.
How to Check Your VPN
After setting up a VPN, it’s crucial to ensure it’s functioning correctly to provide the security and privacy you need. Here’s how to check your VPN to verify that it is working effectively:
-
Verify your IP address
Before connecting to your VPN, visit a website like “What is my IP” to note your actual IP address and location.
Connect to your VPN and revisit the same site. Your IP address should now reflect the VPN server’s location, not your actual location. If it does, your VPN is successfully masking your IP. -
Check for DNS leaks
DNS leaks can expose your original IP address even when connected to a VPN. Use a tool like DNSLeakTest.com to check for leaks.
Run the test and ensure that the results show the DNS servers of your VPN provider, not your ISP. If your ISP’s servers appear, a DNS leak needs fixing. -
Test for WebRTC leaks
WebRTC is a technology that can reveal your real IP address. Use a site like BrowserLeaks.com/WebRTC to check for WebRTC leaks.
If your actual IP address shows up in the test, you’ll need to disable WebRTC in your browser settings or use a VPN app that blocks these leaks. -
Evaluate connection speed
VPNs can sometimes slow down your internet speed due to encryption overhead and server distance. Test your internet speed using a tool like SpeedTest.net before and after connecting to the VPN.
A significant speed drop may indicate a need to switch servers or protocols to improve performance. -
Ensure Kill Switch functionality
Many VPNs feature a “Kill Switch” that disconnects your device from the internet if the VPN connection fails. Test this by connecting to your VPN and then manually deactivating it.
If your internet access stops immediately, the Kill Switch is working. If not, you’ll need to enable it in your VPN settings for added security. -
Regular monitoring and updates
Monitor your VPN’s performance regularly and update the app to take advantage of the latest security enhancements and features.
How a VPN Works
Understanding how a VPN works is vital to appreciating the full spectrum of its benefits.
At its core, a VPN creates a secure and encrypted connection between your device and the internet, ensuring that your data remains private and your online activities are shielded from prying eyes.
VPNs are an essential tool for enhancing internet security and privacy because they combine encryption, secure protocols, and strategically located servers.
-
Encrypted Tunnel
When you connect to a VPN, the VPN software on your device establishes a secure connection to a VPN server. This connection acts as a tunnel through which all your internet traffic passes. The data sent through this tunnel is encrypted, meaning it’s transformed into a format that can’t be read or understood by anyone who intercepts it. -
Data Transmission
Once the VPN tunnel is established, your device sends and receives data through the VPN server. To the outside world, it appears as though your internet traffic is coming from the VPN server’s IP address, not your actual location. This change in IP address enhances your online privacy and allows you to bypass geographical restrictions. -
VPN Protocols
The stability, speed, and security of your VPN connection are governed by the VPN protocols it uses. Standard protocols include OpenVPN, WireGuard, IKEv2/IPSec, and L2TP/IPSec. Each protocol offers a different balance of speed, security, and compatibility, affecting how your VPN operates and protects your data. -
VPN Servers
The effectiveness of a VPN also depends on the quality and location of its servers. VPN providers typically offer a range of servers across various countries, allowing users to choose where they want to appear to be browsing from. This is particularly useful for accessing content that is restricted in certain regions.
How to Choose a VPN
Choosing the right VPN is crucial for ensuring your online privacy and security. Here are vital factors to consider when selecting a VPN:
-
Security Features
To protect your data, look for a VPN with strong encryption, typically AES-256. Ensure it supports secure protocols like OpenVPN, IKEv2, and WireGuard.
A reliable kill switch is essential to prevent data leaks if the VPN connection drops. -
Privacy Policy
Choose a VPN with a strict no-logs policy, ensuring your browsing data isn’t recorded or stored.
Verify the provider’s privacy policy to understand what data, if any, they collect. -
Server Locations
A wide range of servers in different countries allows you to access geo-restricted content and ensures better speeds.
More servers mean less crowding and faster connections. -
Speed and Performance
VPNs can affect your internet speed due to the encryption process.
Test potential VPNs for speed to ensure they don’t significantly slow down your connection. -
Ease of Use
The VPN should have user-friendly apps for various devices.
Look for intuitive interfaces that make connecting, changing servers, and adjusting settings easy. -
Compatibility
Ensure the VPN supports all your devices, including Windows, macOS, Android, iOS, and even routers or other IoT devices. -
Use Comparative Websites
Refer to trusted comparison websites to assess VPNs based on security, speed, and user feedback.
Look for consistently high rankings to identify reliable services and stay updated on the latest VPN developments. -
Customer Support
Reliable customer support is essential for troubleshooting.
Look for VPNs that offer 24/7 support through multiple channels like live chat, email, or phone. -
Pricing and Value
Compare prices and check for the best value, considering your needs.
Beware of free VPNs as they may compromise on security or sell your data. Look for a balance between cost and features. -
Trial Periods and Money-Back Guarantees
A free trial or money-back guarantee is beneficial for testing the VPN service to see if it meets your needs without financial risk.
Should I Pay for a VPN?
While a free VPN might be sufficient for occasional, low-risk use, paying for a VPN is generally advisable for those prioritizing security, privacy, performance, and access to a broader range of content without limitations. Especially those running a business with privacy needs or in a competitive environment.
Here are vital considerations to help you determine if a paid VPN is right for you:
-
Security and Privacy
Paid VPNs typically offer stronger encryption and more robust security features like kill switches and leak protection. Free VPNs often have weaker security, may display ads, and, in some cases, could log and sell your data to third parties. -
Speed and Performance
A paid VPN generally provides faster speeds and more reliable connections due to better infrastructure and less crowded servers. Free VPNs can be slower and more inconsistent, affecting your browsing and streaming experience. -
Access to Content
If you want to bypass geo-restrictions and access a wide range of international content, a paid VPN usually offers a larger selection of server locations. Free VPNs often have limited servers, which can be more easily blocked by streaming services. -
Data Limits and Bandwidth
Many free VPNs impose data caps or bandwidth limits, which can be restrictive if you frequently stream videos or download large files. Paid VPNs typically offer unlimited bandwidth and data usage. -
Customer Support
Paid VPN services usually provide comprehensive customer support, including live chat and detailed troubleshooting guides. Free services may offer limited or no support. -
No Ads and a Better User Experience
Free VPNs often rely on advertising for revenue, which can interrupt your experience and potentially compromise privacy. Paid VPNs do not have ads, offering a cleaner and more user-friendly experience. -
Long-Term Reliability
A paid VPN ensures more consistent updates, maintenance, and service improvements. Free VPNs may lack regular updates and could be discontinued without notice.
What To Do If Your VPN Doesn’t Work
If your VPN isn’t functioning correctly, it can be incredibly frustrating. Period.
By following these steps, you can often quickly identify and resolve issues with your VPN.
-
Check your internet connection
Ensure your device has a stable internet connection. Try disconnecting from the VPN and accessing the internet to see if the problem lies with the VPN or your connection. -
Restart the VPN software
Close and reopen your VPN app. This simple step can often resolve minor glitches or temporary connectivity issues. -
Switch servers
Connect to a different server. Sometimes, specific VPN servers can be overloaded or experience technical difficulties. -
Update the VPN app
Ensure you’re using the latest version of your VPN software. Updates often include bug fixes and performance improvements. -
Check VPN protocols
If your VPN allows you to choose different protocols (like OpenVPN, IKEv2, or WireGuard), try switching to another protocol to see if it resolves the issue. -
Disable Firewall or antivirus
Sometimes, firewalls or antivirus programs can interfere with VPN connections. Turn off these programs temporarily to see if they are causing the problem. -
Reinstall the VPN app
Uninstall and then reinstall the VPN app. This can clear any corrupt files or settings that might be causing issues. -
Contact VPN support
If you’ve tried all the above steps and your VPN still doesn’t work, contact the customer support team of your VPN provider for further assistance.
Final Thoughts
Setting up and maintaining a VPN is a straightforward way to boost your online privacy and security.
Whether you’re configuring VPN settings on your devices, choosing between VPN protocols, or troubleshooting with customer support, remember that a little effort goes a long way in protecting your data.
Embrace the benefits of VPNs to navigate the internet securely, access geo-restricted content, and ensure your online activities remain private.
If you encounter any issues, use our steps to get your VPN back on track and enjoy the peace of mind that comes with a secure connection.
Happy browsing!
FAQs
Q: How do I set up a VPN?
A: Download and install your chosen VPN app, log in, select a server, and connect to start enjoying enhanced online privacy and security.
Q: What should I do if my VPN isn’t working?
A: Check your internet connection, restart the VPN app, switch servers, update the app, or contact customer support for assistance.
Q: Why is a VPN important for online privacy?
A: A VPN encrypts your internet traffic and masks your IP address, protecting your data from hackers, trackers, and ISPs.
Q: Can a VPN access geo-restricted content?
A: Yes, by connecting to a server in a different location, a VPN can bypass regional restrictions and unlock content worldwide.